HP BladeSystem bc2500 Administrator's Guide HP Session Allocation Manager (HP - Page 56
Manage Users, Operation, To Assign Attributes
 |
View all HP BladeSystem bc2500 manuals
Add to My Manuals
Save this manual to your list of manuals |
Page 56 highlights
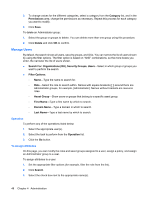
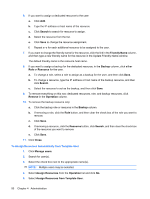
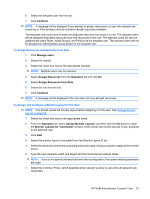
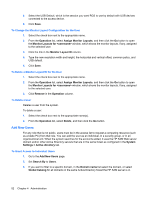
3. To change values for the different categories, select a category from the Category list, and in the Permissions area, change the permissions as necessary. Repeat this process for each category you want to modify. 4. Click Save. To delete an Administrator group: 1. Select the group or groups to delete. You can delete more than one group using this procedure. 2. Click Delete and click OK to confirm. Manage Users By default, the search shows all users, security groups, and OUs. You can narrow the list of users shown by using the filter options. The filter option is based on "AND" combinations, so the more boxes you enter, the narrower the list of users shown. ● Search For: Organizations (OU), Security Groups, Users-Select in which group or groups you want to perform the search ● Filter Options: ◦ Name-Type the name to search for. ◦ Role-Select the role to search within. Names with square brackets ([ ]) around them are Administrator groups, for example, [Administrator]. Names without brackets are resource roles. ◦ Asset Group-Show users or groups that belong to a specific asset group. ◦ First Name-Type a first name by which to search. ◦ Domain Name-Type a domain in which to search. ◦ Last Name-Type a last name by which to search. Operation To perform any of the operations listed below: 1. Select the appropriate user(s). 2. Select the task to perform from the Operation list. 3. Click the Go button. To Assign Attributes On this page, you can modify the roles and asset groups assigned to a user, assign a policy, and assign an Administrator group to a user. To assign attributes to a user: 1. Set the appropriate filter options (for example, filter the role from the list). 2. Click Search. 3. Select the check box next to the appropriate name(s). 48 Chapter 4 Administration
-
 1
1 -
2
-
3
-
4
-
5
-
6
-
7
-
8
-
9
-
10
-
11
-
12
-
13
-
14
-
15
-
16
-
17
-
18
-
19
-
20
-
21
-
22
-
23
-
24
-
25
-
26
-
27
-
28
-
29
-
30
-
31
-
32
-
33
-
34
-
35
-
36
-
37
-
38
-
39
-
40
-
41
-
42
-
43
-
44
-
45
-
46
-
47
-
48
-
49
-
50
-
 51
51 -
 52
52 -
 53
53 -
 54
54 -
 55
55 -
 56
56 -
 57
57 -
 58
58 -
 59
59 -
 60
60 -
 61
61 -
62
-
63
-
64
-
65
-
66
-
67
-
68
-
69
-
70
-
71
-
72
-
73
-
74
-
75
-
76
-
77
-
78
-
79
-
80
-
81
-
82
-
83
-
84
-
85
-
86
-
87
-
88
-
89
-
90
-
91
 |
 |