HP CP3505 HP Color LaserJet CP3505 Embedded Web Server - User Guide - Page 44
Alerts - test, Return, Address, Your Notes optional, To test the configuration of a destination list
 |
View all HP CP3505 manuals
Add to My Manuals
Save this manual to your list of manuals |
Page 44 highlights
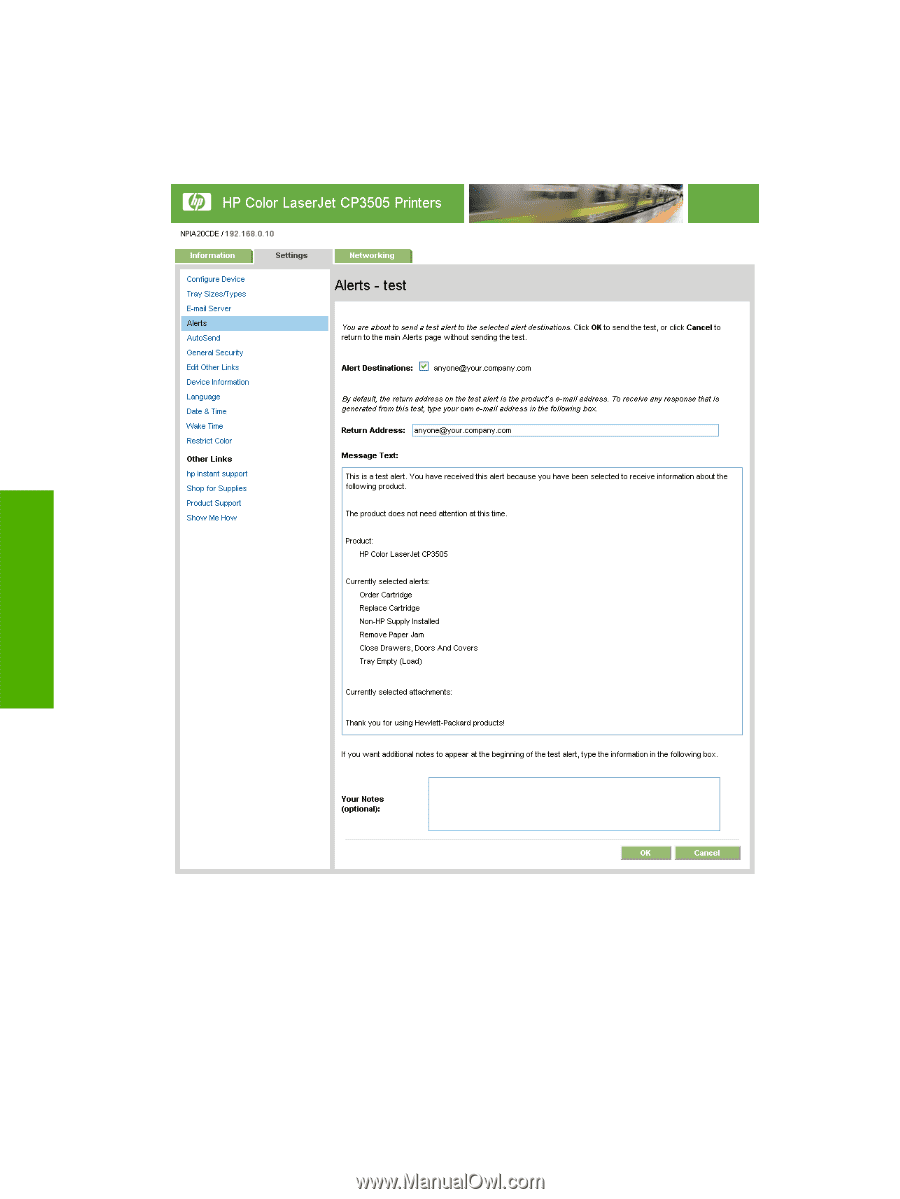
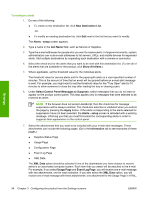
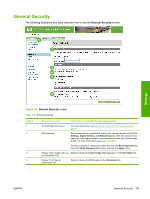
To test the configuration of a destination list 1. Click the Test button next to the destination list that you want to test. The following window appears. Settings Figure 3-6 Alerts - test screen 2. Select the destinations that you want to test. 3. The return address is the product's e-mail address. Type your e-mail address in the Return Address box if you would like to receive messages about any errors that are generated from the test alert (for example, to be notified of an incorrect destination address). 4. If applicable, type additional information that you would like to appear at the beginning of the email alert message in the Your Notes (optional) text field. 5. Click OK. 36 Chapter 3 Configuring the product from the Settings screens ENWW
-
 1
1 -
2
-
3
-
4
-
5
-
6
-
7
-
8
-
9
-
10
-
11
-
12
-
13
-
14
-
15
-
16
-
17
-
18
-
19
-
20
-
21
-
22
-
23
-
24
-
25
-
26
-
27
-
28
-
29
-
30
-
31
-
32
-
33
-
34
-
35
-
36
-
37
-
38
-
 39
39 -
 40
40 -
 41
41 -
 42
42 -
 43
43 -
 44
44 -
 45
45 -
 46
46 -
 47
47 -
 48
48 -
 49
49 -
50
-
51
-
52
-
53
-
54
-
55
-
56
-
57
-
58
-
59
-
60
-
61
-
62
-
63
-
64
-
65
-
66
-
67
-
68
-
69
-
70
-
71
-
72
 |
 |