HP Dc5750 RAID on HP Compaq dc5750 Business PCs - Page 11
Configuring RAID Option ROM - drivers windows xp
 |
UPC - 883585056446
View all HP Dc5750 manuals
Add to My Manuals
Save this manual to your list of manuals |
Page 11 highlights
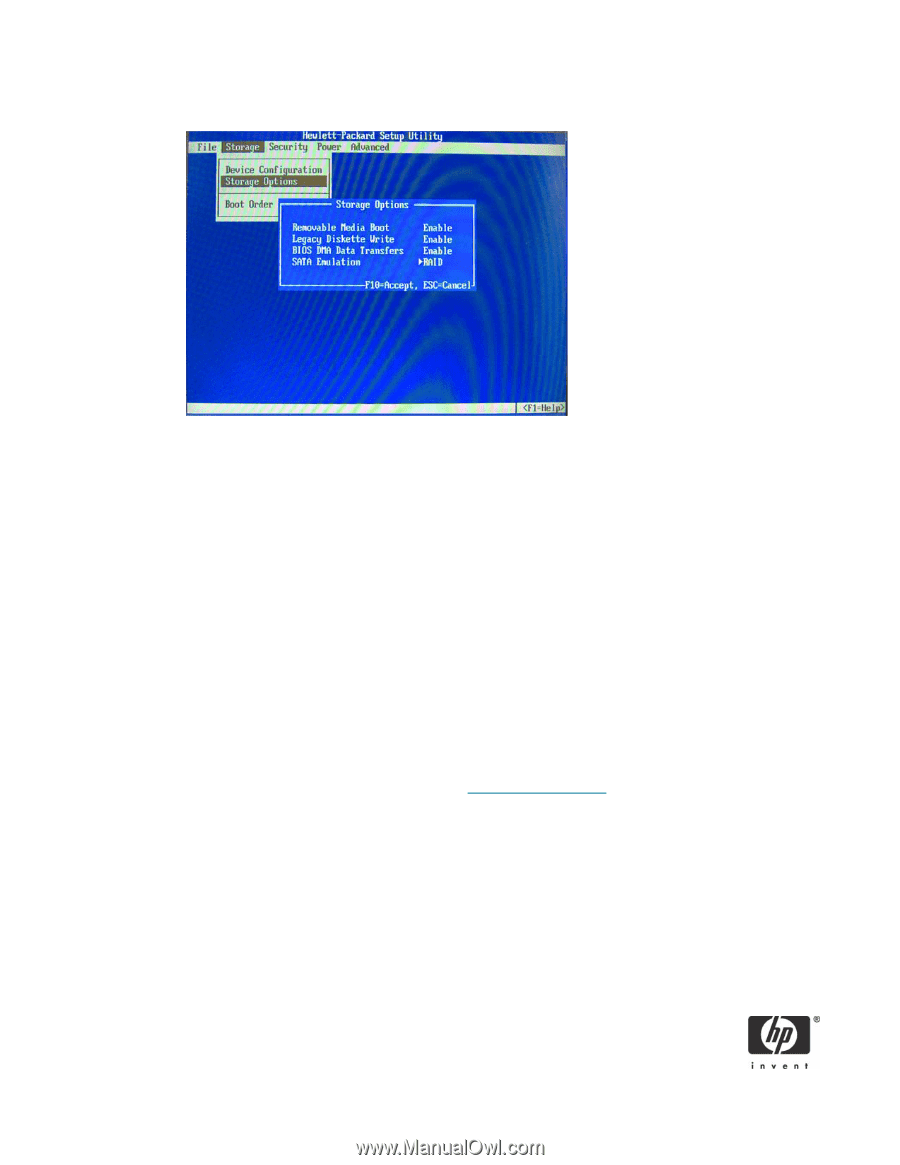
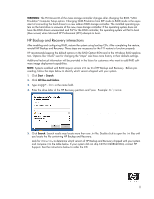
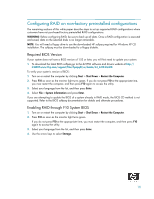
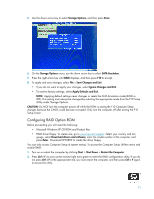
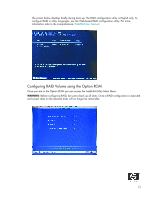
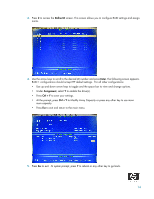
5. Use the down arrow key to select Storage Options, and then press Enter. 6. On the Storage Options menu, use the down arrow key to select SATA Emulation. 7. Press the right arrow key until RAID displays, and then press F10 to accept. 8. To apply and save changes, select File > Save Changes and Exit. • If you do not want to apply your changes, select Ignore Changes and Exit. • To reset to factory settings, select Apply Defaults and Exit. NOTE: Applying default settings never changes or resets the SATA Emulation mode (RAID vs. IDE). This setting must always be changed by selecting the appropriate mode from the F10 Setup Utility under Storage Options. CAUTION: Do NOT turn the computer power off while the ROM is saving the F10 Computer Setup changes because the CMOS could become corrupted. Only turn the computer off after exiting the F10 Setup screen. Configuring RAID Option ROM Before proceeding you will need the following: • Microsoft Windows XP CD-ROM and Product Key. • RAID driver floppy. To create one, go to www.hp.com/support. Select your country and language, select Download drivers and software, enter the model number of the computer, and press Enter. Download SP33899 to create the driver floppy. You can only access Computer Setup at system startup. To access the Computer Setup Utilities menu and enable RAID: 1. Turn on or restart the computer by clicking Start > Shut Down > Restart the Computer. 2. Press Ctrl + F as soon as the monitor light turns green to enter the RAID configuration utility. If you do not press Ctrl + F at the appropriate time, you must restart the computer, and then press Ctrl + F again to access the utility. 11
-
 1
1 -
2
-
3
-
4
-
5
-
 6
6 -
 7
7 -
 8
8 -
 9
9 -
 10
10 -
 11
11 -
 12
12 -
 13
13 -
 14
14 -
 15
15 -
 16
16 -
17
-
18
-
19
-
20
 |
 |