HP Deskpro ap250 Compaq Deskpro Workstation AP250 Hardware Reference Guide - Page 9
Changing from a Minitower to a Desktop Configuration
 |
View all HP Deskpro ap250 manuals
Add to My Manuals
Save this manual to your list of manuals |
Page 9 highlights
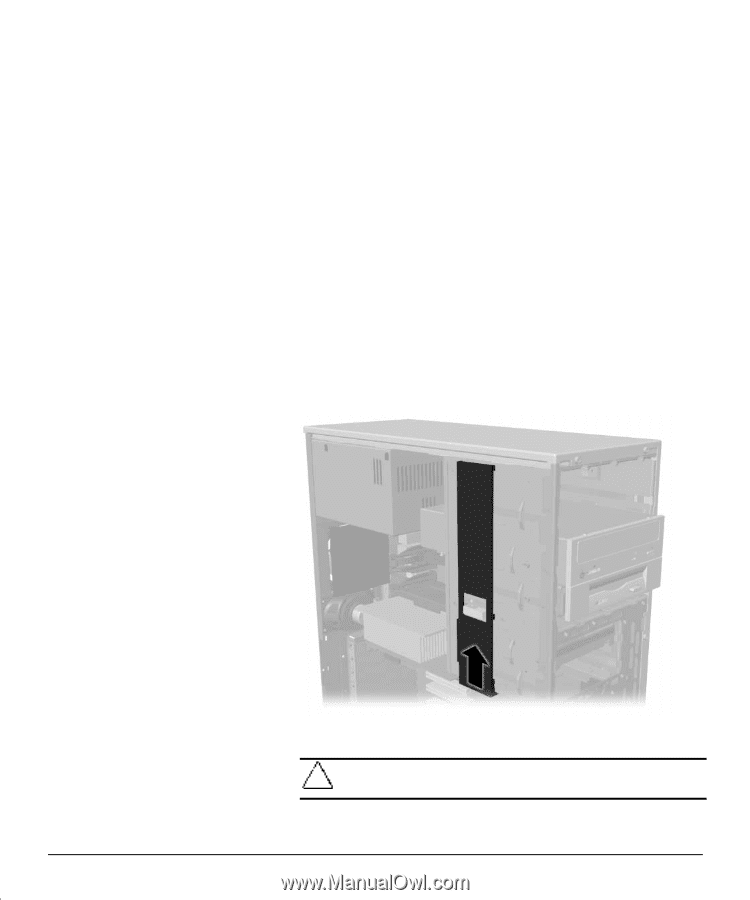
Changing from a Minitower to a Desktop Configuration To change from a minitower to a desktop configuration: 1. Turn off the workstation and any external devices. 2. Disconnect the power cord from the grounded AC outlet and the back of the workstation, then disconnect the network cable from the system, and any external devices. 3. Remove the workstation access panel. Refer to “ Removing the Workstation Access Panel” in Chapter 2. 4. Remove the front bezel. Refer to “ Removing the .ront Bezel” in Chapter 2. 5. Disconnect all power and data cables from the drives in the 5.25-inch drive bay. 6. To release a drive from the 5.25-inch drive bay, slide the drivelock as shown. Carefully push the drive from the back of the unit until the drive casing can be grasped. Releasing the drives with the drivelock CAUTION: Do not hold the face plate while removing a drive. Only hold a drive by its casing. 7. While holding the drive casing, gently pull the drive out of the drive bay. Compaq Deskpro Workstation AP250 Hardware Reference Guide 1-5
-
 1
1 -
2
-
3
-
 4
4 -
 5
5 -
 6
6 -
 7
7 -
 8
8 -
 9
9 -
 10
10 -
 11
11 -
 12
12 -
 13
13 -
 14
14 -
15
-
16
-
17
-
18
-
19
-
20
-
21
-
22
-
23
-
24
-
25
-
26
-
27
-
28
-
29
-
30
-
31
-
32
-
33
-
34
-
35
-
36
-
37
-
38
-
39
-
40
-
41
-
42
-
43
-
44
-
45
-
46
-
47
-
48
-
49
-
50
-
51
-
52
-
53
-
54
-
55
-
56
-
57
-
58
-
59
-
60
-
61
-
62
-
63
-
64
-
65
-
66
-
67
-
68
-
69
-
70
-
71
-
72
-
73
-
74
-
75
 |
 |