HP G72-b66US HP G72 Notebook PC - Maintenance and Service Guide - Page 134
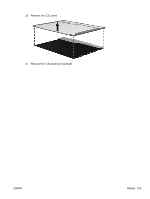
Release the LCD panel, from the display rear panel.
 |
View all HP G72-b66US manuals
Add to My Manuals
Save this manual to your list of manuals |
Page 134 highlights
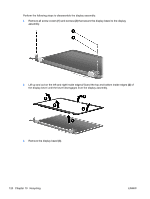
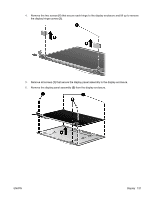
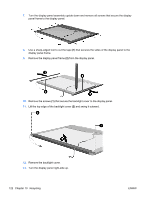
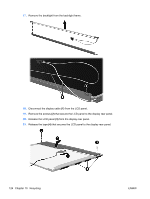
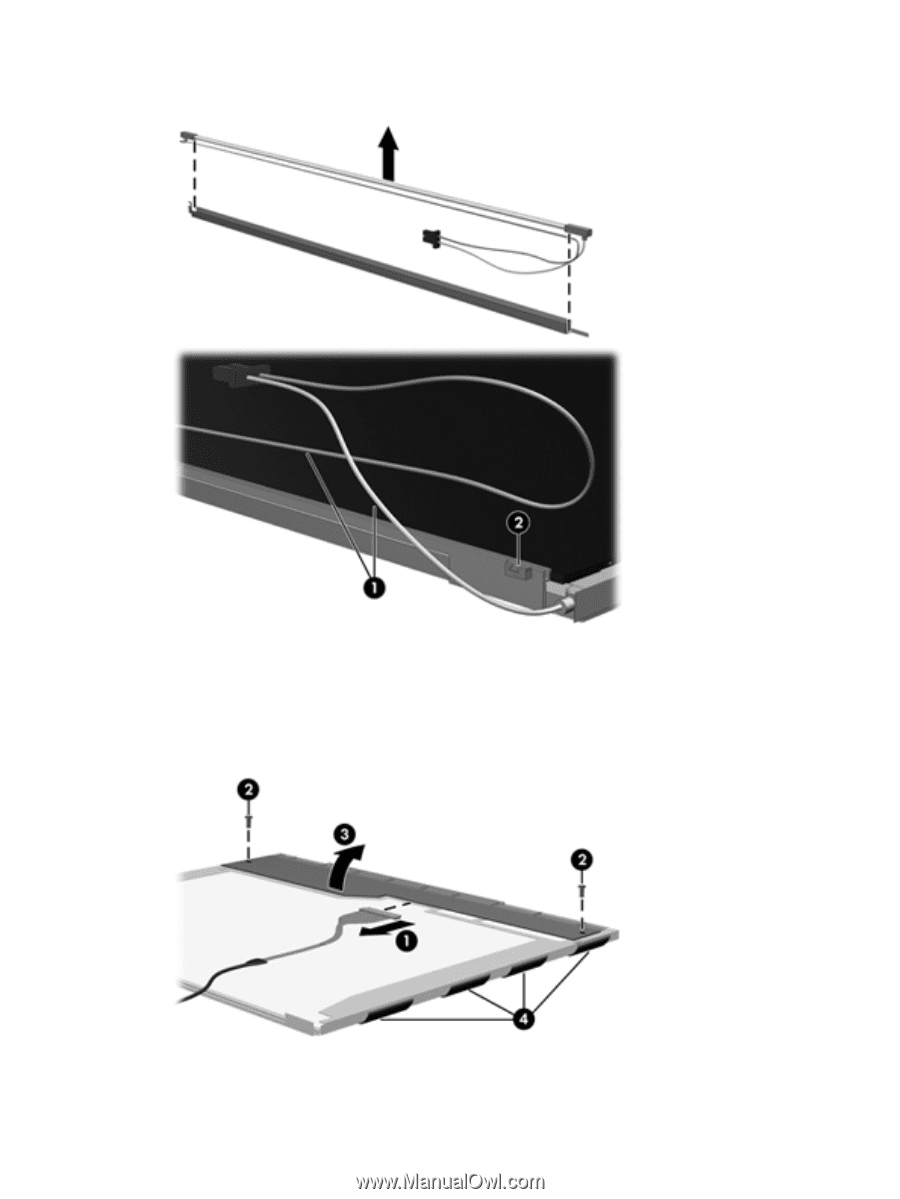
17. Remove the backlight from the backlight frame. 18. Disconnect the display cable (1) from the LCD panel. 19. Remove the screws (2) that secure the LCD panel to the display rear panel. 20. Release the LCD panel (3) from the display rear panel. 21. Release the tape (4) that secures the LCD panel to the display rear panel. 124 Chapter 10 Recycling ENWW
-
 1
1 -
2
-
3
-
4
-
5
-
6
-
7
-
8
-
9
-
10
-
11
-
12
-
13
-
14
-
15
-
16
-
17
-
18
-
19
-
20
-
21
-
22
-
23
-
24
-
25
-
26
-
27
-
28
-
29
-
30
-
31
-
32
-
33
-
34
-
35
-
36
-
37
-
38
-
39
-
40
-
41
-
42
-
43
-
44
-
45
-
46
-
47
-
48
-
49
-
50
-
51
-
52
-
53
-
54
-
55
-
56
-
57
-
58
-
59
-
60
-
61
-
62
-
63
-
64
-
65
-
66
-
67
-
68
-
69
-
70
-
71
-
72
-
73
-
74
-
75
-
76
-
77
-
78
-
79
-
80
-
81
-
82
-
83
-
84
-
85
-
86
-
87
-
88
-
89
-
90
-
91
-
92
-
93
-
94
-
95
-
96
-
97
-
98
-
99
-
100
-
101
-
102
-
103
-
104
-
105
-
106
-
107
-
108
-
109
-
110
-
111
-
112
-
113
-
114
-
115
-
116
-
117
-
118
-
119
-
120
-
121
-
122
-
123
-
124
-
125
-
126
-
127
-
128
-
 129
129 -
 130
130 -
 131
131 -
 132
132 -
 133
133 -
 134
134 -
 135
135 -
 136
136 -
 137
137 -
 138
138 -
 139
139 -
140
 |
 |
17.
Remove the backlight from the backlight frame.
18.
Disconnect the display cable
(1)
from the LCD panel.
19.
Remove the screws
(2)
that secure the LCD panel to the display rear panel.
20.
Release the LCD panel
(3)
from the display rear panel.
21.
Release the tape
(4)
that secures the LCD panel to the display rear panel.
124
Chapter 10
Recycling
ENWW