HP Photosmart 120 HP Photosmart 120 series digital camera - (English) User Gui - Page 15
Setting the date and time, M = Month, D = Day, and Y = Year. Press
 |
View all HP Photosmart 120 manuals
Add to My Manuals
Save this manual to your list of manuals |
Page 15 highlights
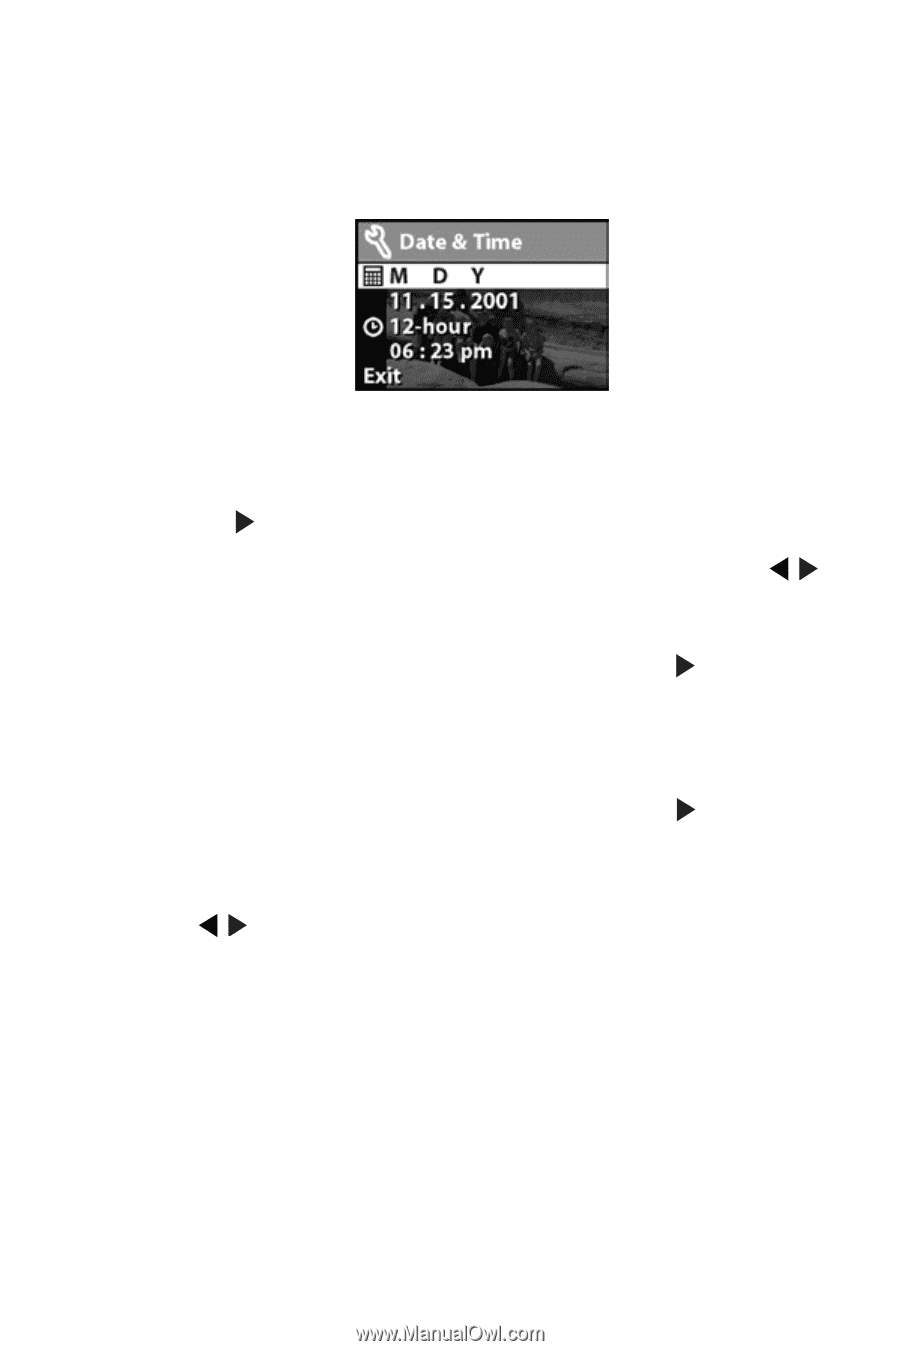
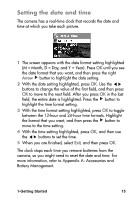
Setting the date and time The camera has a real-time clock that records the date and time at which you take each picture. 1 The screen appears with the date format setting highlighted (M = Month, D = Day, and Y = Year). Press OK until you see the date format that you want, and then press the right Arrow button to highlight the date setting. 2 With the date setting highlighted, press OK. Use the buttons to change the value of the first field, and then press OK to move to the next field. After you press OK in the last field, the entire date is highlighted. Press the button to highlight the time format setting. 3 With the time format setting highlighted, press OK to toggle between the 12-hour and 24-hour time formats. Highlight the format that you want, and then press the button to move to the time setting. 4 With the time setting highlighted, press OK, and then use the buttons to set the time. 5 When you are finished, select Exit, and then press OK. The clock stops each time you remove batteries from the camera, so you might need to reset the date and time. For more information, refer to Appendix A: Accessories and Battery Management. 1-Getting Started 15
-
 1
1 -
2
-
3
-
4
-
5
-
6
-
7
-
8
-
9
-
 10
10 -
 11
11 -
 12
12 -
 13
13 -
 14
14 -
 15
15 -
 16
16 -
 17
17 -
 18
18 -
 19
19 -
 20
20 -
21
-
22
-
23
-
24
-
25
-
26
-
27
-
28
-
29
-
30
-
31
-
32
-
33
-
34
-
35
-
36
-
37
-
38
-
39
-
40
-
41
-
42
-
43
-
44
-
45
-
46
-
47
-
48
-
49
-
50
-
51
-
52
-
53
-
54
-
55
-
56
-
57
-
58
-
59
-
60
-
61
-
62
-
63
-
64
-
65
-
66
-
67
-
68
-
69
-
70
-
71
-
72
-
73
-
74
-
75
-
76
 |
 |