HP Photosmart 7900 HP Photosmart 7900 series - (English) Basics Guide - Page 40
adjust print settings - series software
 |
View all HP Photosmart 7900 manuals
Add to My Manuals
Save this manual to your list of manuals |
Page 40 highlights
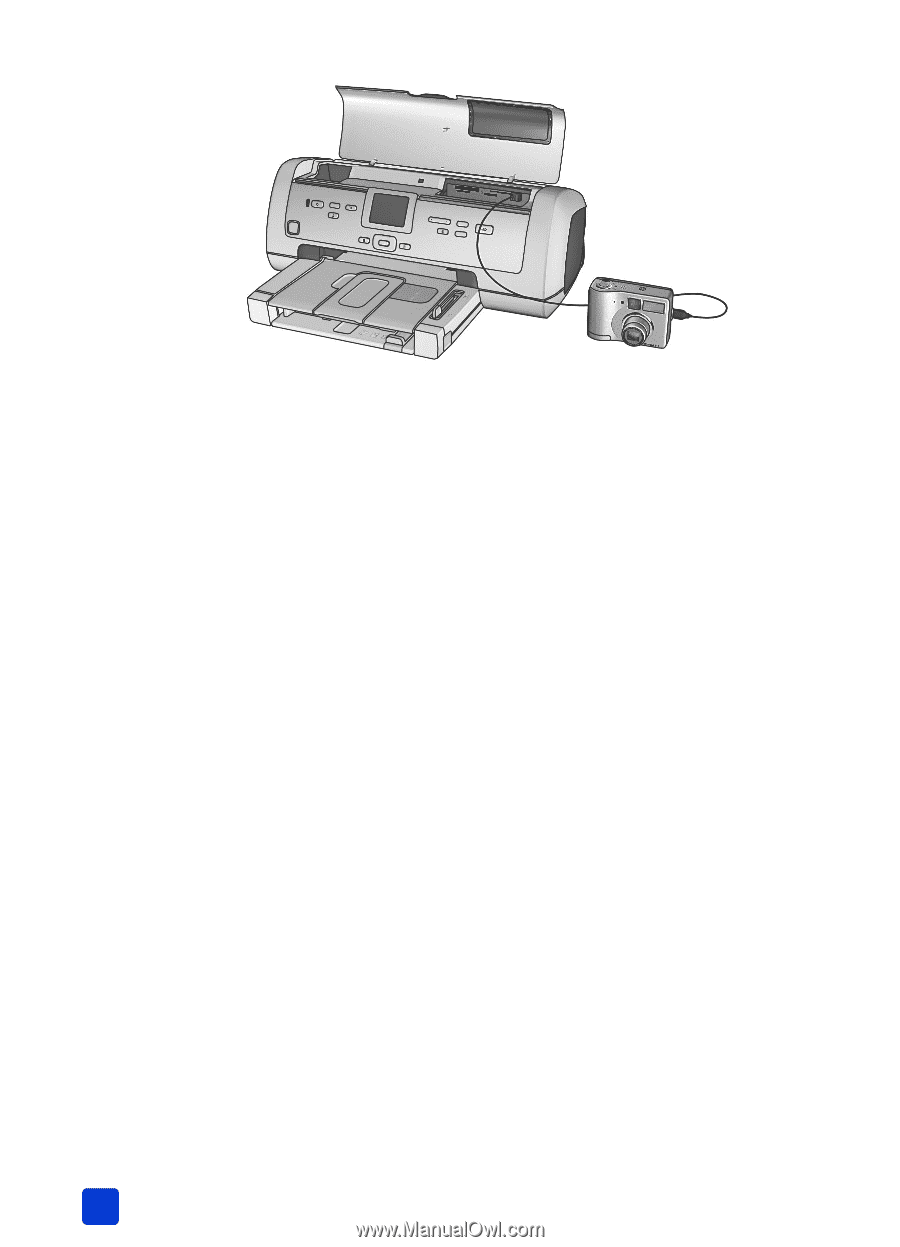
chapter 4 3 When you connect the digital camera to the printer, a Print Setup menu appears on the camera's LCD screen. Use this menu to: - Change the photos you have selected for printing - Select the paper type - Select the paper size 4 When you are ready to print, follow the instructions on your camera's LCD screen. Note: For more information about using camera-selected photos, see the documentation that came with your digital camera. adjust print settings When you print directly from your HP direct-printing digital camera, the printer uses the print settings that you selected using your camera. You cannot adjust the print settings from your printer. If you want to adjust the print settings using features that are not available from your digital camera, you can use these options: • Save the photos to your Windows PC and adjust them using the HP Photo & Imaging software. For more information, see the HP Photo & Imaging software help. • Save the photos to your Macintosh using the Photo Saver and adjust them using photo editing software. For more information about how to save photos to your Macintosh, see the HP Photosmart Printer Help. For more information about viewing the printer help, see view the hp photosmart printer help on page 2. • Remove the memory card from the camera, insert it in your printer, and adjust the print settings from the printer's control panel. For more information, see print from a memory card on page 23 and the HP Photosmart Printer Help. For more information about printing camera-selected photos, see print cameraselected photos on page 34. 36 hp photosmart 7900 series
-
 1
1 -
2
-
3
-
4
-
5
-
6
-
7
-
8
-
9
-
10
-
11
-
12
-
13
-
14
-
15
-
16
-
17
-
18
-
19
-
20
-
21
-
22
-
23
-
24
-
25
-
26
-
27
-
28
-
29
-
30
-
31
-
32
-
33
-
34
-
 35
35 -
 36
36 -
 37
37 -
 38
38 -
 39
39 -
 40
40 -
 41
41 -
 42
42 -
 43
43 -
 44
44 -
 45
45 -
46
-
47
-
48
-
49
-
50
-
51
-
52
-
53
-
54
-
55
-
56
-
57
-
58
-
59
-
60
-
61
-
62
-
63
-
64
 |
 |