HP Tc2100 HP Server Novell NetWare Installation Guide (including v 6.5) - Page 15
Inspect the Volume SYS and Partition Properties Screen., a To Delete LAN Drivers
 |
View all HP Tc2100 manuals
Add to My Manuals
Save this manual to your list of manuals |
Page 15 highlights
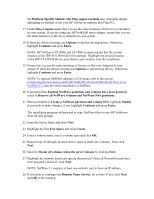
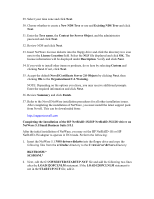
Type "load a:\\", then the installation program will prompt you to choose the slot number. At this point, NetWare will automatically the display the valid slot numbers. Do not select a slot number by pressing the [Esc] key to avoid loading the driver. Use to toggle back to the installation screen and enter the correct slot numbers displayed at the system console. Select Save Parameters and Continue. NOTE: Embedded Device Controllers slot number may be a 2 or greater digit number (eg. 10, 103, 10003). NOTE: If at the Disk Drive Parameters, you may have to enter the slot number by selecting modify parameters. NOTE: If the computer has dual onboard, embedded SCSI controllers then the driver has to be added twice, the same for a dual SCSI card like the 3950. 16. Select Continue installation at the Drivers Summary screen to continue to Network (LAN) Drivers. 17. Inspect the LAN drivers auto detected by Netware. Continue if no changes are necessary. Otherwise make any changes if necessary. a) To Delete LAN Drivers: Highlight the drivers that were auto-detected by the NetWare installation program and press . Under "Additional driver actions" choose "Deselect a selected driver" and press . b) To Add LAN Drivers: Under "Additional driver actions" choose "Select an additional driver" press , then then to specify path. Answer "NO" to any prompts to save any existing files. 18. Choose appropriate NIC driver or Press [F10] to continue and load from a driver diskette. (Load from HP Driver Diskette when possible.) Continue on once all appropriate NIC drivers have been chosen. 19. Wait while system loads drivers that were chosen 20. Inspect the Volume SYS and Partition Properties Screen. Select Modify if any changes are necessary, and press the [F10] key to save any changes. 21. Select Continue after all changes have been applied. 22. Wait a few minutes while system files are copied and Netware GUI is started 23. Type in a Server Name at the Window prompt. 24. Select Free Space and click create. Type in a Volume name and select a Volume Type for the first the partition. Click OK. 25. Choose YES, if necessary to mount all volumes when server reboots
-
 1
1 -
2
-
3
-
4
-
5
-
6
-
7
-
8
-
9
-
 10
10 -
 11
11 -
 12
12 -
 13
13 -
 14
14 -
 15
15 -
 16
16 -
 17
17 -
 18
18 -
 19
19 -
 20
20 -
21
-
22
 |
 |
