HP VL600 HP Vectra VL600, 3 COM Etherlink III ISA 10BT Ethernet Adapter (3C50 - Page 29
file locations and click OK. This step will be repeated several times until
 |
View all HP VL600 manuals
Add to My Manuals
Save this manual to your list of manuals |
Page 29 highlights
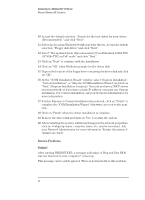
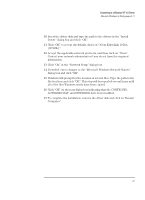
Connecting to a Windows NT 4.0 Server Microsoft Windows for Workgroups v3.11 10 Insert the driver disk and type the path to the drivers in the "Install Driver" dialog box and click "OK". 11 Click "OK" to accept the default choice of "3Com EtherLink 10 ISA (3C509b)". 12 Accept the applicable network protocols, and then click on "Close". Contact your network administrator if you do not have the required information. 13 Click "OK" at the "Network Setup" dialog box. 14 If needed, enter changes to the "Microsoft Windows Network Names" dialog box and click "OK". 15 Windows will prompt for the location of several files. Type the path to the file locations and click "OK". This step will be repeated several times until all of the files Windows needs have been copied. 16 Click "OK" on the next dialog box indicating that the CONFIG.SYS, AUTOEXEC.BAT, and SYSTEM.INI have been modified. 17 To complete the installation, remove the driver disk and click on "Restart Computer". 27
-
 1
1 -
2
-
3
-
4
-
5
-
6
-
7
-
8
-
9
-
10
-
11
-
12
-
13
-
14
-
15
-
16
-
17
-
18
-
19
-
20
-
21
-
22
-
23
-
 24
24 -
 25
25 -
 26
26 -
 27
27 -
 28
28 -
 29
29 -
 30
30 -
 31
31 -
 32
32
 |
 |