Kenmore 7540 Use and Care Guide - Page 14
Setting, Clock, Minute Timer
 |
View all Kenmore 7540 manuals
Add to My Manuals
Save this manual to your list of manuals |
Page 14 highlights
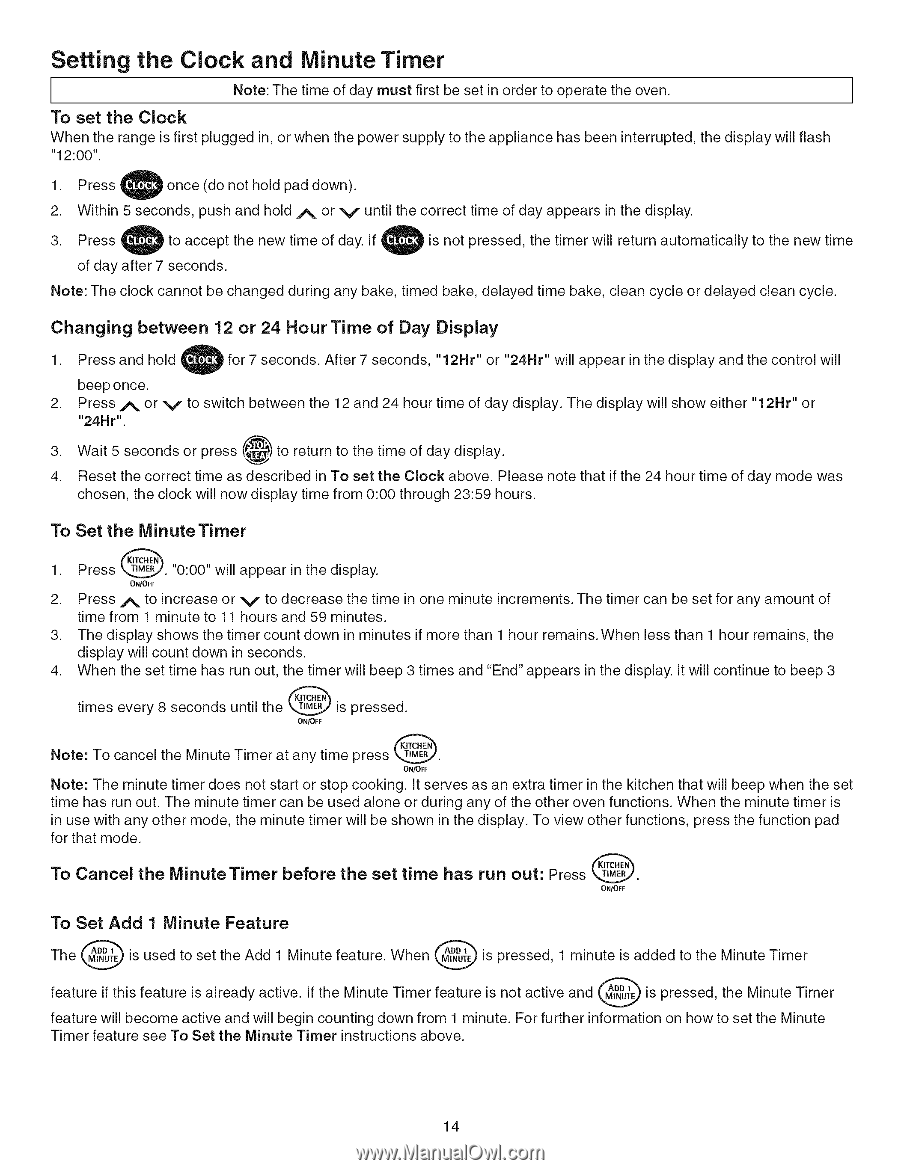
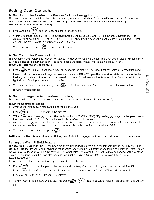
Setting the Clock and Minute Timer I Note: The time of day must first be set in order to operate the OVER. / To set the Clock When the range is first plugged in, or when the power supply to the appliance has been interrupted, the display will flash "12:00". 1. Press ) once (do not hold pad down). 2. Within 5 seconds, push and hold A or V until the correct time of day appears in the display. 3. Press to accept the new time of day. If is not pressed, the timer will return automatically to the new time of day after 7 seconds. Note: The clock cannot be changed during any bake, timed bake, delayed time bake, clean cycle or delayed clean cycle. Changing between 12 or 24 HourTime of Day Display 1. Press and hold, t for 7 seconds. After 7 seconds, "12Hr" or "24Hr" will appear in the display and the control will beep once. 2. Press _. or V to switch between the 12 and 24 hour time of day display. The display will show either "12Hr" or "24Hr". 3. Wait 5 seconds or press @ to return to the time of day display. 4. Reset the correct time as described in To set the Clock above. Please note that if the 24 hour time of day mode was chosen, the clock will now display time from 0:00 through 23:59 hours. To Set the MinuteTimer 1. Press @. "0:00" will appear in the display. ONIO_ 2. Press A to increase or V to decrease the time in one minute increments. The timer can be set for any amount of time from 1 minute to 11 hours and 59 minutes. 3. The display shows the timer count down in minutes if more than 1 hour remains. When less than 1 hour remains, the display will count down in seconds. 4. When the set time has run out, the timer will beep 3 times and "End" appears in the display. It will continue to beep 3 times every 8 seconds until the _ is pressed. ONtOFF Note: To cancel the Minute Timer at any time press _. ONtO_F Note: The minute timer does not start or stop cooking. It serves as an extra timer in the kitchen that will beep when the set time has run out. The minute timer can be used alone or during any of the other oven functions. When the minute timer is in use with any other mode, the minute timer will be shown in the display. To view other functions, press the function pad for that mode. To Cancel the MinuteTimer before the set time has run out: Press (_. ON/OFF To Set Add 1 Minute Feature The @ is used to set the Add 1 Minute feature. When @ is pressed, 1 minute is added to the Minute Timer feature if this feature is already active. If the Minute Timer feature is not active and _ is pressed, the Minute Timer feature will become active and will begin counting down from 1 minute. For further information on how to set the Minute Timer feature see To Set the Minute Timer instructions above. 14
-
 1
1 -
2
-
3
-
4
-
5
-
6
-
7
-
8
-
 9
9 -
 10
10 -
 11
11 -
 12
12 -
 13
13 -
 14
14 -
 15
15 -
 16
16 -
 17
17 -
 18
18 -
 19
19 -
20
-
21
-
22
-
23
-
24
-
25
-
26
-
27
-
28
-
29
-
30
 |
 |