LG RC199H Owners Manual - Page 21
General Settings - updates
 |
View all LG RC199H manuals
Add to My Manuals
Save this manual to your list of manuals |
Page 21 highlights
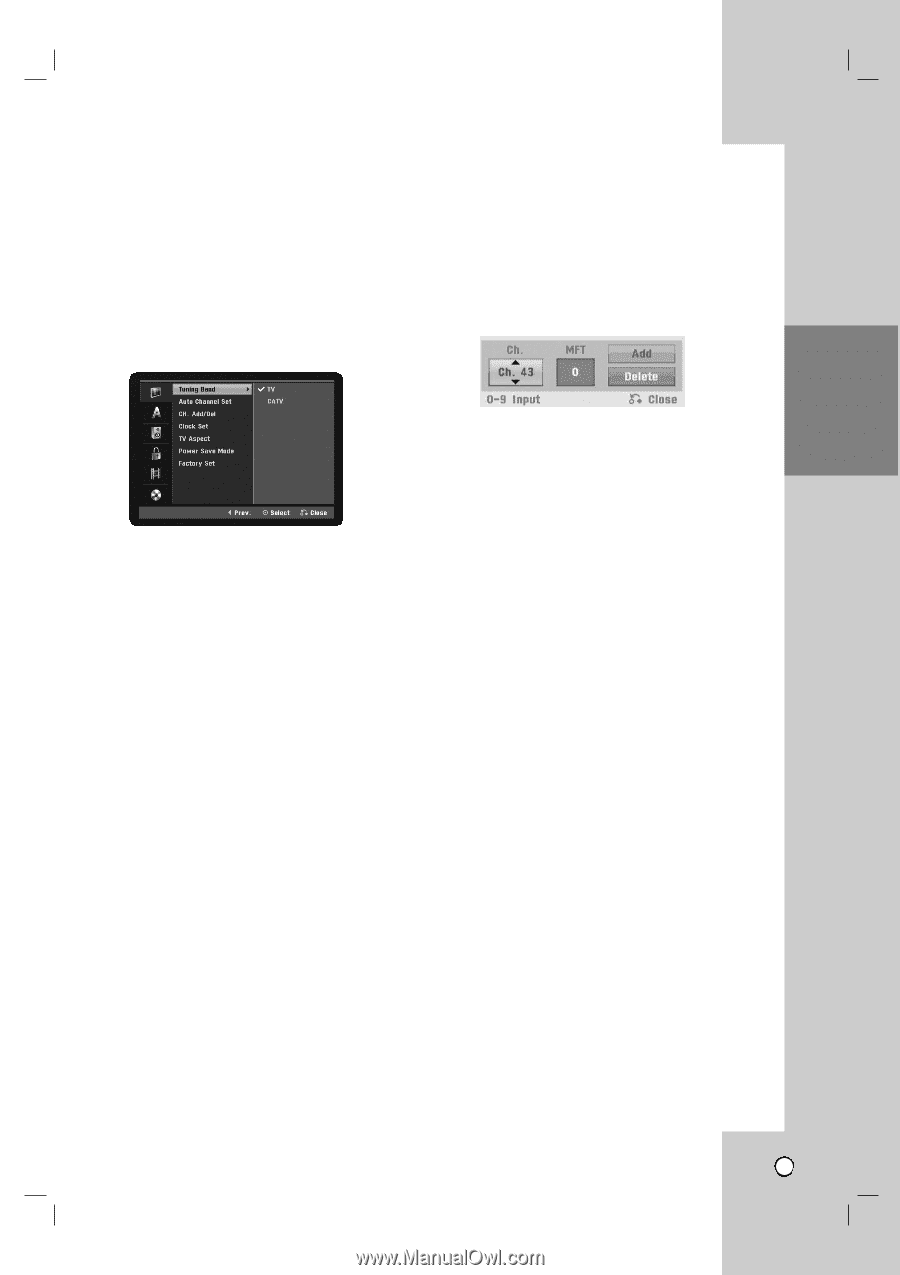
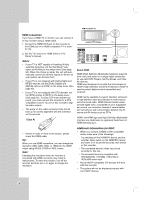
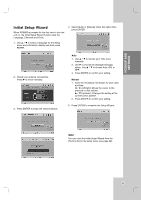
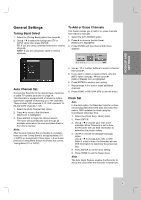
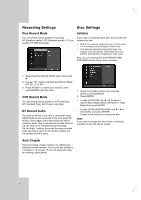
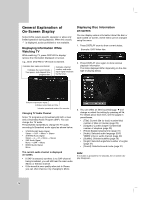
HOOKUP AND SETTINGS General Settings Tuning Band Select 1. Select the [Tuning Band] option then press B . 2. Use v / V to select the tuning band (TV or CATV) option then press ENTER. TV: If you are using a standard antenna to receive channels. CATV: If you are using basic cable to receive channels. To Add or Erase Channels This feature allows you to add to or erase channels from memory manually. 1. Select the [CH. Add/Del] option. 2. Press B to move to the third level. [Edit] icon is highlighted. 3. Press ENTER and the Channel Edit menu appears. Auto Channel Set Connect the Recorder to the desired type of antenna or cable TV system as shown on page 14. This Recorder is equipped with a frequency synthesized tuner capable of receiving up to 181 channels. These include VHF channels 2-13, UHF channels 1469 and CATV channels 1-125. 1. Select the [Auto Channel Set] option. 2. Press B to move to the third level. [Start] icon is highlighted. 3. Press ENTER to begin the channel search. The tuner will automatically cycle through all available channels in the area and place them in the tuner's memory. Note: After the Auto Channel Set proceeding is complete, make sure the Tuning Band is set appropriately (TV or CATV) on tuning band, follow steps 1~2 as shown previous (Tuning Band Select) to choose the correct Tuning Band (TV or CATV). 4. Use v / V or number buttons to select a channel then press B. 5. If you want to obtain a clearer picture, tune the [MFT] option using v / V then press B. [Add] or [Delete] icon is highlighted. 6. Press ENTER to confirm your setting. 7. Repeat steps 4-6 to add or erase additional channels. 8. Press HOME or RETURN (O) to exit the menu. Clock Set Auto In the Auto option, the Recorder looks for a channel carrying XDS (Extended Data Services) information. XDS updates the clock using the Coordinated Universal Time. 1. Select the [Clock Set] > [Auto] option. 2. Press ENTER. 3. Use v / V to choose your Time Zone manually. When Timezone is set to Auto, the Recorder will use XDS information to determine the proper setting. 4. Use B to choose the [Daylight Savings] option. Use v / V to choose Auto, ON, or OFF. When it is set to Auto, the Recorder will use XDS information to determine the proper setting. 5. Press ENTER to confirm your setting. 6. Press HOME to exit the Setup menu. Note : The Auto Clock Feature enables the Recorder to set up the clock when the Recorder is turned off. 21
-
 1
1 -
2
-
3
-
4
-
5
-
6
-
7
-
8
-
9
-
10
-
11
-
12
-
13
-
14
-
15
-
 16
16 -
 17
17 -
 18
18 -
 19
19 -
 20
20 -
 21
21 -
 22
22 -
 23
23 -
 24
24 -
 25
25 -
 26
26 -
27
-
28
-
29
-
30
-
31
-
32
-
33
-
34
-
35
-
36
-
37
-
38
-
39
-
40
-
41
-
42
-
43
-
44
-
45
-
46
-
47
-
48
-
49
-
50
-
51
-
52
-
53
-
54
-
55
-
56
-
57
-
58
 |
 |