LG UN530 Owners Manual - Page 27
Storing a Number with Pauses, Adding a Pause to an Existing Contact Entry
 |
View all LG UN530 manuals
Add to My Manuals
Save this manual to your list of manuals |
Page 27 highlights
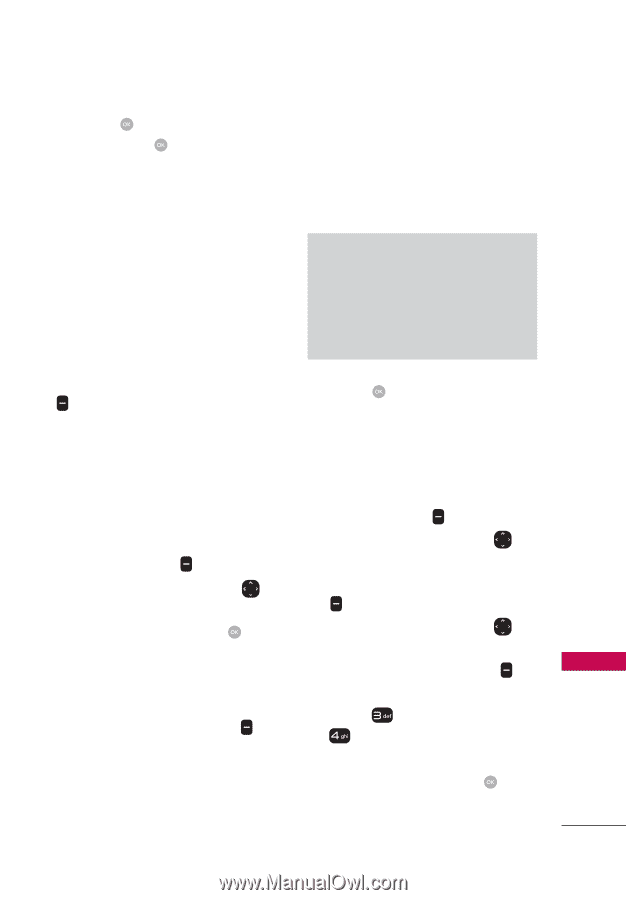
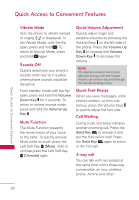
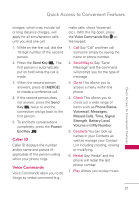
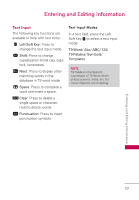
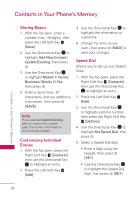
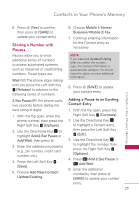
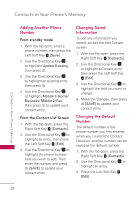
Contacts in Your Phone's Memory 6. Press [Yes] to confirm, then press [SAVE] to update your contact entry. Storing a Number with Pauses 6. Choose Mobile 1/ Home/ Business/ Mobile 2/ Fax. 7. Continue entering information for the Contact entry as necessary. Pauses allow you to enter additional series of numbers to access automated systems such as Voicemail or credit billing numbers. Pause types are: Wait (W) The phone stops dialing until you press the Left Soft Key [Release] to advance to the following series of numbers. NOTE If you selected Update Existing after you select the number type, the contact information is automatically updated. You do not have the option to enter additional information. 8. Press [SAVE] to update your contact entry. Contacts in Your Phone's Memory 2-Sec Pause (P) The phone waits two seconds before dialing the next string of digits. 1. With the flip open, enter the phone number, then press the Right Soft Key [Options]. 2. Use the Directional Key to highlight Add 2-Sec Pause or Add Wait, then press . 3. Enter the additional number(s) (e.g., pin number, credit card number, etc.). 4. Press the Left Soft Key [Save]. 5. Choose Add New Contact/ Update Existing. Adding a Pause to an Existing Contact Entry 1. With the flip open, press the Right Soft Key [Contacts]. 2. Use the Directional Key to highlight a Contact entry, then press the Left Soft Key [Edit]. 3. Use the Directional Key to highlight the number, then press the Right Soft Key [Options]. 4. Press Add 2-Sec Pause or Add Wait. 5. Enter the additional number(s), then press [SAVE] to update your contact entry. 25
-
 1
1 -
2
-
3
-
4
-
5
-
6
-
7
-
8
-
9
-
10
-
11
-
12
-
13
-
14
-
15
-
16
-
17
-
18
-
19
-
20
-
21
-
 22
22 -
 23
23 -
 24
24 -
 25
25 -
 26
26 -
 27
27 -
 28
28 -
 29
29 -
 30
30 -
 31
31 -
 32
32 -
33
-
34
-
35
-
36
-
37
-
38
-
39
-
40
-
41
-
42
-
43
-
44
-
45
-
46
-
47
-
48
-
49
-
50
-
51
-
52
-
53
-
54
-
55
-
56
-
57
-
58
-
59
-
60
-
61
-
62
-
63
-
64
-
65
-
66
-
67
-
68
-
69
-
70
-
71
-
72
-
73
-
74
-
75
-
76
-
77
-
78
-
79
-
80
-
81
-
82
-
83
-
84
-
85
-
86
-
87
-
88
-
89
-
90
-
91
-
92
-
93
-
94
-
95
-
96
-
97
-
98
-
99
-
100
-
101
-
102
-
103
-
104
-
105
-
106
-
107
-
108
-
109
-
110
-
111
-
112
-
113
-
114
-
115
 |
 |