Lantronix MatchPort b/g MatchPort - DemoKit Quick Start Guide - Page 9
Connecting a MatchPort Device—Serial Method, Install DeviceInstaller
 |
View all Lantronix MatchPort b/g manuals
Add to My Manuals
Save this manual to your list of manuals |
Page 9 highlights
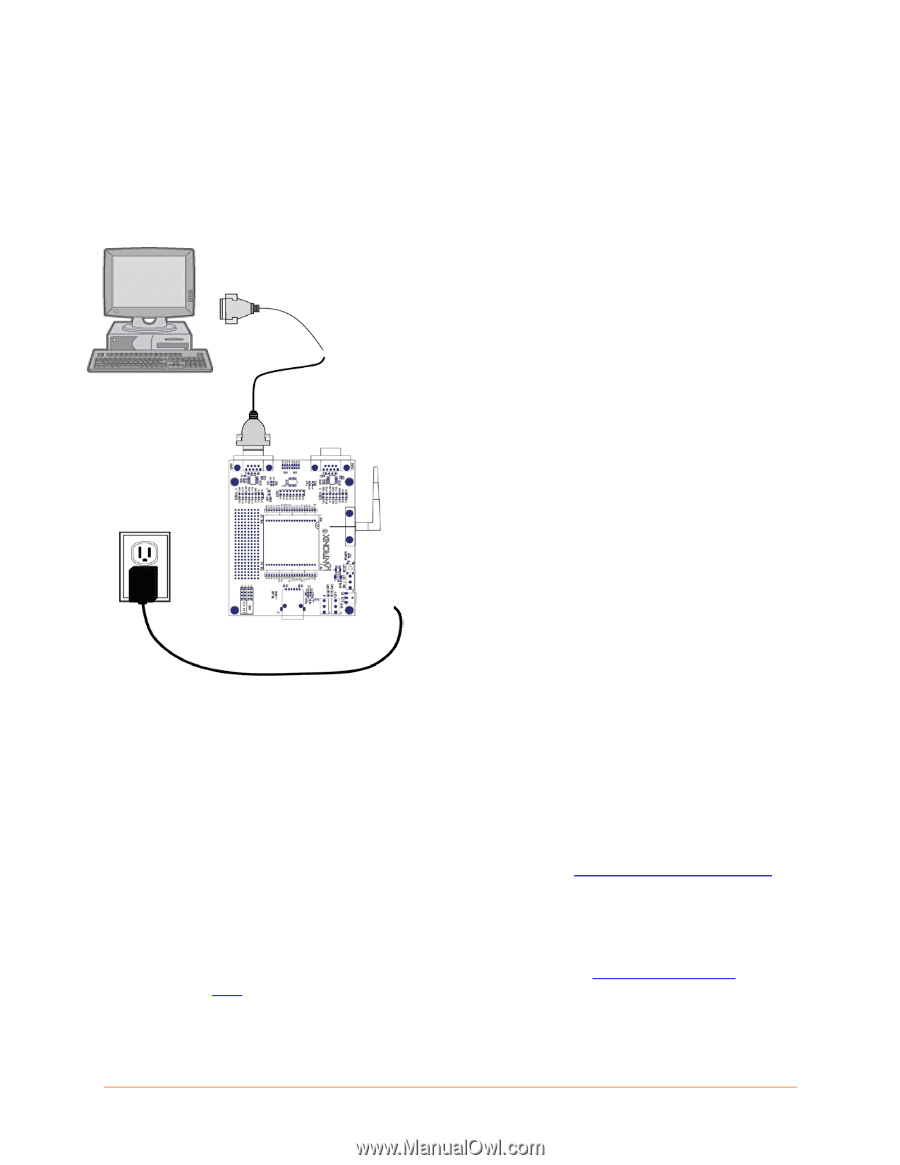
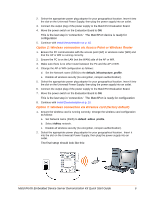
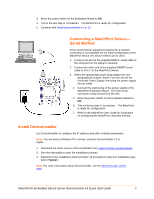
3. Move the power switch on the Evaluation Board to ON. 4. This is the last step in 'connection.' The MatchPort is ready for configuration 5. Continue with Install DeviceInstaller on p. 10. Connecting a MatchPort Device- Serial Method In the event that the equipment required for a network connection is not available for the initial configuration of the MatchPort device, the serial method can be used. 1. Connect one end of the supplied DB9F/F serial cable to the serial port on the laptop or desktop. 2. Connect the other end of the supplied DB9F/F serial cable to Port 1 on the MatchPort device. 3. Select the appropriate power plug adaptor for your geographical location. Insert it into the slot on the Universal Power Supply; then plug the power supply into an outlet. 4. Connect the output plug of the power supply to the MatchPort Evaluation Board. The final serial connection setup should look like this: 5. Move the power switch on the Evaluation Board to ON. 6. This is the last step in 'connection.' The MatchPort is ready for configuration. 7. Refer to the MatchPort User Guide for information on configuring the MatchPort using this method. Install DeviceInstaller Use DeviceInstaller to configure the IP address and other network parameters. Note: You will need a Windows PC running Lantronix DeviceInstaller 4.2 or higher. 1. Download the latest version of DeviceInstaller from www.lantronix.com/downloads. 2. Run the executable to start the installation process 3. Respond to the installation wizard prompts. (If prompted to select an installation type, select Typical.) Note: For more information about DeviceInstaller, see the DeviceInstaller Online Help. MatchPort® Embedded Device Server Demonstration Kit Quick Start Guide 9
-
 1
1 -
2
-
3
-
 4
4 -
 5
5 -
 6
6 -
 7
7 -
 8
8 -
 9
9 -
 10
10 -
 11
11 -
 12
12
 |
 |