Lenovo ThinkPad 765L English - Windows 2000 Professional Setup Guide - Page 24
Installing the IBM ThinkPad Utility for Windows 2000, Start, ThinkPad Utility Data
 |
View all Lenovo ThinkPad 765L manuals
Add to My Manuals
Save this manual to your list of manuals |
Page 24 highlights
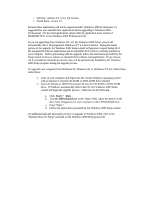
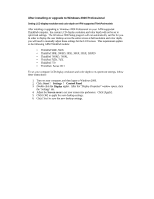
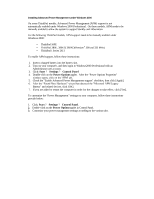
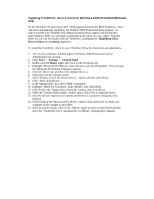
IBM ThinkPad Configuration Utility and Notebook Manager Installing the IBM ThinkPad Utility for Windows 2000 The ThinkPad Configuration Utility and the Notebook Manager provide easy-to-use software application for changing ThinkPad device settings and features under Windows 2000. Such features include power management, the Personalization Editor, alarms and actions, and others. However, in order for your ThinkPad computer to utilize these features fully, you will need to install this software on your computer after installing or upgrading to Windows 2000. Note: Do not perform these following procedures on ThinkPad 240, 390, 390E, 390X, or on i Series models. Refer to the proceeding sections on how to install the Configuration Utility or Notebook Manager for Windows 2000 on these systems. To download the following files, visit this IBM Web page: http://www.ibm.com/pc/support • The Utility Setup Diskette for Windows 2000 • The Utility Data Diskette I, II, and III • The Utility Diskette for DOS, Personalization, Follow these instructions to install the ThinkPad Configuration Utility on your computer: 1. Turn on your computer, and then logon to Windows 2000 Professional with an Administrator user account. 2. Locate the downloaded ThinkPad Utility for Windows 2000 package and double-click it to begin the extracting process to your system's hard drive. 3. Click: Start ? Run. 4. Type C:\[default_subdirectory] \SETUP.EXE in the "Open" field, where C is the letter of the drive where the files were extracted and default_subdirectory is the subdirectory where you extracted the files. 5. Press "ENTER" after providing the correct path. 6. Click [Next] at the Welcome screen. The "ThinkPad Configuration Utility" will automatically be installed to the C:\ThinkPad folder. For best results, accept the default folder for the installation. 7. Click [Next] in the next three windows. For the best results, accept the default settings that Setup provides. 8. When prompted, insert the required "ThinkPad Utility Data" diskette. The ThinkPad Utility Data diskette is model specific; be sure to use the correct one: • ThinkPad Utility Data I for Windows 2000 - ThinkPad models 760/765, 600, and 770. • ThinkPad Utility Data II for Windows 2000 - ThinkPad 380 Series models • ThinkPad Utility Data III for Windows 2000 - ThinkPad 560 and 570 Series models 9. Click [OK]. 10. If the volume control on your ThinkPad is adjusted by pressing the "Fn" key, when prompted insert the diskette labelled, "On Screen Display for Windows 2000," and then click [OK]. Note: This is required for ThinkPad 570 and 600 systems. 11. When prompted insert the diskette labelled, "Personalization Editor". Click on [OK].
-
 1
1 -
2
-
3
-
4
-
5
-
6
-
7
-
8
-
9
-
10
-
11
-
12
-
13
-
14
-
15
-
16
-
17
-
18
-
 19
19 -
 20
20 -
 21
21 -
 22
22 -
 23
23 -
 24
24 -
 25
25 -
 26
26 -
 27
27 -
 28
28 -
 29
29 -
30
-
31
-
32
-
33
-
34
-
35
-
36
-
37
-
38
-
39
-
40
-
41
-
42
-
43
-
44
-
45
-
46
-
47
-
48
-
49
-
50
-
51
-
52
-
53
-
54
-
55
-
56
-
57
-
58
-
59
-
60
-
61
-
62
-
63
-
64
-
65
-
66
-
67
-
68
-
69
-
70
 |
 |