Lenovo ThinkPad A22p ThinkPad A2* Series Hardware Maintenance Manual (October - Page 79
connector on the underside of the key; then push the, to connect the keyboard to
 |
View all Lenovo ThinkPad A22p manuals
Add to My Manuals
Save this manual to your list of manuals |
Page 79 highlights
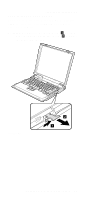
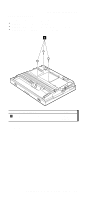
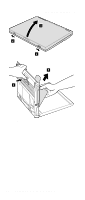
Removing and replacing a FRU When installing: When installing the keyboard, do as follows: 1. Install the new keyboard, following the directions in the figure. Make sure that the keyboard edges, shown in the figure as (A), (B), and (C), are under the frame. 2. Push the Y key 1 to connect the keyboard to the connector on the underside of the key; then push the frame of the keyboard 2 to latch the latches. 3. After the fastening of three screws of bottom side, push the Y key again to connect the keyboard firmly to the connector on the underside of the key. ThinkPad A20m/p, A21m/p and A22m/p 73
-
 1
1 -
2
-
3
-
4
-
5
-
6
-
7
-
8
-
9
-
10
-
11
-
12
-
13
-
14
-
15
-
16
-
17
-
18
-
19
-
20
-
21
-
22
-
23
-
24
-
25
-
26
-
27
-
28
-
29
-
30
-
31
-
32
-
33
-
34
-
35
-
36
-
37
-
38
-
39
-
40
-
41
-
42
-
43
-
44
-
45
-
46
-
47
-
48
-
49
-
50
-
51
-
52
-
53
-
54
-
55
-
56
-
57
-
58
-
59
-
60
-
61
-
62
-
63
-
64
-
65
-
66
-
67
-
68
-
69
-
70
-
71
-
72
-
73
-
 74
74 -
 75
75 -
 76
76 -
 77
77 -
 78
78 -
 79
79 -
 80
80 -
 81
81 -
 82
82 -
 83
83 -
 84
84 -
85
-
86
-
87
-
88
-
89
-
90
-
91
-
92
-
93
-
94
-
95
-
96
-
97
-
98
-
99
-
100
-
101
-
102
-
103
-
104
-
105
-
106
-
107
-
108
-
109
-
110
-
111
-
112
-
113
-
114
-
115
-
116
-
117
-
118
-
119
-
120
-
121
-
122
-
123
-
124
-
125
-
126
-
127
-
128
-
129
-
130
-
131
-
132
-
133
-
134
-
135
-
136
-
137
-
138
-
139
-
140
-
141
-
142
-
143
-
144
-
145
-
146
-
147
-
148
-
149
-
150
-
151
-
152
-
153
-
154
-
155
-
156
-
157
-
158
 |
 |
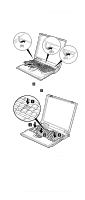
When installing:
When installing the keyboard, do as
follows:
1.
Install the new keyboard, following the directions in the
figure. Make sure that the keyboard edges, shown in
the figure as
(A)
,
(B)
, and
(C)
, are under the frame.
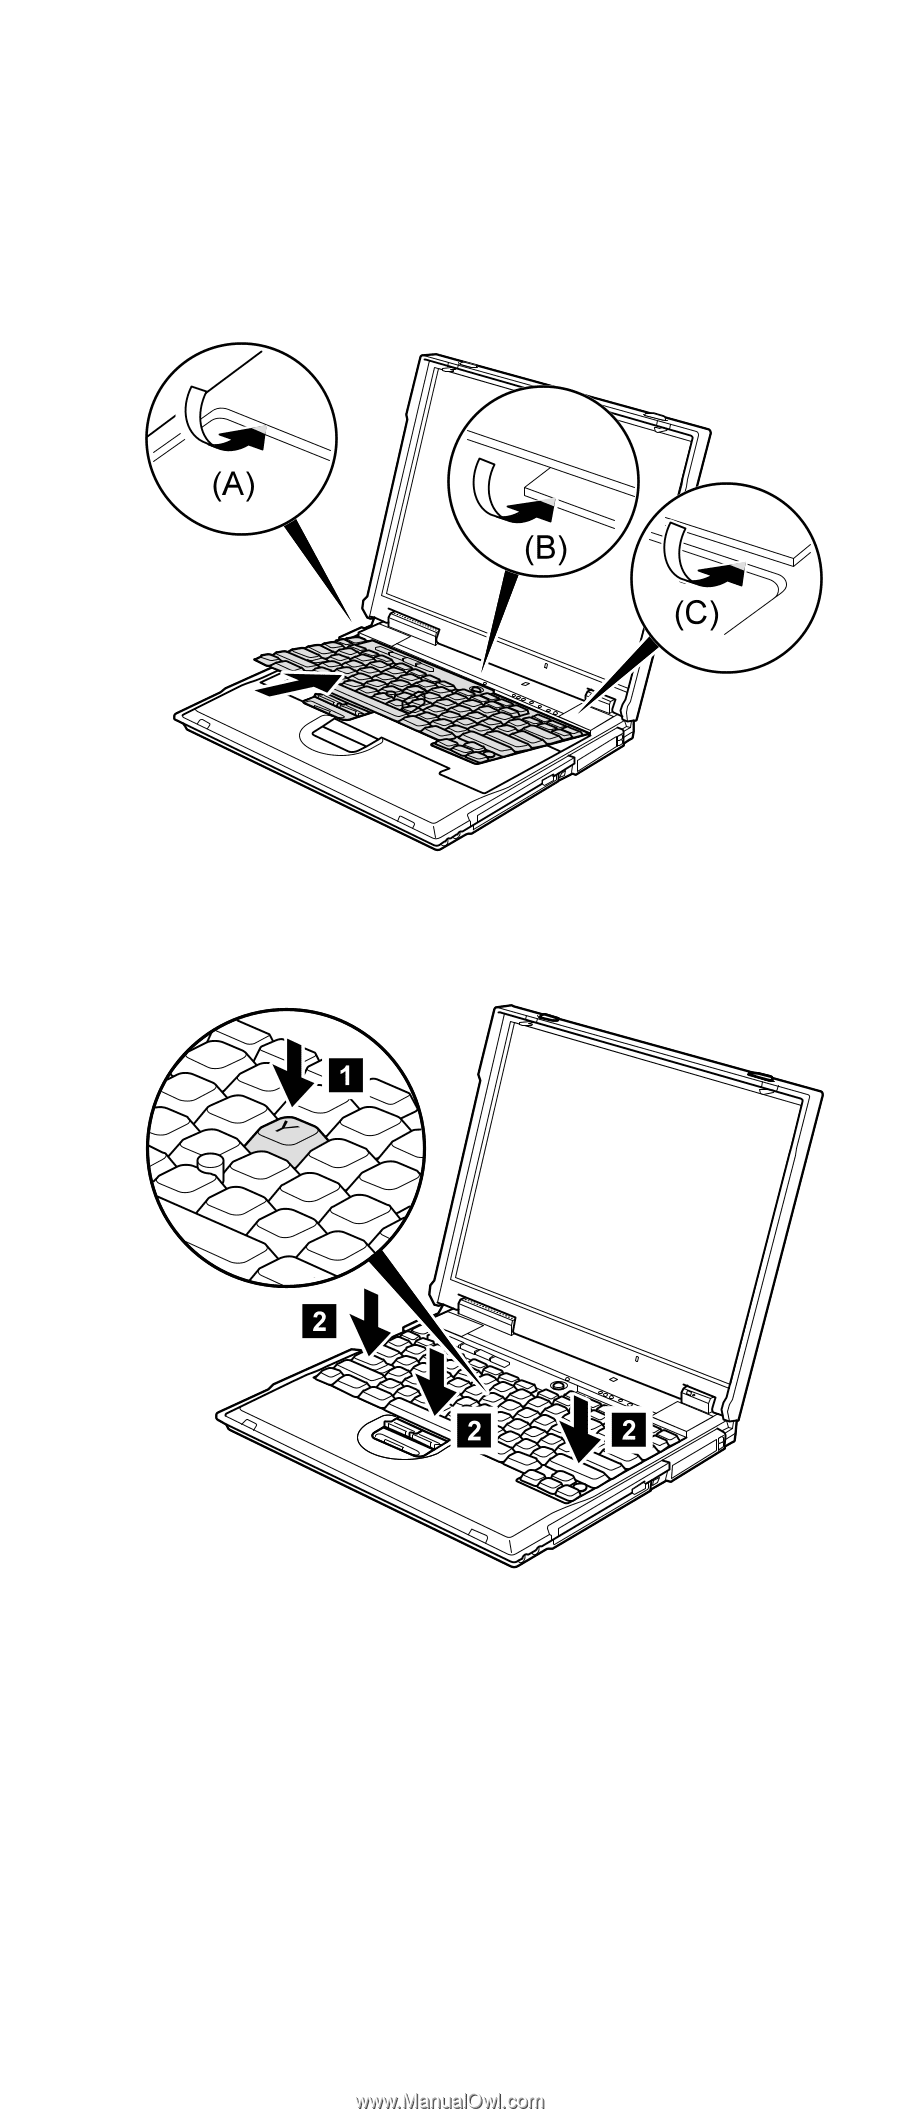
2.
Push the
Y
key
±1²
to connect the keyboard to the
connector on the underside of the key; then push the
frame of the keyboard
±2²
to latch the latches.
3.
After the fastening of three screws of bottom side, push
the
Y
key again to connect the keyboard firmly to the
connector on the underside of the key.
Removing and replacing a FRU
ThinkPad A20m/p, A21m/p and A22m/p
73