Lexmark X74 User's Guide - Page 18
Scanning, Open the Lexmark All-In-One Center see The All-In-One - review
 |
View all Lexmark X74 manuals
Add to My Manuals
Save this manual to your list of manuals |
Page 18 highlights
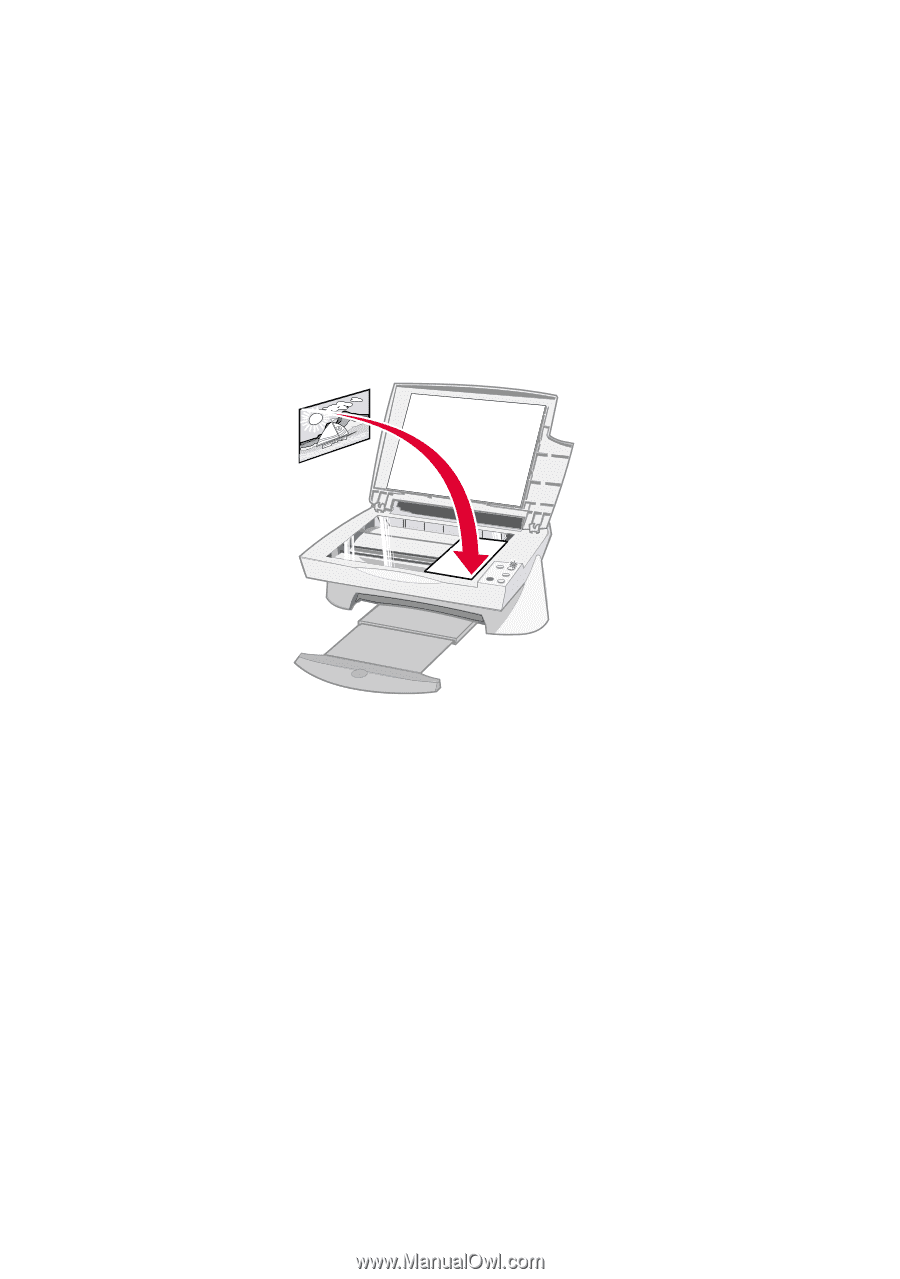
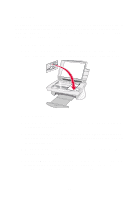
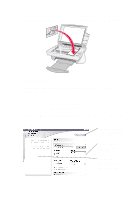
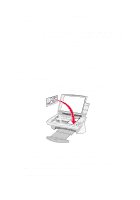
Scanning Do you have photographs, postcards, or other items that you would like to reproduce electronically for use on your computer? The following steps show you how to use the scanner to scan and save images for use with your favorite computer programs. 1 Open the top cover of your All-In-One. 2 Place the item you want to scan face down on the glass. Make sure the upper left corner of the front of the item aligns with the arrow. 3 Close the top cover. 4 Open the Lexmark All-In-One Center (see page 6). The All-In-One Main Page appears. 5 Click the Preview Now button located in the upper, right corner of the All-In-One Main Page. An image of your scanned item appears in the preview area. 6 Using your mouse, click and drag to select a specific area of the preview image to scan. 7 Click See More Scan Settings located in the Scan... section of the All-In-One Main Page to review and change your basic scan settings for the type of project you are creating. 14
-
 1
1 -
2
-
3
-
4
-
5
-
6
-
7
-
8
-
9
-
10
-
11
-
12
-
 13
13 -
 14
14 -
 15
15 -
 16
16 -
 17
17 -
 18
18 -
 19
19 -
 20
20 -
 21
21 -
 22
22 -
 23
23 -
24
-
25
-
26
-
27
-
28
-
29
-
30
-
31
-
32
-
33
-
34
-
35
 |
 |