Linksys PPS1UW User Guide - Page 13
Save to Device - usb print server
 |
UPC - 745883552245
View all Linksys PPS1UW manuals
Add to My Manuals
Save this manual to your list of manuals |
Page 13 highlights
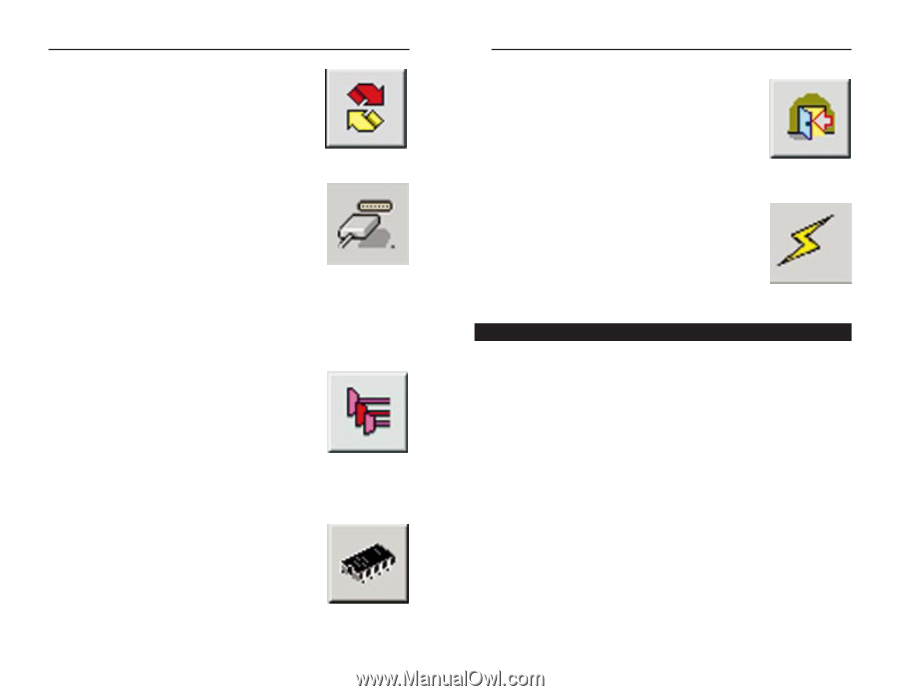
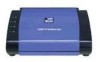
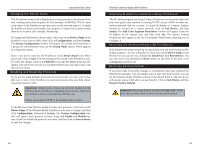
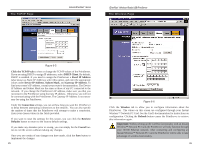
Instant EtherFast® Series Refreshing the Device List: The Refresh Icon To force Bi-Admin to refresh its list of PrintServers on the network, click Refresh, and Bi-Admin will scan the network for available PrintServers to update the Default Names, Device Names, and Printer Port charts. Checking the Status of a Printer Port: Printer Status Icon Figure 5-3 The Printer Port icon let you check the name, status, and printing details of each printer attached to the PrintServer. A password may be required to access this information. You may be able to configure some printers' settings within the Printer Status window. Figure 5-4 The PrintServer only shows as many parallel port icons as it has ports. For example, with this model, only two parallel port icons will show. Because Wireless-Ready USB PrintServers do not support serial printing,, the serial port icon will always remain gray and inaccessible. Logical Port Configuration: Logical Port Configuration Icon To set or change the PrintServer's logical port settings, highlight the PrintServer to be changed, and click on the Logical Port icon (shown in Figure 5-5). The Logical Port Configuration screen will appear. Make any changes to the settings, and click on Save to Device when you are finished. Figure 5-5 Upgrading the Firmware: The Firmware Upgrade Icon To make sure that the PrintServer is running its most current version of firmware, upgrade the device's ROM chip regularly. To do so, you must be able to access the PrintServer device from your computer. Click on the Upgrade Firmware icon and follow the instructions on the screen. Figure 5-6 19 EtherFast® Wireless-Ready USB PrintServer Exiting Bi-Admin: The Application Exit Icon To exit the Bi-Admin program, just click on the Exit icon. Configuring Wireless Settings: The Wireless Icon To configure the wireless settings, just click on the Wireless icon. The Wireless Configuration screen will appear. Settings include SSID, Channel Number, Network Type, and WEP encryption options. Make any changes to the settings, and click on Save to Device when you are finished. Figure 5-7 Figure 5-8 Setting the Wireless-Ready USB PrintServer's IP Address The PrintServer's IP address can be easily changed at any time. Click once on the Device Name of the Wireless-Ready PrintServer whose address you want to change, and then click on Init Device and Set IP Address. This will bring up the Set IP Address window. By default, the PrintServer has DHCP enabled. If the Default Name field is empty, enter the PrintServer's SC number, which you copied from the PrintServer's bar code sticker. Enter the new IP Address, Subnet Mask, and Gateway Address (optional) for the PrintServer, and then click Set. The new settings will be written to the PrintServer unit. Also, if you have a DHCP server, you can enable DHCP and leave all the IP, Gateway, and Subnet values on zero. See Chapter 9: DHCP Support for the Wireless-Ready USB PrintServer for more information. 20
-
 1
1 -
2
-
3
-
4
-
5
-
6
-
7
-
 8
8 -
 9
9 -
 10
10 -
 11
11 -
 12
12 -
 13
13 -
 14
14 -
 15
15 -
 16
16 -
 17
17 -
 18
18 -
19
-
20
-
21
-
22
-
23
-
24
-
25
-
26
-
27
-
28
-
29
-
30
-
31
-
32
 |
 |