Linksys PPS1UW User Guide - Page 23
DHCP Support for the, EtherFast, Wireless-Ready USB, PrintServer - power supply
 |
UPC - 745883552245
View all Linksys PPS1UW manuals
Add to My Manuals
Save this manual to your list of manuals |
Page 23 highlights
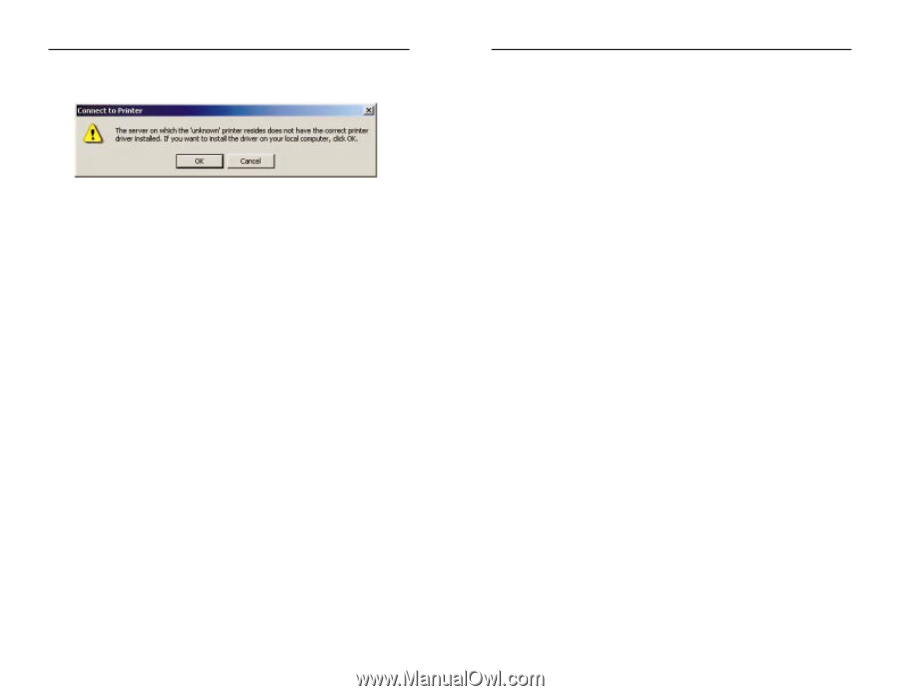
Instant EtherFast® Series 4. If the connection can be established, and the printer on that port is online, the dialog box shown in Figure 8-5 will be displayed. This screen notifies you that the printer driver is not installed. Click the OK button. Figure 8-5 5. Select the printer manufacturer and model to match the printer connected to the port on the IPP Server. 6. Click Next and complete the Wizard. The IPP printer is now ready for use. Using IPP Printers The IPP Printer can be selected and used like any other Windows printer. If the IPP Server is not on your network, your Internet connection needs to be active. If you wish to check the availability of the remote IPP Server, you can use the Query IPP Printer program installed with Add IPP Port. An IPP Server may be unavailable for any of the following reasons: · It is powered off. · A printer problem has caused the IPP Server to cease responding, and a restart (reboot) is required. · The Server's IP Address has changed. · The Internet connection for the IPP Server is down. · Network congestion causes the connection attempt to time out. If using the supplied IPP Client software, there are two settings-Retry Interval and Retry Count-that can be adjusted if you have problems connecting to the IPP Server. See the previous section, Changing the IPP Port Settings, for details. 39 EtherFast® Wireless-Ready USB PrintServer Chapter 9: DHCP Support for the EtherFast® Wireless-Ready USB PrintServer To use DHCP, which assigns non-static IP addresses, you must have a DHCP server and DHCP management software. Otherwise, the PrintServer's IP address will remain unknown, and connecting to it will impossible. In this case, ignore DHCP and configure the PrintServer for a static IP address as described in previous sections. To enable DHCP, you must run the Bi-Admin program. By default, DHCP is enabled. When Bi-Admin loads, it scans the network for PrintServers and displays a list of PrintServers. Highlight the PrintServer to be set up, and enter the PrintServer's password if one has been assigned. Then click OK. After entering the program and selecting the PrintServer to be configured, click on Configuration in the menu and choose TCP/IP from the drop-down field. The TCP/IP Configuration window will appear. Select Enable to enable DHCP, and then click Save to Device. You can exit the Bi-Admin program. To install the PrintServer driver, see Chapter 4: Windows Driver Setup. 40
-
 1
1 -
2
-
3
-
4
-
5
-
6
-
7
-
8
-
9
-
10
-
11
-
12
-
13
-
14
-
15
-
16
-
17
-
 18
18 -
 19
19 -
 20
20 -
 21
21 -
 22
22 -
 23
23 -
 24
24 -
 25
25 -
 26
26 -
 27
27 -
 28
28 -
29
-
30
-
31
-
32
 |
 |