Linksys WRT160NL User Guide - Page 21
Security > VPN Passthrough, Storage > Disk, Shared Folder - wireless n router with usb storage link
 |
UPC - 745883587650
View all Linksys WRT160NL manuals
Add to My Manuals
Save this manual to your list of manuals |
Page 21 highlights
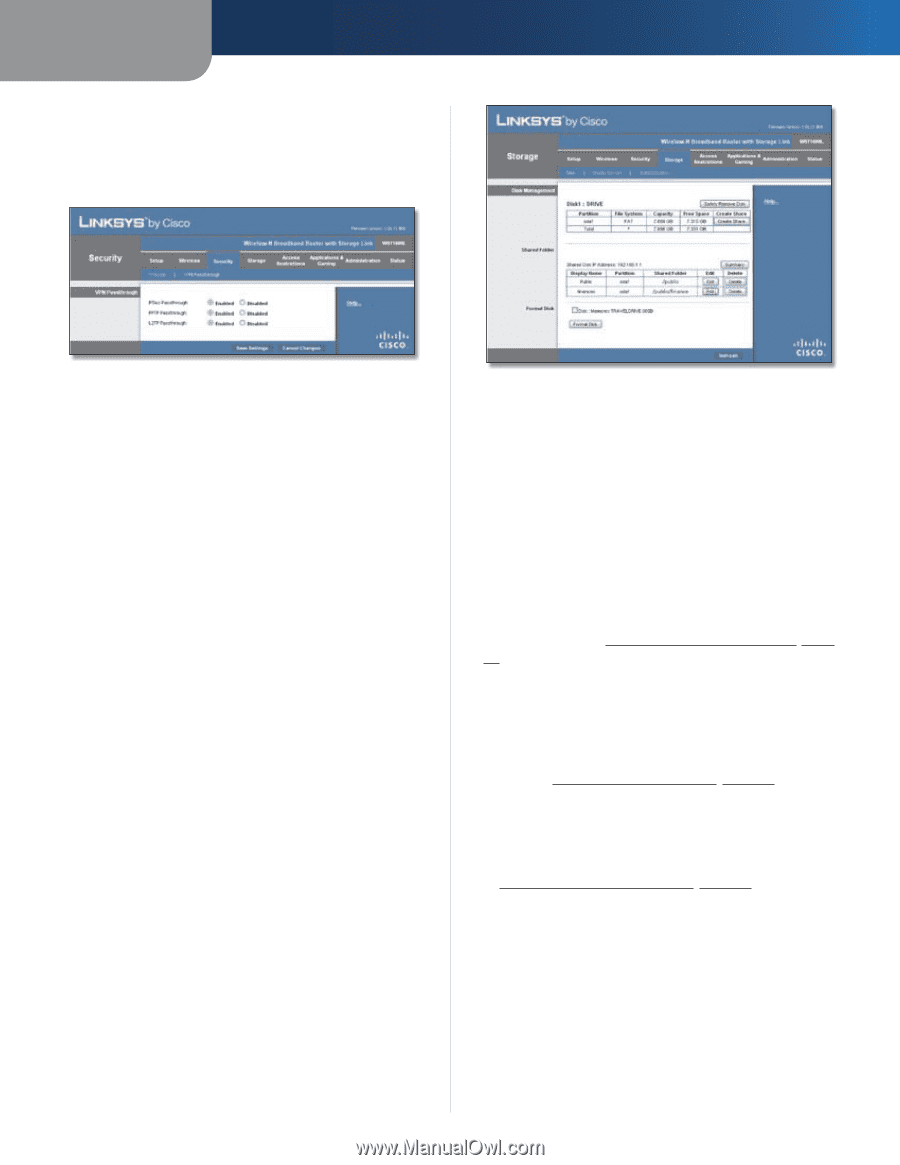
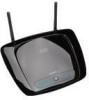
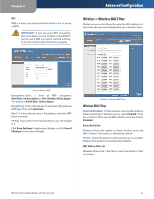
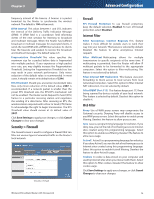
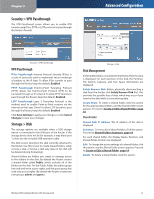
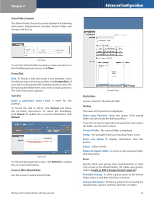
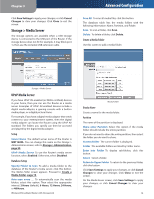
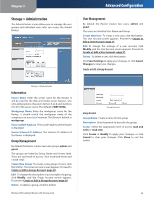
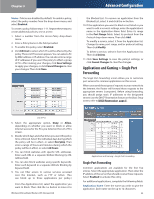
Chapter 3 Security > VPN Passthrough The VPN Passthrough screen allows you to enable VPN tunnels using IPSec, PPTP, or L2TP protocols to pass through the Router's firewall. Advanced Configuration Security > VPN Passthrough VPN Passthrough IPSec Passthrough Internet Protocol Security (IPSec) is a suite of protocols used to implement secure exchange of packets at the IP layer. To allow IPSec tunnels to pass through the Router, keep the default, Enabled. PPTP Passthrough Point-to-Point Tunneling Protocol (PPTP) allows the Point-to-Point Protocol (PPP) to be tunneled through an IP network. To allow PPTP tunnels to pass through the Router, keep the default, Enabled. L2TP Passthrough Layer 2 Tunneling Protocol is the method used to enable Point-to-Point sessions via the Internet on the Layer 2 level. To allow L2TP tunnels to pass through the Router, keep the default, Enabled. Click Save Settings to apply your changes, or click Cancel Changes to clear your changes. Storage > Disk The storage options are available when a USB storage device is connected to the USB port of the Router. If the storage device does not fit (for example, it may block port 1), then use the included USB extension cable. The Disk screen describes the disk currently attached to the Router. Use this screen to create shared folders, safely remove a disk, or format a disk (any data on the disk will be deleted during formatting). Shared folders are folders you create to manage access to the folders on the disk. By default the Router creates a shared folder called Public, which includes all of the folders on the disk. For the Public folder, the admin group has read-and-write access rights, and the guest group has read-only access rights. (By default the Router creates two user groups, admin and guest.) Storage > Disk Disk Management If a formatted disk is connected to the Router, then its name is displayed. For each partition of the disk, the Partition, File System, Capacity, and Free Space information are displayed. Safely Remove Disk Before physically disconnecting a disk from the Router, click Safely Remove Disk first. This prevents the possible loss of data, which may occur if you remove the disk while it is transferring data. Create Share To create a shared folder, click this option for the appropriate partition, and the Shared Folder screen appears. Proceed to Create or Edit a Shared Folder, page 18. Shared Folder Shared Disk IP Address The IP address of the disk is displayed. Summary To view a list of shared folders, click this option. Proceed to Shared Folders Summary, page 18. For each shared folder, the Display Name, Partition, and Shared Folder location are displayed. Edit To change the access settings of a shared folder, click this option, and the Shared Folder screen appears. Proceed to Create or Edit a Shared Folder, page 18. Delete To delete a shared folder, click this option. Wireless-N Broadband Router with Storage Link 17
-
 1
1 -
2
-
3
-
4
-
5
-
6
-
7
-
8
-
9
-
10
-
11
-
12
-
13
-
14
-
15
-
 16
16 -
 17
17 -
 18
18 -
 19
19 -
 20
20 -
 21
21 -
 22
22 -
 23
23 -
 24
24 -
 25
25 -
 26
26 -
27
-
28
-
29
-
30
-
31
-
32
-
33
-
34
-
35
-
36
-
37
-
38
-
39
-
40
-
41
-
42
-
43
-
44
-
45
-
46
-
47
-
48
-
49
-
50
-
51
-
52
-
53
-
54
-
55
-
56
-
57
-
58
-
59
-
60
-
61
-
62
-
63
-
64
-
65
 |
 |