MSI B450-A PRO User Manual - Page 90
Using UEFI to create a 2.2TB RAID, WARNING
 |
View all MSI B450-A PRO manuals
Add to My Manuals
Save this manual to your list of manuals |
Page 90 highlights
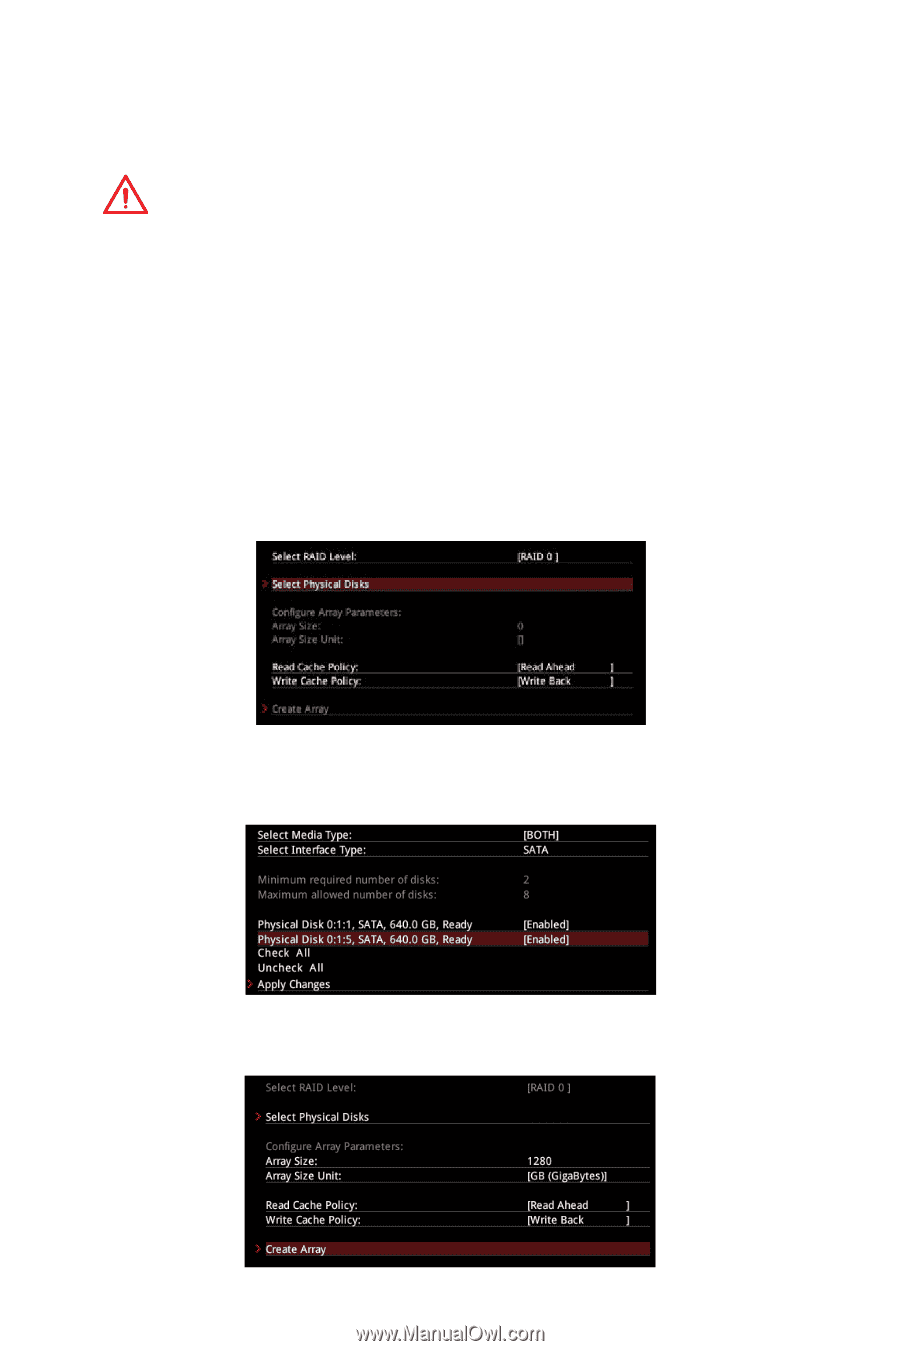
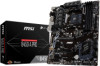
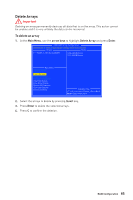
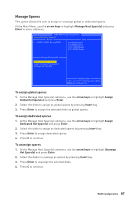
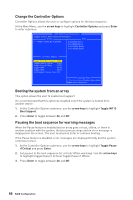
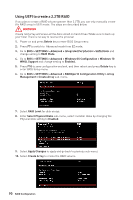
Using UEFI to create a 2.2TB RAID If you plan to create a RAID volume greater than 2.2TB, you can only manually create the RAID array in UEFI mode. The steps are described below. WARNING Create raid array will erase all the data stored on hard drives! Make sure to back up your files! There is no way to reverse the process! 1. Power on and press Delete key to enter BIOS Setup menu. 2. Press F7 to switch to Advanced mode from EZ mode. 3. Go to BIOS > SETTINGS > Advanced > Integrated Peripherals > SATA Mode and change setting to RAID Mode. 4. Go to BIOS > SETTINGS > Advanced > Windows OS Configuration > Windows 10 WHQL Support and change setting to Enabled. 5. Press F10 to save configuration and exit, and then reboot and press Delete key to enter BIOS Setup menu. 6. Go to BIOS > SETTINGS > Advanced > RAIDXpert2 Configuration Utility > Array Management > Create Array sub-menu. 7. Select RAID Level for disk arrays. 8. Enter Select Physical Disks sub-menu, select member disks by changing the Physical Disk setting to Enabled. 9. Select Apply Changes to apply and go back to previous sub-menu. 10. Select Create Array to create the RAID volume. 90 RAID Configuration
-
 1
1 -
2
-
3
-
4
-
5
-
6
-
7
-
8
-
9
-
10
-
11
-
12
-
13
-
14
-
15
-
16
-
17
-
18
-
19
-
20
-
21
-
22
-
23
-
24
-
25
-
26
-
27
-
28
-
29
-
30
-
31
-
32
-
33
-
34
-
35
-
36
-
37
-
38
-
39
-
40
-
41
-
42
-
43
-
44
-
45
-
46
-
47
-
48
-
49
-
50
-
51
-
52
-
53
-
54
-
55
-
56
-
57
-
58
-
59
-
60
-
61
-
62
-
63
-
64
-
65
-
66
-
67
-
68
-
69
-
70
-
71
-
72
-
73
-
74
-
75
-
76
-
77
-
78
-
79
-
80
-
81
-
82
-
83
-
84
-
 85
85 -
 86
86 -
 87
87 -
 88
88 -
 89
89 -
 90
90 -
 91
91 -
 92
92 -
 93
93 -
 94
94 -
 95
95 -
96
 |
 |