NEC 50XP10 User Manual - Page 10
NEC 50XP10 - PlasmaSync - 50" Plasma Panel Manual
 |
UPC - 805736019438
View all NEC 50XP10 manuals
Add to My Manuals
Save this manual to your list of manuals |
Page 10 highlights
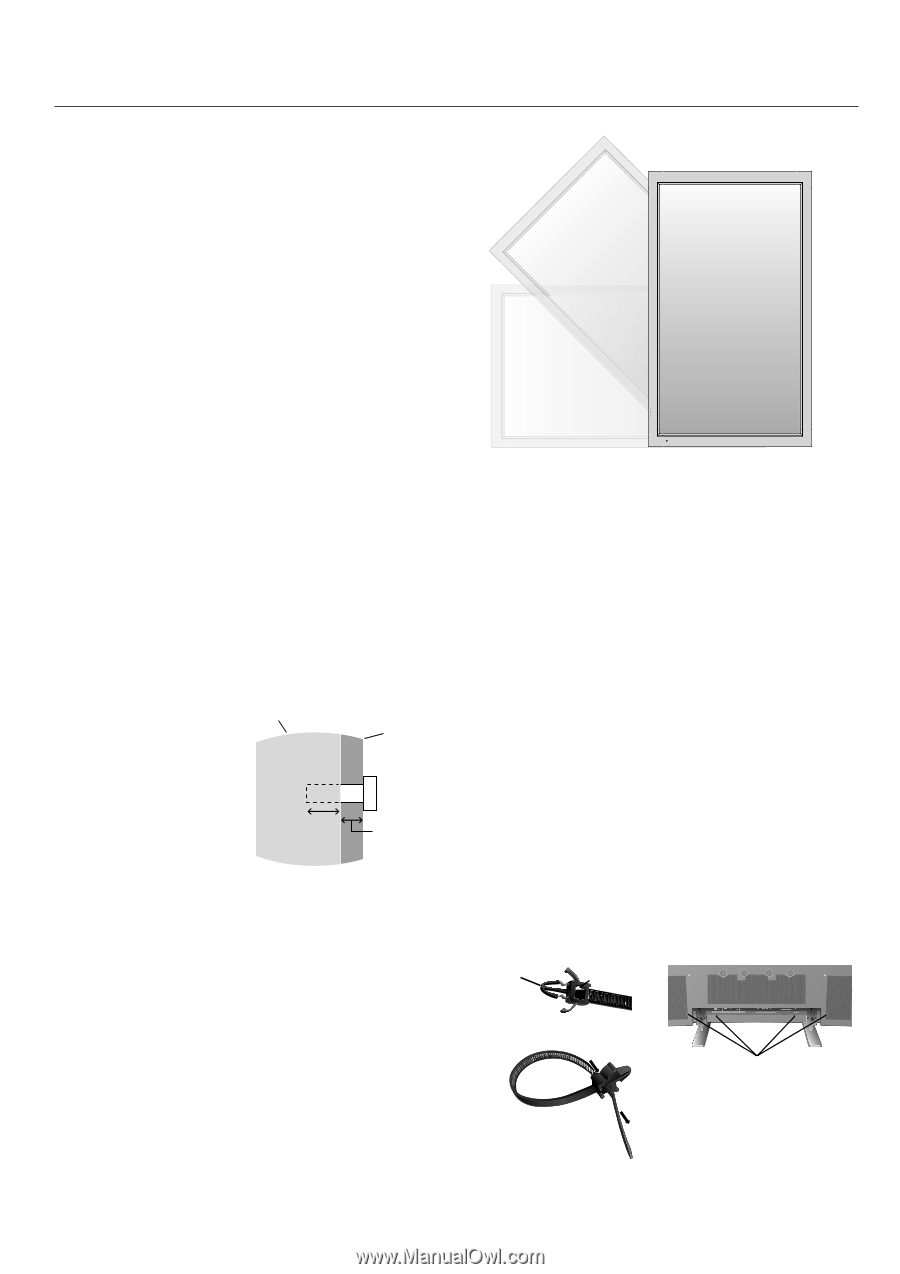
Installation - continued Mounting on Ceiling • Ensure that the ceiling is sturdy enough to support the weight of the unit and the mounting apparatus over time, against earthquakes, unexpected vibrations, and other external forces. • Be sure the unit is mounted to a solid structure within the ceiling, such as a support beam. Secure the monitor using bolts, spring lock washers, washer and nut. • DO NOT mount to areas that have no supporting internal structure. DO NOT use wood screws or anchor screws for mounting. DO NOT mount the unit to trim or to hanging fi xtures. EXIT Maintenance • Periodically check for loose screws, gaps, distortions, or other problems that may occur with the mounting apparatus. If a problem is detected, please refer to qualified personnel for service. • Regularly check the mounting location for signs of damage or weakness that may occur over time. Cable Management To conveniently manage cables, use the cable clamps provided to bundle the power cord together with the signal and audio cables at the back of the display. To attach cable clamps: 1. Attach the cable clamps to the display. Insert the anchor of the clamp into the hole on the back of the display. There are 4 cable clamps and 4 clamp holes on the unit. 2. After the cable clamp is positioned on the display, wrap the end around the cables. Place the end of the clamp into the slot near the anchor. Pull until cables are snug. Clamps are designed to stay in place. Once in position, they will be difficult to remove. 3. Cables can be routed to the right or left of the clamp. Use the beaded bands to secure the cables together along their length. Make sure the cables are fully supported. To detach clamps: Using pliers, twist the clamp 90 degrees and pull outward. It is possible that the clamp can weaken over time and removing it may cause damage to the clamp. Anchor Slot INPUT MUTE EXIT INPUT MUTE Please note the following when mounting on wall or ceiling. • When using mounting accessories other than those that are NEC approved, they must comply with the VESAcompatible (FDMlv1) mounting method. • NEC strongly recommends Unit Mounting Bracket using size M8 screws (16mm + thickness of bracket in length). If using screws longer than 16mm, Screw check the depth of the 16mm hole.(Recommended Fasten Thickness Force: 1125 - 1375N•cm) of Bracket NEC recommends mounting interfaces that Screw length should equal comply with UL1678 depth of hole (16mm) + the standard in North America. thickness of mounting bracket. Orientation When using the display in the portrait position, the monitor should be rotated clockwise so that the left side is moved to the top and the LED indicator light is on the bottom. This will allow for proper ventilation and will extend the lifetime of the monitor. Improper ventilation may shorten the lifetime of the monitor. When using the display in the portrait position, please turn the Cooling Fan "ON" in the OPTION2 OSD menu. Holes for Clamp anchors Closed Clamp English-7
-
 1
1 -
2
-
3
-
4
-
 5
5 -
 6
6 -
 7
7 -
 8
8 -
 9
9 -
 10
10 -
 11
11 -
 12
12 -
 13
13 -
 14
14 -
 15
15 -
16
-
17
-
18
-
19
-
20
-
21
-
22
-
23
-
24
-
25
-
26
-
27
-
28
-
29
-
30
-
31
-
32
-
33
-
34
-
35
-
36
-
37
-
38
-
39
-
40
-
41
-
42
-
43
-
44
 |
 |