NEC LCD1830 MultiSync LCD1830 User's Manual - Page 9
Controls - monitor
 |
UPC - 805736000658
View all NEC LCD1830 manuals
Add to My Manuals
Save this manual to your list of manuals |
Page 9 highlights
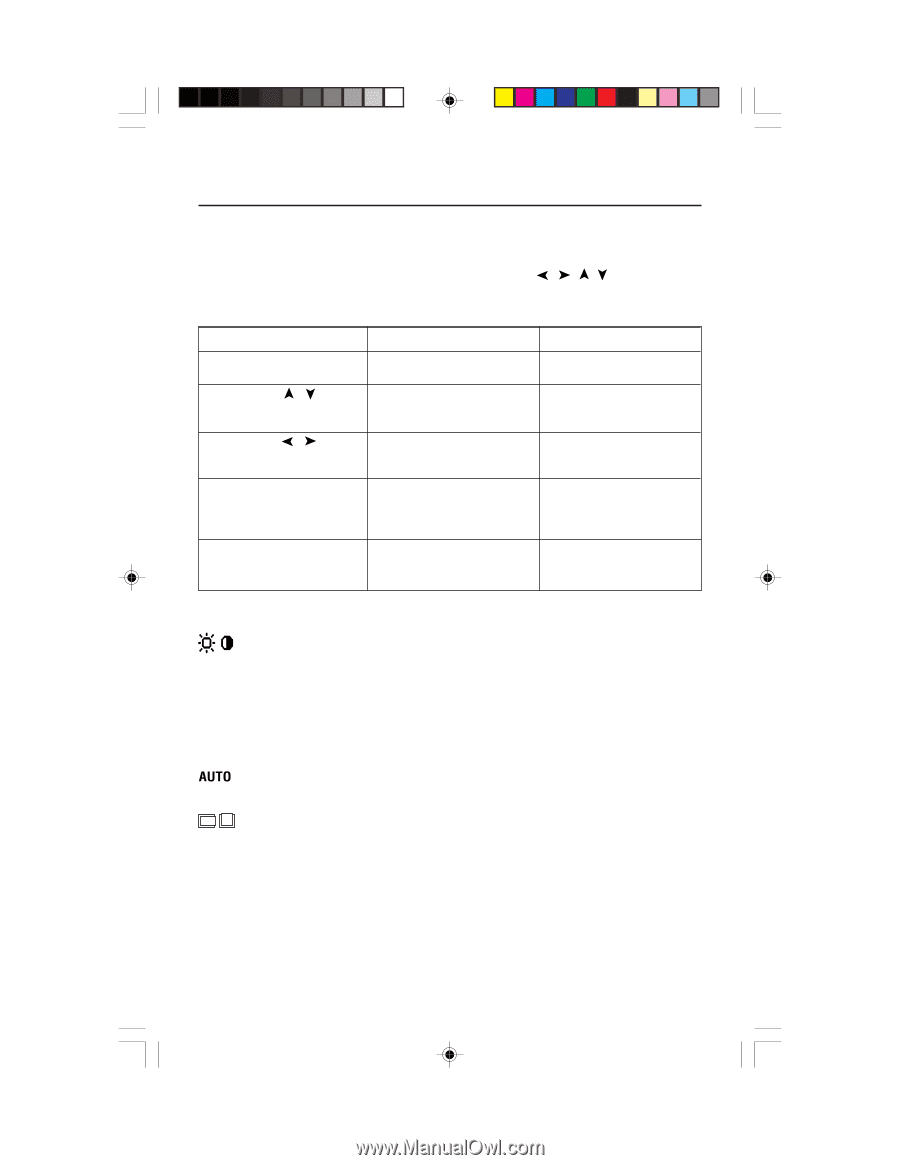
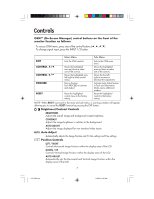
Controls OSM™ (On-Screen Manager) control buttons on the front of the monitor function as follows: To access OSM menu, press any of the control buttons ( , , , ). To change signal input, press the INPUT 1/2 button. Main Menu Sub-Menu EXIT CONTROL / CONTROL / PROCEED RESET Exits the OSM controls. Moves the highlighted area up/down to select one of the controls. Moves the highlighted area left/right to select control menus. Has no function Push PROCEED to activate Auto Adjust. Resets the highlighted control menu to the factory setting. Exits to the OSM main menu. Moves the highlighted area up/down to select one of the controls. Moves the bar left/ right to increase or decrease the adjustment. Activates Auto Adjust feature. In Tools and Information Mode, opens additional window. Resets the highlighted control to the factory setting. NOTE: When RESET is pressed in the main and sub-menu, a warning window will appear allowing you to cancel the RESET function by pressing the EXIT button. Brightness/Contrast Controls BRIGHTNESS Adjusts the overall image and background screen brightness. CONTRAST Adjusts the image brightness in relation to the background. AUTO ADJUST Adjusts the image displayed for non-standard video inputs. Auto Adjust Automatically adjusts the Image Position and H. Size settings and Fine settings. Position Controls LEFT / RIGHT Controls Horizontal Image Position within the display area of the LCD. DOWN / UP Controls Vertical Image Position within the display area of the LCD. AUTO ADJUST Automatically sets the Horizontal and Vertical Image Position within the display area of the LCD. 7 LCD1830.wpc 9 11/29/00, 9:56 AM
-
 1
1 -
2
-
3
-
 4
4 -
 5
5 -
 6
6 -
 7
7 -
 8
8 -
 9
9 -
 10
10 -
 11
11 -
 12
12 -
 13
13 -
 14
14 -
15
-
16
-
17
-
18
-
19
-
20
-
21
-
22
-
23
-
24
-
25
-
26
-
27
-
28
-
29
-
30
-
31
-
32
-
33
-
34
-
35
-
36
-
37
-
38
-
39
-
40
-
41
-
42
-
43
-
44
-
45
-
46
-
47
-
48
-
49
-
50
-
51
-
52
-
53
-
54
-
55
-
56
-
57
-
58
-
59
-
60
-
61
-
62
-
63
-
64
-
65
-
66
-
67
-
68
-
69
-
70
-
71
-
72
 |
 |