Oki B6500n B6500 Network Guide - Page 18
Indows, Onfiguring, Etwork, Rinter
 |
View all Oki B6500n manuals
Add to My Manuals
Save this manual to your list of manuals |
Page 18 highlights
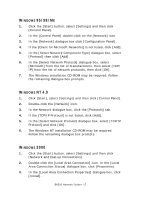
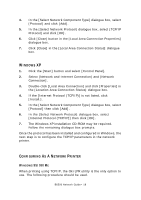
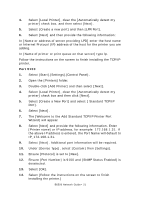
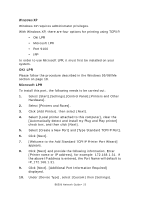
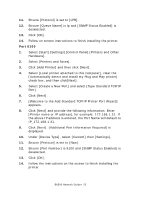
4. In the [Select Network Component Type] dialogue box, select [Protocol] and click [Add]. 5. In the [Select Network Protocol] dialogue box, select [TCP/IP Protocol] and click [OK]. 6. Click [Close] button in the [Local Area Connection Properties] dialogue box. 7. Click [Close] in the [Local Area Connection Status] dialogue box. WINDOWS XP 1. Click the [Start] button and select [Control Panel]. 2. Select [Network and Internet Connection] and [Network Connection]. 3. Double-click [Local Area Connection] and click [Properties] in the [Location Area Connection Status] dialogue box. 4. If the [Internet Protocol (TCP/IP)] is not listed, click [Install.]. 5. In the [Select Network Component Type] dialogue box, select [Protocol] then click [Add]. 6. In the [Select Network Protocol] dialogue box, select [Internet Protocol (TCP/IP)] then click [OK]. 7. The Windows XP installation CD-ROM may be required. Follow the remaining dialogue box prompts. Once the protocol has been installed and configured in Windows, the next step is to configure the TCP/IP parameters in the network printer. CONFIGURING AS A NETWORK PRINTER WINDOWS 95/98/ME When printing using TCP/IP, the Oki LPR utility is the only option to use. The following procedure should be used. B6500 Network Guide> 18
-
 1
1 -
2
-
3
-
4
-
5
-
6
-
7
-
8
-
9
-
10
-
11
-
12
-
 13
13 -
 14
14 -
 15
15 -
 16
16 -
 17
17 -
 18
18 -
 19
19 -
 20
20 -
 21
21 -
 22
22 -
 23
23 -
24
-
25
-
26
-
27
-
28
-
29
-
30
-
31
-
32
-
33
-
34
-
35
-
36
-
37
-
38
-
39
-
40
-
41
-
42
-
43
-
44
-
45
-
46
-
47
-
48
-
49
-
50
-
51
-
52
-
53
-
54
-
55
-
56
-
57
-
58
-
59
-
60
-
61
-
62
 |
 |
