Olympus TG-310 TG-610 Instruction Manual (English) - Page 17
When to charge the batteries, to save the setting for [Y]. - charging
 |
View all Olympus TG-310 manuals
Add to My Manuals
Save this manual to your list of manuals |
Page 17 highlights
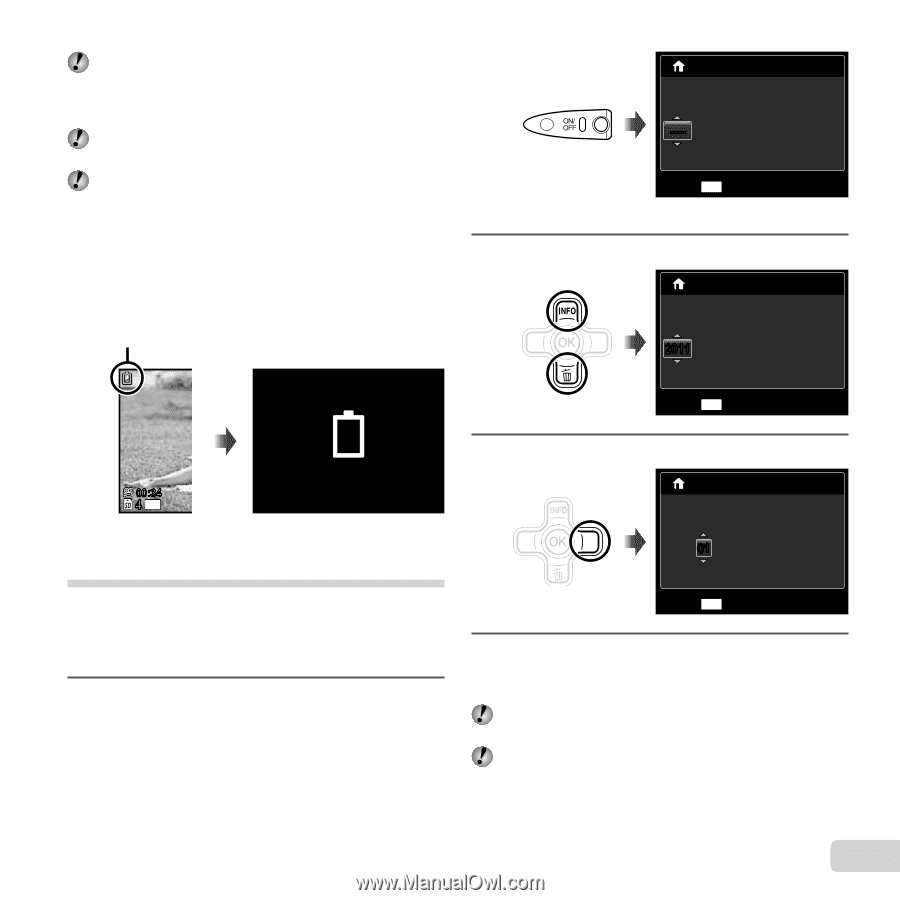
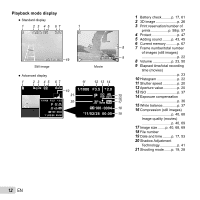
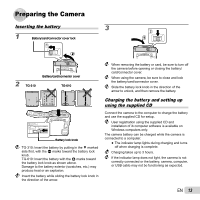
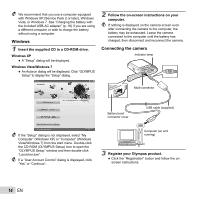
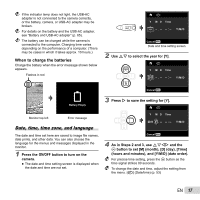
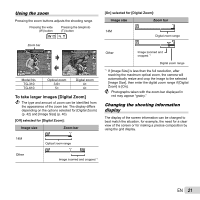
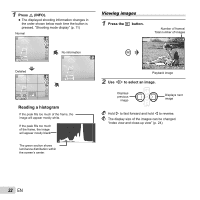
If the indicator lamp does not light, the USB-AC adapter is not connected to the camera correctly, or the battery, camera, or USB-AC adapter may be broken. For details on the battery and the USB-AC adapter, see "Battery and USB-AC adapter" (p. 65). The battery can be charged while the camera is connected to the computer. Charging time varies depending on the performance of a computer. (There may be cases in which it takes approx. 10 hours.) When to charge the batteries Charge the battery when the error message shown below appears. Flashes in red X Y M D Time Y/M/D Cancel MENU Date and time setting screen 2 Use FG to select the year for [Y]. X Y M D Time 2011 Y/M/D Cancel MENU 00:34 4 14M Monitor top left Battery Empty Error message Date, time, time zone, and language The date and time set here are saved to image file names, date prints, and other data. You can also choose the language for the menus and messages displayed in the monitor. 1 Press the n button to turn on the camera. ● The date and time setting screen is displayed when the date and time are not set. 3 Press I to save the setting for [Y]. X Y M D Time 2011. 01 Y/M/D Cancel MENU 4 As in Steps 2 and 3, use FGHI and the A button to set [M] (month), [D] (day), [Time] (hours and minutes), and [Y/M/D] (date order). For precise time setting, press the A button as the time signal strikes 00 seconds. To change the date and time, adjust the setting from the menu. [X] (Date/time) (p. 53) EN 17
-
 1
1 -
2
-
3
-
4
-
5
-
6
-
7
-
8
-
9
-
10
-
11
-
 12
12 -
 13
13 -
 14
14 -
 15
15 -
 16
16 -
 17
17 -
 18
18 -
 19
19 -
 20
20 -
 21
21 -
 22
22 -
23
-
24
-
25
-
26
-
27
-
28
-
29
-
30
-
31
-
32
-
33
-
34
-
35
-
36
-
37
-
38
-
39
-
40
-
41
-
42
-
43
-
44
-
45
-
46
-
47
-
48
-
49
-
50
-
51
-
52
-
53
-
54
-
55
-
56
-
57
-
58
-
59
-
60
-
61
-
62
-
63
-
64
-
65
-
66
-
67
-
68
-
69
-
70
-
71
-
72
-
73
-
74
-
75
-
76
-
77
-
78
-
79
-
80
-
81
-
82
-
83
 |
 |