Optoma CinemaX P2 SmartFIT Installation Guide - Page 6
Fixed Frame Installation with SmartFIT
 |
View all Optoma CinemaX P2 manuals
Add to My Manuals
Save this manual to your list of manuals |
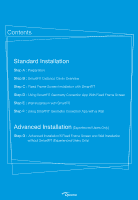
Page 6 highlights
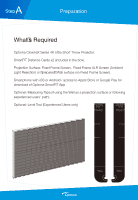
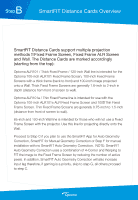
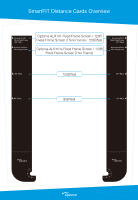
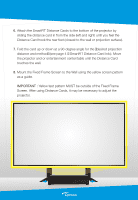
C Step Fixed Frame Installation with SmartFIT 1. Assemble Fixed Frame Screen (non-ALR or ALR) - do not mount the Fixed Frame Screen until instructed later in this Installation Guide. 2. If you plan to use the "Wall" as a projection surface - please proceed to STEP E. 3. To determine the proper position for installation of the Fixed Frame Screen on the wall, use the projector test pattern (see next page). Fixed Frame Screen
-
 1
1 -
 2
2 -
 3
3 -
 4
4 -
 5
5 -
 6
6 -
 7
7 -
 8
8 -
 9
9 -
 10
10 -
 11
11 -
 12
12 -
13
-
14
-
15
-
16
-
17
-
18
 |
 |

Step
C
Fixed Frame Installation with SmartFIT
Fixed Frame Screen
Assemble Fixed Frame Screen (non-ALR or ALR) – do not mount the
Fixed Frame Screen until instructed later in this Installation Guide.
If you plan to use the “Wall” as a projection surface – please proceed to
STEP E.
To determine the proper position for installation of the Fixed Frame Screen
on the wall, use the projector test pattern (see next page).
1.
2.
3.