Optoma CinemaX P2 SmartFIT Installation Guide - Page 9
Using SmartFIT Geometry Correction App, With Fixed Frame Screen - manual
 |
View all Optoma CinemaX P2 manuals
Add to My Manuals
Save this manual to your list of manuals |
Page 9 highlights
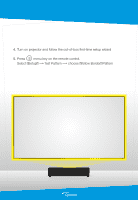
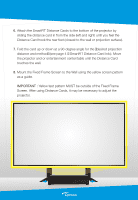
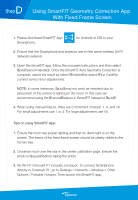
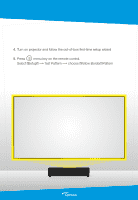
D Step Using SmartFIT Geometry Correction App With Fixed Frame Screen 1. Please download SmartFIT App Smartphone. for Android or iOS to your 2. Ensure that the Smartphone and projector are on the same wireless (Wi-Fi network) network. 3. Open the SmartFIT app, follow the onscreen instructions and then select "auto" (recommended). Once the SmartFIT Auto Geometry Correction is complete, saved the result by select "Finished" or select "Fine Tune" to commit some minor adjustments. NOTE: In some instances, "auto" may not work as intended due to placement of the screen or lighting in the room. In this case we recommend using the "manual" feature in SmartFIT instead of "auto". 4. When using manual feature, there are 3 increment choices: 1, 4, and 16. For small adjustments use 1 or 4. For large adjustments use 16. Tips on using SmartFIT App: 1. Ensure the room has proper lighting and that no direct light is on the screen. The frame of the fixed frame screen should be clearly visible to the human eye. 2. Crosshair must over the star in the center calibration page. Ensure the photo is "square" before taking the photo. 3. No Wi-Fi? CinemaX P1 includes a hotspot. To connect Smartphone directly to CinemaX P1, go to Settings > Network > Wireless > Other Options / Portable Hotspot. Then launch the SmartFIT app.
-
 1
1 -
2
-
3
-
 4
4 -
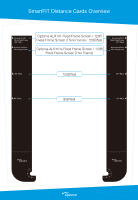 5
5 -
 6
6 -
 7
7 -
 8
8 -
 9
9 -
 10
10 -
 11
11 -
 12
12 -
 13
13 -
 14
14 -
15
-
16
-
17
-
18
 |
 |