Optoma ZX210ST User's Manual - Page 77
Using Conference Control, Computer Name, Play Controls, Full Screen, Window 1, IP Address
 |
View all Optoma ZX210ST manuals
Add to My Manuals
Save this manual to your list of manuals |
Page 77 highlights
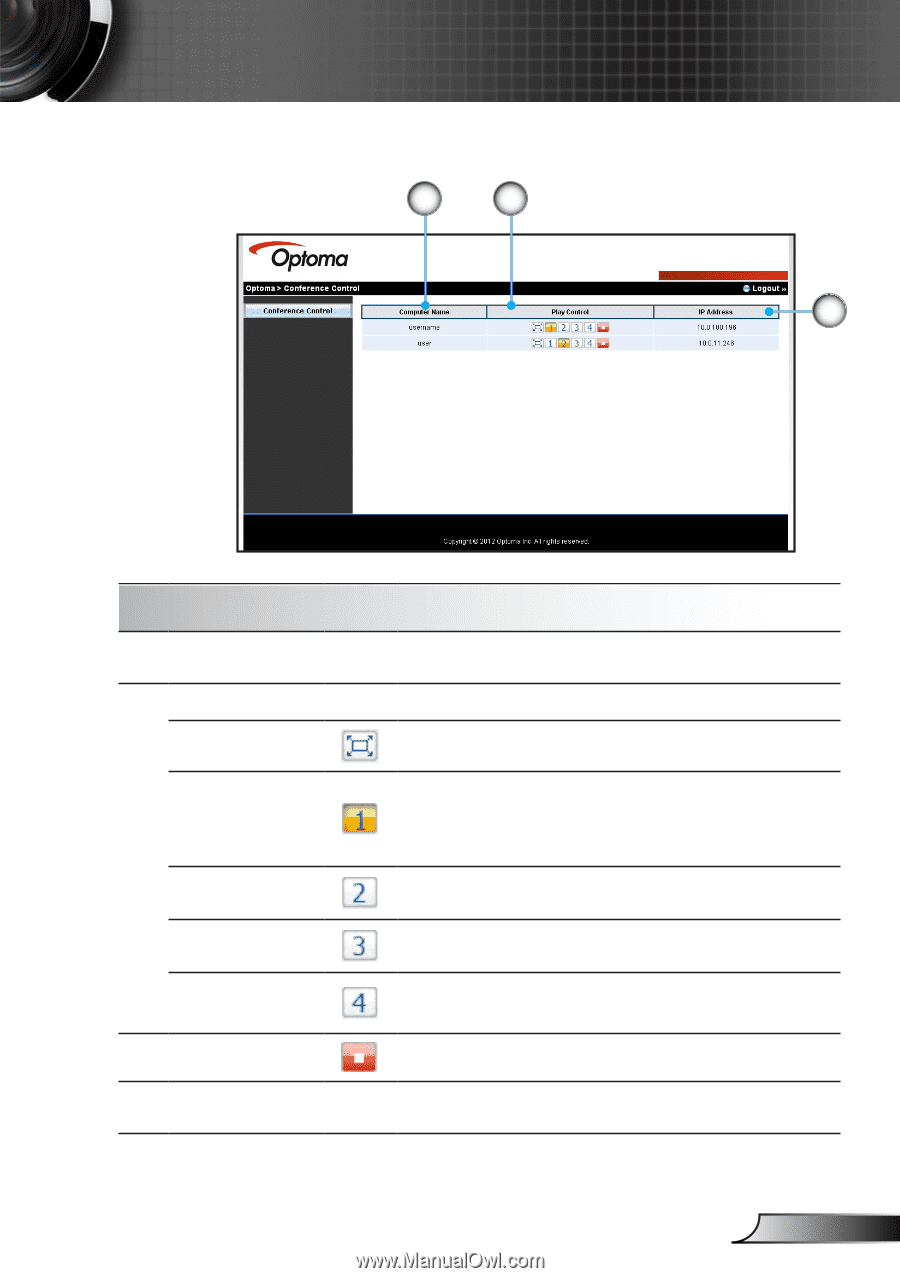
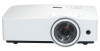
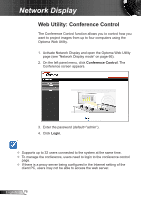
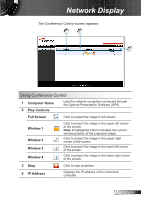
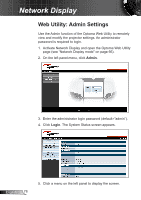
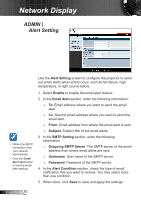
Network Display The Conference Control screen appears. 1 2 3 Using Conference Control 1 Computer Name 2 Play Controls Lists the network computers connected through the Optoma Presentation Software (OPS). Full Screen Click to project the image in full screen. Window 1 Window 2 Window 3 Window 4 Click to project the image in the upper left corner of the screen. Note: A highlighted button indicates the current window position of the projected image. Click to project the image in the upper right corner of the screen. Click to project the image in the lower left corner of the screen. Click to project the image in the lower right corner of the screen. 3 Stop 4 IP Address Click to stop projection. Displays the IP address of the connected computer. 77 English
-
 1
1 -
2
-
3
-
4
-
5
-
6
-
7
-
8
-
9
-
10
-
11
-
12
-
13
-
14
-
15
-
16
-
17
-
18
-
19
-
20
-
21
-
22
-
23
-
24
-
25
-
26
-
27
-
28
-
29
-
30
-
31
-
32
-
33
-
34
-
35
-
36
-
37
-
38
-
39
-
40
-
41
-
42
-
43
-
44
-
45
-
46
-
47
-
48
-
49
-
50
-
51
-
52
-
53
-
54
-
55
-
56
-
57
-
58
-
59
-
60
-
61
-
62
-
63
-
64
-
65
-
66
-
67
-
68
-
69
-
70
-
71
-
 72
72 -
 73
73 -
 74
74 -
 75
75 -
 76
76 -
 77
77 -
 78
78 -
 79
79 -
 80
80 -
 81
81 -
 82
82 -
83
-
84
-
85
-
86
-
87
-
88
-
89
-
90
-
91
-
92
-
93
-
94
-
95
-
96
-
97
-
98
-
99
-
100
-
101
-
102
-
103
-
104
-
105
-
106
-
107
-
108
-
109
-
110
-
111
-
112
-
113
-
114
-
115
-
116
-
117
-
118
 |
 |