Panasonic GPUS932CU GPUS932CU User Guide - Page 17
Camera Title Setting [camera Id], Set Up, Camera Id, Shutter, Output Sel, Rgbnor, Abcdefghijklm
 |
View all Panasonic GPUS932CU manuals
Add to My Manuals
Save this manual to your list of manuals |
Page 17 highlights
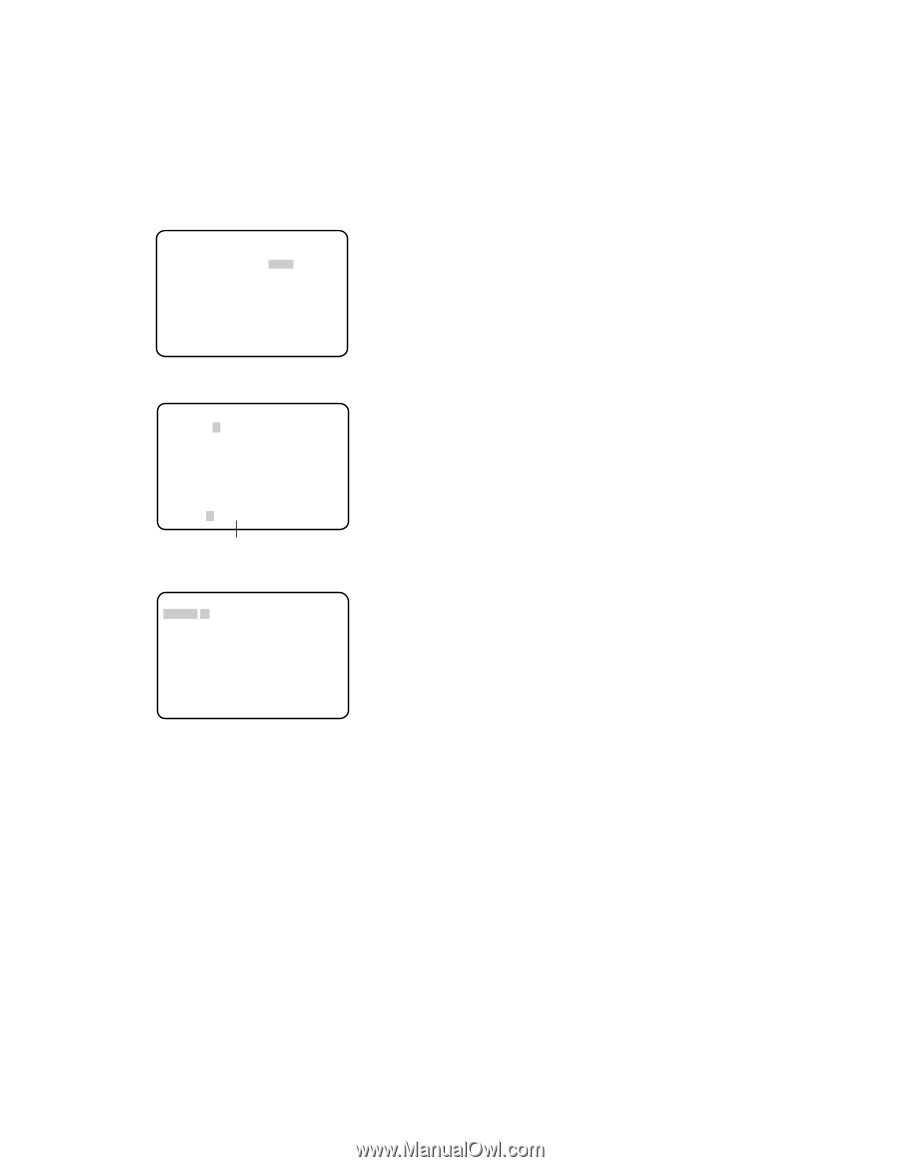
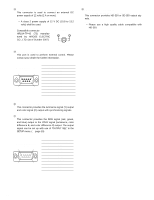
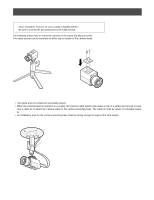
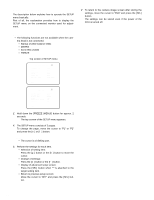
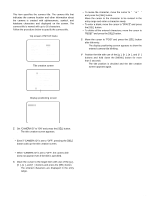
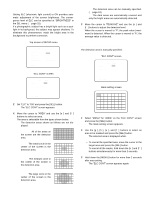
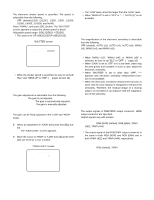
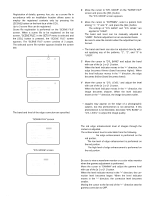
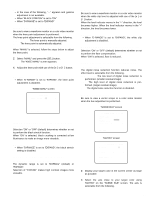
1. Camera title setting [CAMERA ID] This item specifies the camera title. The camera title that indicates the camera location and other information about the camera is created with alphanumeric, symbol, and katakana characters and displayed on the screen. The camera title is named with up to 16 characters. Follow the procedure below to specify the camera title. Top screen of SETUP menu ** SET UP ** P1 CAMERA ID ELC SHUTTER GAIN SENS UP OUTPUT SEL *OFF *OFF OFF OFF OFF RGB(NOR) END Title creation screen ABCDEFGHIJKLM NOPQRSTUVWXYZ 0123456789 SPACE *POSI RET END RESET Editing area Display positioning screen FLOOR 1 • To revise the character, move the cursor to "←" or "→" and press the [SEL] button. Move the cursor to the character to be revised in the entry range and enter a character newly. • To enter a blank, move the cursor to "SPACE" and press the [SEL] button. • To delete all the entered characters, move the cursor to "RESET" and press the [SEL] button. c Move the cursor to "POSI" and press the [SEL] button after title entry. → The display positioning screen appears to show the entered camera title blinking. v Position the title with use of the [g], [h], [e], and [f] buttons and hold down the [MENU] button for more than 2 seconds. → The title position is decided and the title creation screen appears again. z Set "CAMERA ID" to "ON" and press the [SEL] button. → The title creation screen appears. Note: • Even if "CAMERA ID" is set to "OFF", pressing the [SEL] button calls up the title creation screen. Important: • When "CAMERA ID" is set to "OFF", the camera title does not appear even if the title is specified. x Move the cursor to the target item with use of the [g], [h], [e], and [f] buttons and press the [SEL] button. → The entered characters are displayed in the entry range. 17
-
 1
1 -
2
-
3
-
4
-
5
-
6
-
7
-
8
-
9
-
10
-
11
-
 12
12 -
 13
13 -
 14
14 -
 15
15 -
 16
16 -
 17
17 -
 18
18 -
 19
19 -
 20
20 -
 21
21 -
 22
22 -
23
-
24
-
25
-
26
-
27
-
28
-
29
-
30
-
31
-
32
 |
 |