Panasonic GPUS932CU GPUS932CU User Guide - Page 23
White balance setting [WHITE BAL], Black balance setting [BLACK BAL]
 |
View all Panasonic GPUS932CU manuals
Add to My Manuals
Save this manual to your list of manuals |
Page 23 highlights
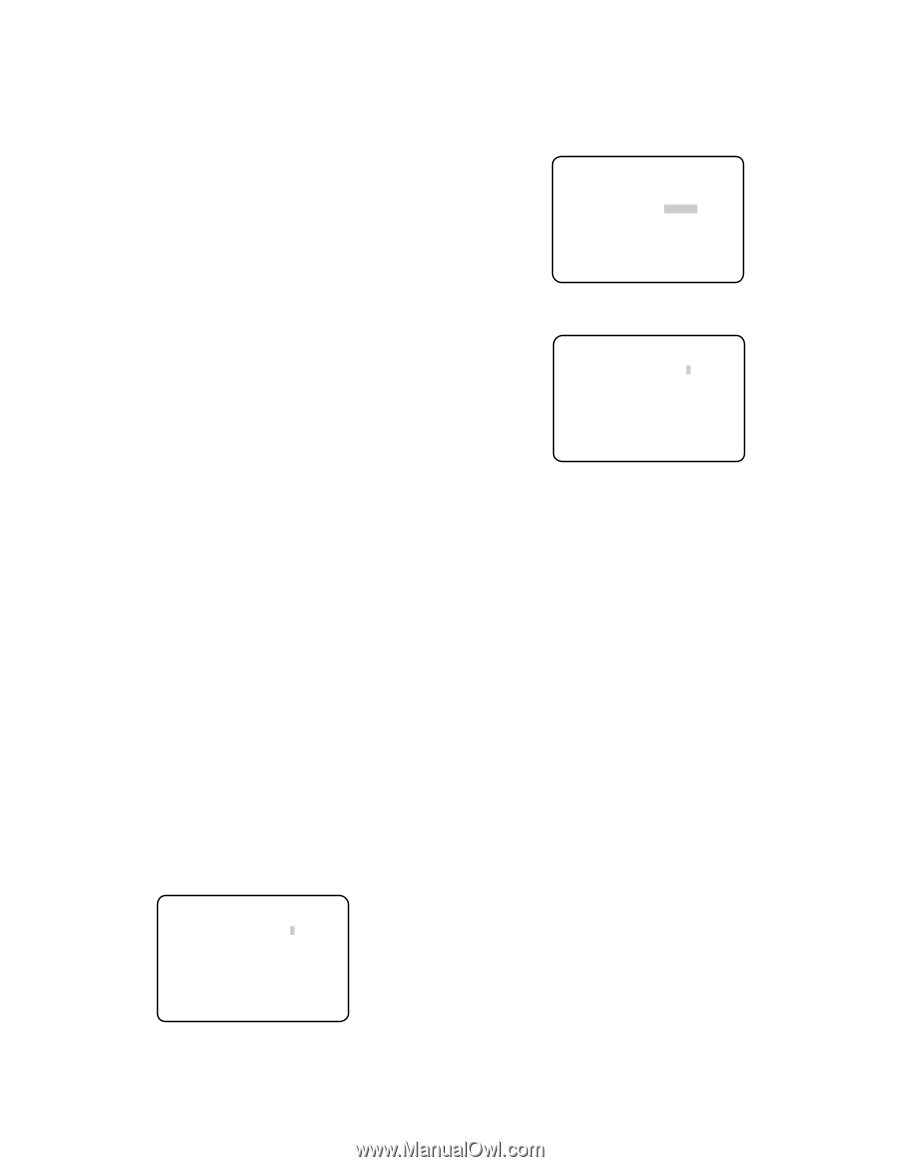
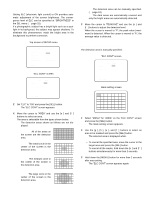
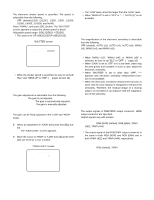
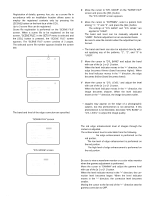
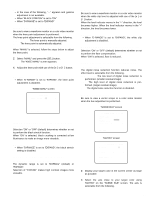
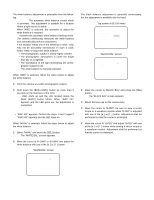
8. White balance setting [WHITE BAL] The white balance adjustment is selectable from the following. AWC (default): The automatic white balance control mode is activated. This adjustment is suitable for a location where a light source is stable. When "AWC" is selected, the operation to adjust the white balance is required. ATW: Activates the automatic white balance tracking mode. The camera continuously measures the white balance and automatically performs adjustment. If the situation meets one of the following or other, color may not be accurately reproduced. In such a case, select "AWC" to adjust the white balance. • The photographic subject is mostly highly-colored. • The photographic atmosphere is under the bright blue sky or at nightfall. • The illumination of the light illuminating the photo- graphic subject is low. MANU: The white balance is manually adjusted. When "AWC" is selected, follow the steps below to adjust the white balance. z Point the camera at a white photographic subject. x Hold down the [BAR (AWC)] button for more than 2 seconds on the front face of the CCU. → AWC starts up and the LED located above the [BAR (AWC)] button blinks. When "AWC OK" appears and the LED goes out, the adjustment is completed. Note: • "AWC NG" appears. Perform the steps 1 and 2 again if "AWC NG" appears and the LED stays on. When "MANU" is selected, follow the steps below to adjust the white balance. z Select "MANU" and press the [SEL] button. → The "WHITE BAL" screen appears. x Move the cursor to "R-GAIN" or "B-GAIN" and adjust the white balance with use of the [e] or [f] button. "WHITE BAL" screen ** WHITE BAL ** R-GAIN -....|....+ B-GAIN -....|....+ 9. Black balance setting [BLACK BAL] The black balance adjustment is generally unnecessary, but the adjustment is available also by hand. Top screen of SETUP menu ** SET UP ** P2 SCENE FILE *FILE1 WHITE BAL AWC BLACK BAL *MANU SYNC INT ELECTRIC ZOOM ON FREEZE ON END "BLACK BAL" screen ** BLACK BAL ** R-PED -....|....+ B-PED -....|....+ RET END z Move the cursor to "BLACK BAL" and press the [SEL] button. → The "BLACK BAL" screen appears. x Mount the lens cap on the camera lens. c Move the cursor to "R-PED", be sure to view a vector scope or a waveform monitor when "R-PED" is adjusted with use of the [e] or [f] button. Adjustment shall be performed so that the carrier is minimized. v Move the cursor to "B-PED" and adjust "B-PED" with use of the [e] or [f] button while viewing a vector scope or a waveform monitor. Adjustment shall be performed so that the carrier is minimized. RET END 23
-
 1
1 -
2
-
3
-
4
-
5
-
6
-
7
-
8
-
9
-
10
-
11
-
12
-
13
-
14
-
15
-
16
-
17
-
 18
18 -
 19
19 -
 20
20 -
 21
21 -
 22
22 -
 23
23 -
 24
24 -
 25
25 -
 26
26 -
 27
27 -
 28
28 -
29
-
30
-
31
-
32
 |
 |