Panasonic GPUS932CU GPUS932CU User Guide - Page 20
Scene file setting [SCENE FILE], RED DTL], Adjusts the enhancement of red, edge., GAMMA]
 |
View all Panasonic GPUS932CU manuals
Add to My Manuals
Save this manual to your list of manuals |
Page 20 highlights
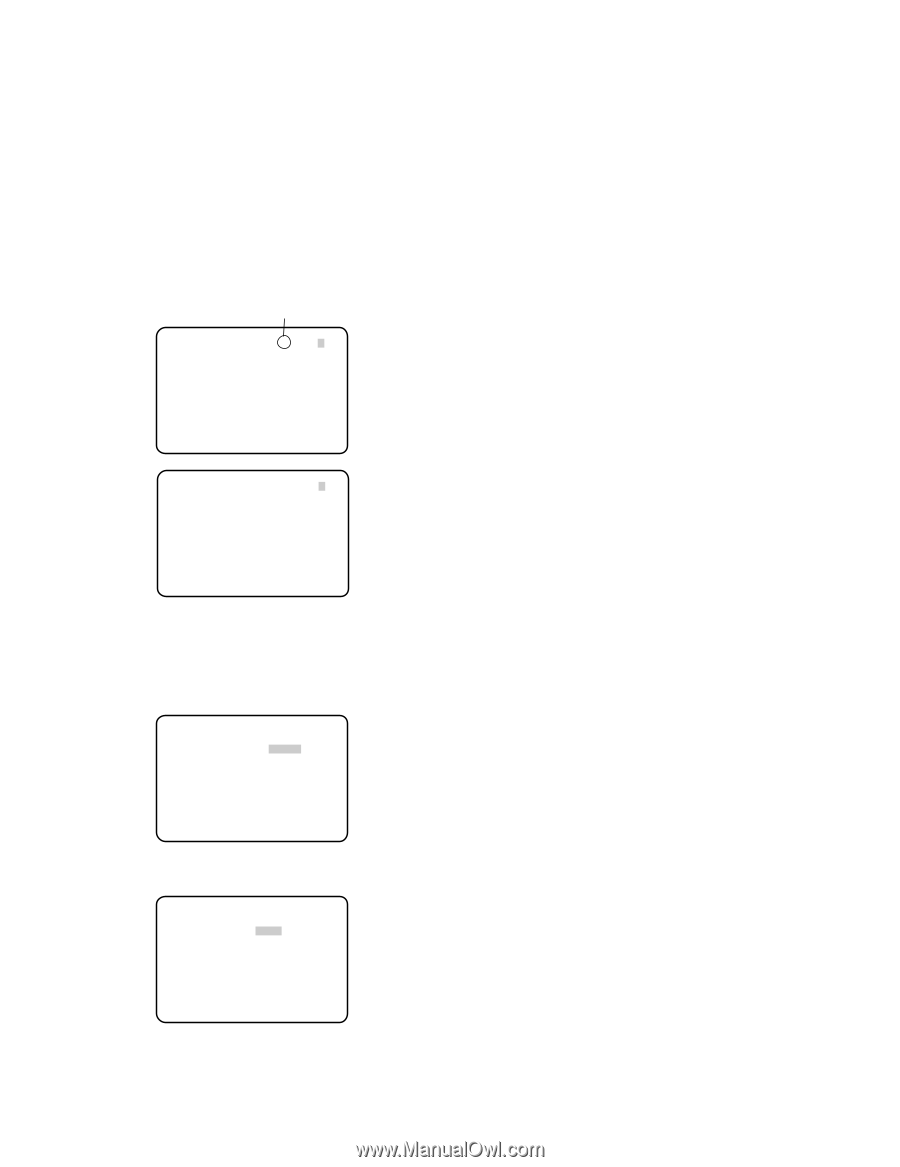
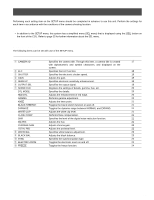
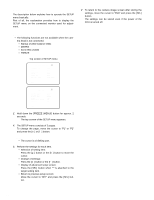
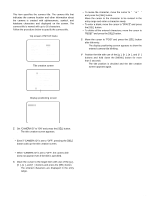
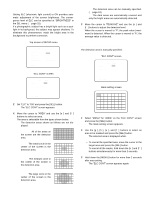
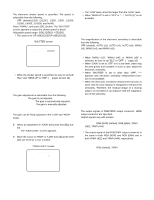
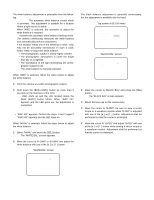
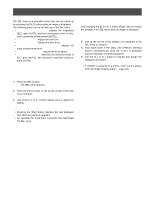
7. Scene file setting [SCENE FILE] Registration of details, gamma, hue, etc. as a scene file in accordance with an installation location allows users to employ the registered contents only by pressing the [SCENE] button on the front face of the CCU. Up to 3 scene files can be registered. Scene file registration is performed on the "SCENE FILE" screen. When a scene file to be registered on the top screen, "SCENE FILE", in the SETU P menu is selected and the [SEL] button is pressed, the "SCENE FILE" screen appears. The "SCENE FILE" screen consists of 2 pages. The selected scene file number appears beside the screen title. Scene file number ** SCENE FILE 1 ** P1 DTL MODE *MANU RED DTL OFF GAMMA -....|....+ KNEE *MANU BLACK STRETCH OFF D-RANGE NORMAL WHITE CLIP -....|....+ RET END ** SCENE FILE 1 ** P2 FLARE COMP OFF DNR LOW MATRIX *USER CHROMA GAIN -.....|...+ TOTAL PED -....|....+ RET END [DTL MODE] Specifies the details. The band and level of the edge correction are specified. "SCENE FILE" screen ** SCENE FILE 1 ** P1 DTL MODE *MANU RED DTL OFF GAMMA -....|....+ KNEE *MANU BLACK STRETCH OFF D-RANGE NORMAL WHITE CLIP -....|....+ RET END "DTL MODE" screen ** DTL MODE ** PATTERN USER DTL BAND DTL LEVEL -....|....+ RET END 20 z Move the cursor to "DTL MODE" on the "SCENE FILE" screen and press the [SEL] button. → The "DTL MODE" screen appears. x Move the cursor to "PATTERN", select a pattern from among "1", "2" and "3", and press the [SEL] button. → The settings of "DTL BAND" and "DTL LEVEL" are applied to "USER". The band and level can be manually adjusted in "USER". Perform adjustment on an as-needed basis. Be sure to view the monitor when the adjustment is performed. Note: • The band and level can also be adjusted directly without applying any of the patterns, "1", "2", and "3" to "USER". c Move the cursor to "DTL BAND" and adjust the band with use of the [e] or [f] button. When the level indicator moves in the "+" direction, the edge becomes thinner (band becomes higher). When the level indicator moves in the "-" direction, the edge becomes thicker (band becomes lower). v Move the cursor to "DTL LEVEL" and adjust the level with use of the [e] or [f] button. When the level indicator moves in the "+" direction, the image becomes sharper. When the level indicator moves in the "-" direction, the image becomes softer. Note: • Jaggies may appear on the edge of a photographic subject, but this phenomenon is not abnormal. If this phenomenon is not favorable, decrease "DTL BAND" or "DTL LEVEL" to adjust the image quality. [RED DTL] Adjusts the enhancement of red edge. The red edge enhancement level of images through the camera is adjusted. The enhancement level is selectable from the following. OFF (default): No edge enhancement is performed on the red portion. LOW: The low level of edge enhancement is performed on the red portion. HIGH: The high level of edge enhancement is performed on the red portion. [GAMMA] Performs gamma adjustment. Be sure to view a waveform monitor or a color video monitor when the gamma adjustment is performed. Move the cursor to "GAMMA" and adjust the gamma level with use of the [e] or [f] button. When the level indicator moves in the "+" direction, the correction level becomes larger. When the level indicator moves in the "-" direction, the correction level becomes smaller. Moving the cursor to the far end of the "+" direction sets the gamma correction to OFF.
-
 1
1 -
2
-
3
-
4
-
5
-
6
-
7
-
8
-
9
-
10
-
11
-
12
-
13
-
14
-
 15
15 -
 16
16 -
 17
17 -
 18
18 -
 19
19 -
 20
20 -
 21
21 -
 22
22 -
 23
23 -
 24
24 -
 25
25 -
26
-
27
-
28
-
29
-
30
-
31
-
32
 |
 |