Panasonic KX-HNS101 Operating Instructions CA - Page 10
Temporary placement, Confirming proper operation
 |
View all Panasonic KX-HNS101 manuals
Add to My Manuals
Save this manual to your list of manuals |
Page 10 highlights
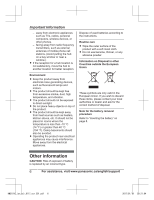
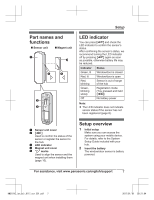
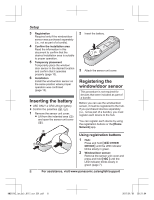
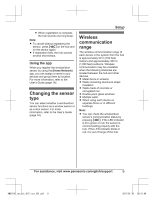
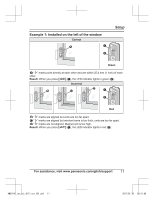
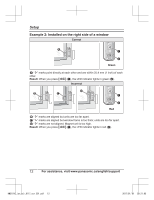
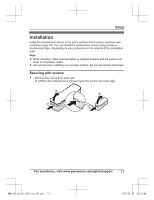
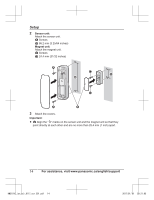
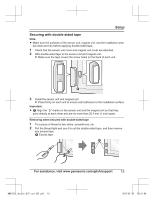
Setup Temporary placement Before installing the window/door sensor, temporarily place it in the desired location and confirm that it operates properly by pressing M N. Important: R Attach the sensor unit to the window frame or door frame, and attach the magnet unit to the window or door. R The window/door sensor will not operate properly if the " " marks are too far apart or are not pointing toward each other. R Attach both units so that the " " marks point toward each other and are within 25.4 mm (1 inch) of each other. Confirming proper operation After temporarily placing the window/door sensor in the desired location, press M N while the window or door is closed. The window/door sensor's LED indicator lights as follows. Indicator Status Green, lit The installation position is correct. Red, lit The " " marks on the sensor unit and the magnet unit are too far from each other. Re-attach the sensor unit and the magnet unit so that they point directly at each other and are no more than 25.4 mm (1 inch) apart. Red, blinking The sensor unit is out of range of the hub. Refer to the information on page 9. Note: R Depending on the condition and material of the surface where the sensor unit and magnet unit are installed, the LED indicator may light in red even if the " " marks point directly at each other and are no more than 25.4 mm (1 inch) apart. 10 For assistance, visit www.panasonic.ca/english/support HNS101C_(en_en)_0117_ver.201.pdf 10 2017/01/19 20:21:04
-
 1
1 -
2
-
3
-
4
-
 5
5 -
 6
6 -
 7
7 -
 8
8 -
 9
9 -
 10
10 -
 11
11 -
 12
12 -
 13
13 -
 14
14 -
 15
15 -
16
-
17
-
18
-
19
-
20
-
21
-
22
-
23
-
24
-
25
-
26
-
27
-
28
-
29
-
30
-
31
-
32
-
33
-
34
-
35
-
36
-
37
-
38
-
39
-
40
-
41
-
42
-
43
-
44
 |
 |
