Panasonic KX-HNS101 Operating Instructions CA - Page 13
Installation, Securing with screws
 |
View all Panasonic KX-HNS101 manuals
Add to My Manuals
Save this manual to your list of manuals |
Page 13 highlights
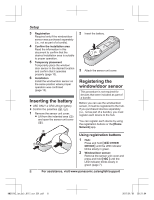
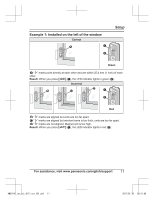
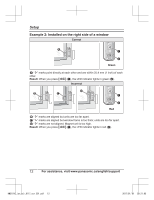
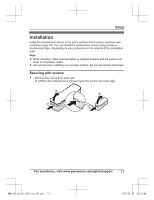
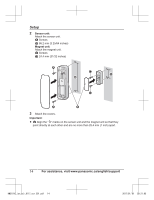
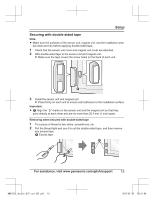
Setup Installation Install the window/door sensor in the same position where proper operation was confirmed (page 10). You can install the window/door sensor using screws or double-sided tape, depending on your preference or the material of the installation area. Note: R When installing, make sure the battery is inserted properly and the sensor unit cover is completely closed. R Use screws when installing on a wooden surface. Do not use double-sided tape. Securing with screws 1 Remove the covers from each unit. R Lift from the indented area (A) and open the sensor unit cover (B). 2 2 1 1 For assistance, visit www.panasonic.ca/english/support 13 HNS101C_(en_en)_0117_ver.201.pdf 13 2017/01/19 20:21:05
-
 1
1 -
2
-
3
-
4
-
5
-
6
-
7
-
 8
8 -
 9
9 -
 10
10 -
 11
11 -
 12
12 -
 13
13 -
 14
14 -
 15
15 -
 16
16 -
 17
17 -
 18
18 -
19
-
20
-
21
-
22
-
23
-
24
-
25
-
26
-
27
-
28
-
29
-
30
-
31
-
32
-
33
-
34
-
35
-
36
-
37
-
38
-
39
-
40
-
41
-
42
-
43
-
44
 |
 |
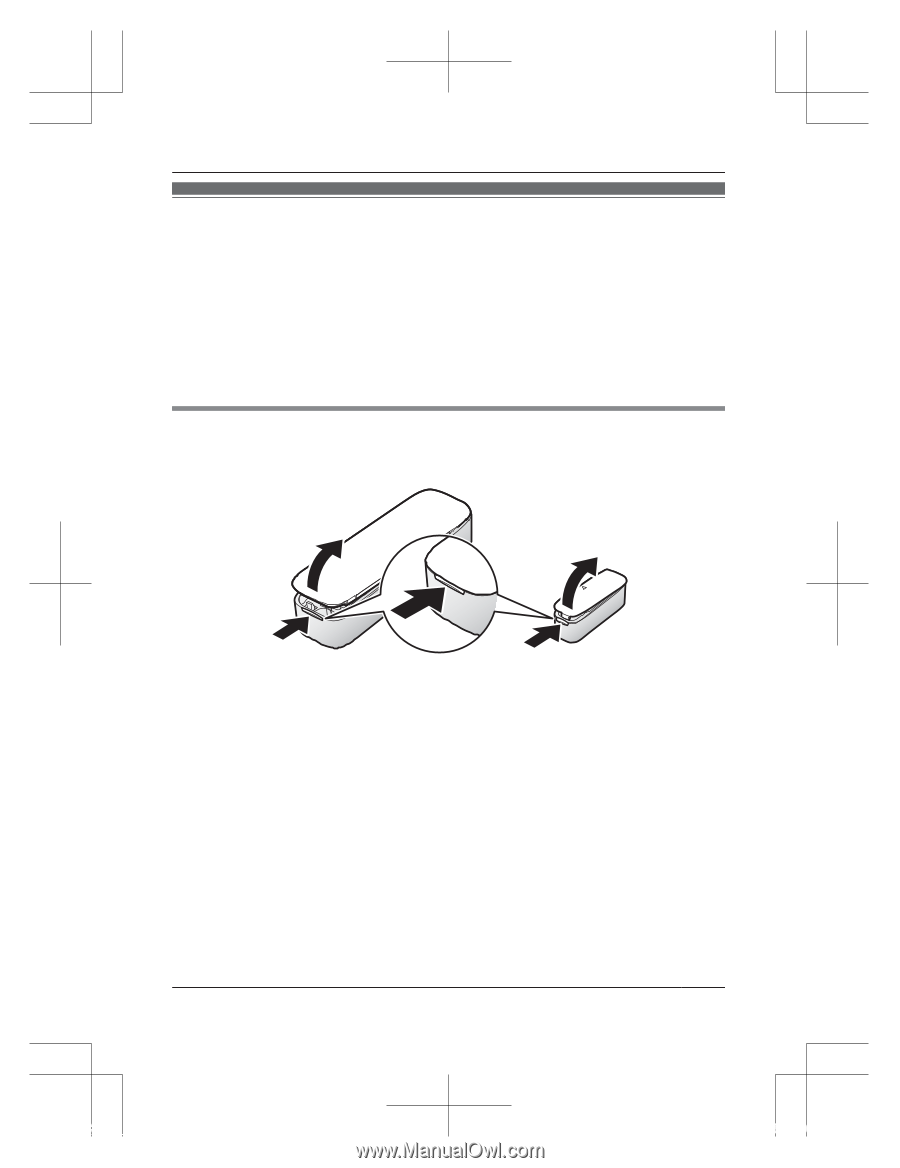
Installation
Install the window/door sensor in the same position where proper operation was
confirmed (page 10). You can install the window/door sensor using screws or
double-sided tape, depending on your preference or the material of the installation
area.
Note:
R
When installing, make sure the battery is inserted properly and the sensor unit
cover is completely closed.
R
Use screws when installing on a wooden surface. Do not use double-sided tape.
Securing with screws
1
Remove the covers from each unit.
R
Lift from the indented area (
A
) and open the sensor unit cover (
B
).
1
2
1
2
For assistance, visit www.panasonic.ca/english/support
13
Setup
HNS101C_(en_en)_0117_ver.201.pdf
13
2017/01/19
20:21:05