Philips PCVC720K User manual - Page 4
install the camera drivers.
 |
View all Philips PCVC720K manuals
Add to My Manuals
Save this manual to your list of manuals |
Page 4 highlights
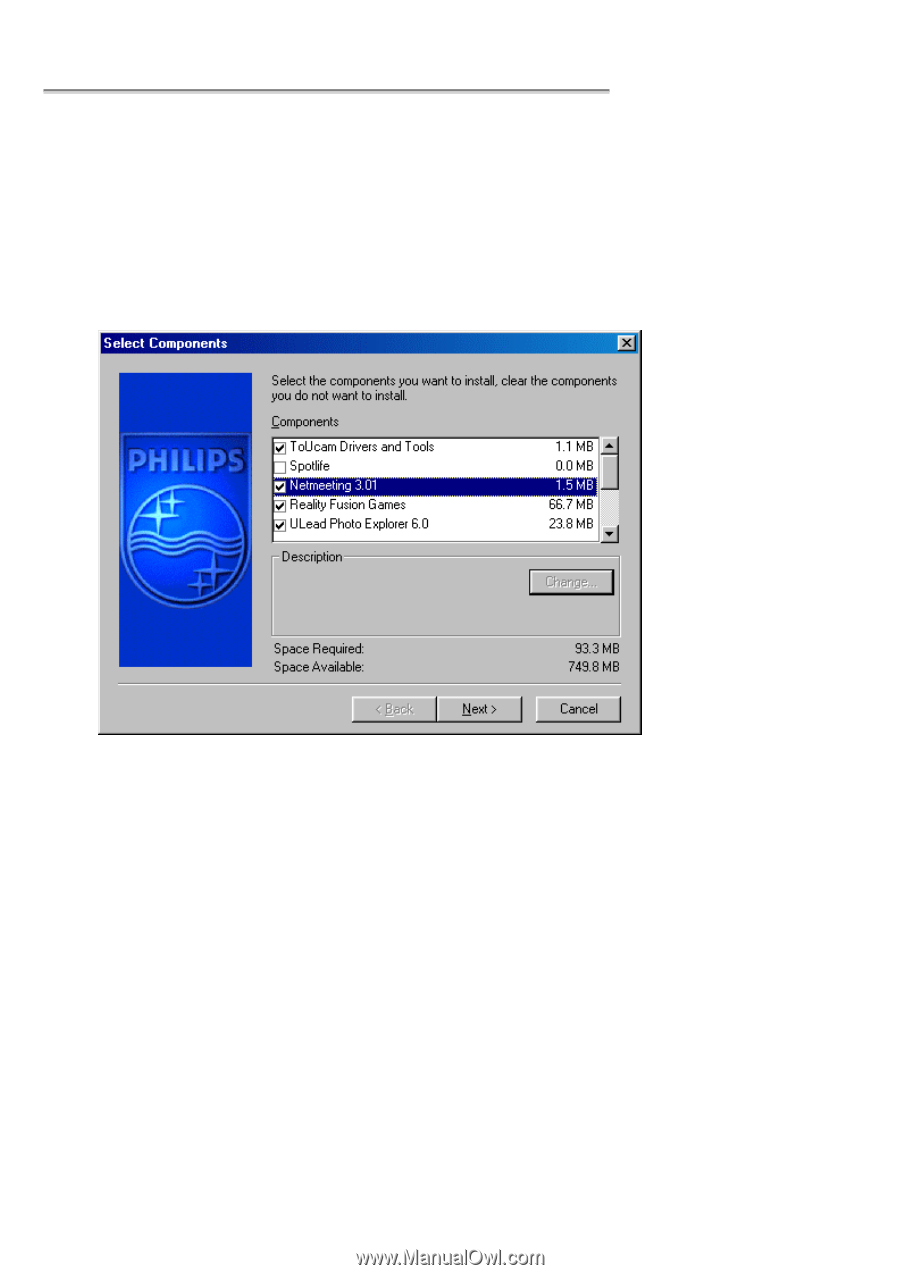
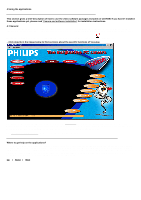
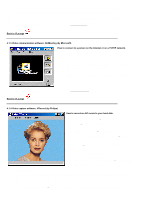
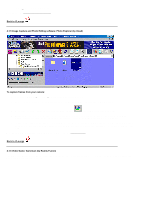
In order to maximize the video performance offered by your camera, we have included a Philips installation program on CD-ROM. Please follow these directions for the camera installation exactly, and make sure that you have your Windows CD-ROM to hand. 1. 2. Insert the Philips installation CD-ROM into the CD-ROM drive. 3. The installation program should start automatically. If not, click the Windows 'Start' button, then click 'Run', and type: 'X:\Setup.exe', where X stands for the drive name of your CD-ROM drive. 4. Let the Philips installation program guide you through the setup procedure. Mark the different components you want to install (including the applications). You can always re-run this setup at a later time to add components to your installation or to reinstall the camera drivers. 5. When asked for the Windows CD-ROM, insert it into the drive and click 'OK'. Exit the Windows Setup screen if it appears. 6. After copying the camera software and the application software to your hard disk, the installation program will install the selected applications and then launch the camera configuration program VCheck to install the camera drivers.
-
 1
1 -
 2
2 -
 3
3 -
 4
4 -
 5
5 -
 6
6 -
 7
7 -
 8
8 -
 9
9 -
 10
10 -
11
-
12
-
13
-
14
-
15
-
16
-
17
-
18
-
19
-
20
-
21
-
22
-
23
-
24
-
25
-
26
 |
 |