RCA RCU811 User Guide - Page 13
TV Volume Punch-through - review
 |
UPC - 079000323990
View all RCA RCU811 manuals
Add to My Manuals
Save this manual to your list of manuals |
Page 13 highlights
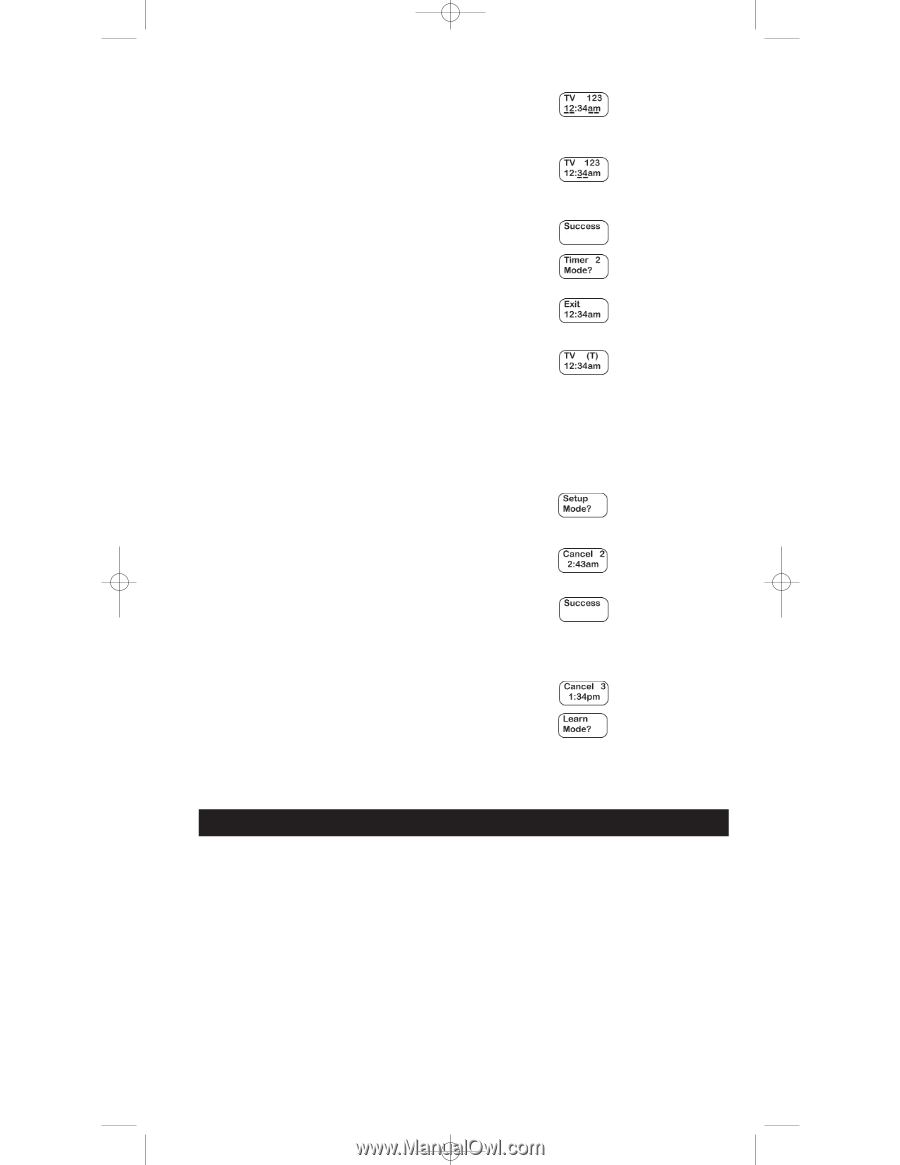
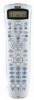
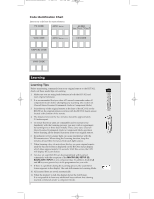
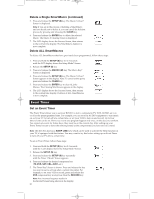
RCU811US_IB_REVB 9/26/03 11:54 AM Page 13 6. The Time Display Screen is shown. The cursor is flashing under the hour (HH) digits. Press and release the LEVEL+/UP ARROW or LEVEL-/DOWN ARROW key to select the desired hour. Press and release the ENTER key. 7. The cursor under the minutes (MM) digits is now flashing. Press and release the LEVEL+/UP ARROW or LEVEL-/ DOWN ARROW key to select the minutes. Press and release the ENTER key. 8. The LCD shows the Success Screen. 9. Once the first Event Timer is set, the LCD displays the Timer 2 Mode? Screen for setting the next Event Timer. If you want to set another Event Timer, repeat steps 4-8. If you do not want to set any more Event Timers, press and release the SETUP (S) key repeatedly until the Exit screen is displayed, then press and release the ENTER key. The Set an Event process is now complete. Note: A symbol (T) will be displayed to signify a Timer is set. The LCD display will remain on until the Timer expires. Delete or Review an Event Timer Any set Event Timer is indicated by the symbol (T) displayed above the clock on your LCD display. To delete or review an Event Timer, follow these steps: Note: If no Event Timer has been previously set, this option is not shown in Setup Mode. 1. Press and hold the SETUP (S) key for 2-3 seconds until the LCD display shows the Setup Mode? Screen. 2. Release the SETUP (S) key. 3. Press and release the SETUP (S) key repeatedly until the Cancel X Screen is displayed (X=1, 2, 3, or 4 and corresponds to the timer you wish to delete.). 4. To cancel this event, press and release the ENTER key. The LCD displays the Success Screen. Note: If you wish to cancel the Timer deletion process, or if you only wish to review a previously set Event Timer and exit from Setup Mode, press and release the CLEAR key. 5. The display returns to either the Cancel X+1 Screen or, if no more Event Timers have been programmed, to the Learn Mode? Screen. 6. Deleting or reviewing an Event Timer is now complete. To exit Setup Mode, press and release the SETUP (S) repeatedly until the Exit Setup Screen is shown, then press and release the ENTER key. TV Volume Punch-through Your RCU811's Volume Punch-through feature allows you to control the volume and mute functions of your television without the need to place the RCU811 in TV mode. For example, your TV volume can work even when you are in VCR Mode, because it "punches through" from one component to another. Specifically, the TV VOL+, VOL- and MUTE keys work even when you are in VCR, DVD, CABLE, or SAT Modes. This feature is also available if one of the AUX keys is programmed to control a second VCR, DVD, CABLE, or SAT component. The LCD shows component changes for the Volume Punch-through keys if they are pressed in other modes (e.g., If you are in CABLE Mode and you press and release the VOL+ key, TV is displayed in the LCD). Note: All CD/AUDIO Modes take any Volume/Mute keypress commands from the CD/AUDIO code. All other components punch through to the TV Volume/Mute control. 13
-
 1
1 -
2
-
3
-
4
-
5
-
6
-
7
-
 8
8 -
 9
9 -
 10
10 -
 11
11 -
 12
12 -
 13
13 -
 14
14 -
 15
15 -
 16
16 -
 17
17 -
 18
18 -
19
-
20
-
21
-
22
-
23
-
24
-
25
-
26
-
27
-
28
-
29
-
30
-
31
-
32
-
33
-
34
-
35
-
36
-
37
-
38
-
39
-
40
 |
 |