Radio Shack 63-1110 Owners Manual - Page 11
Mounting The Base
 |
UPC - 040293636906
View all Radio Shack 63-1110 manuals
Add to My Manuals
Save this manual to your list of manuals |
Page 11 highlights
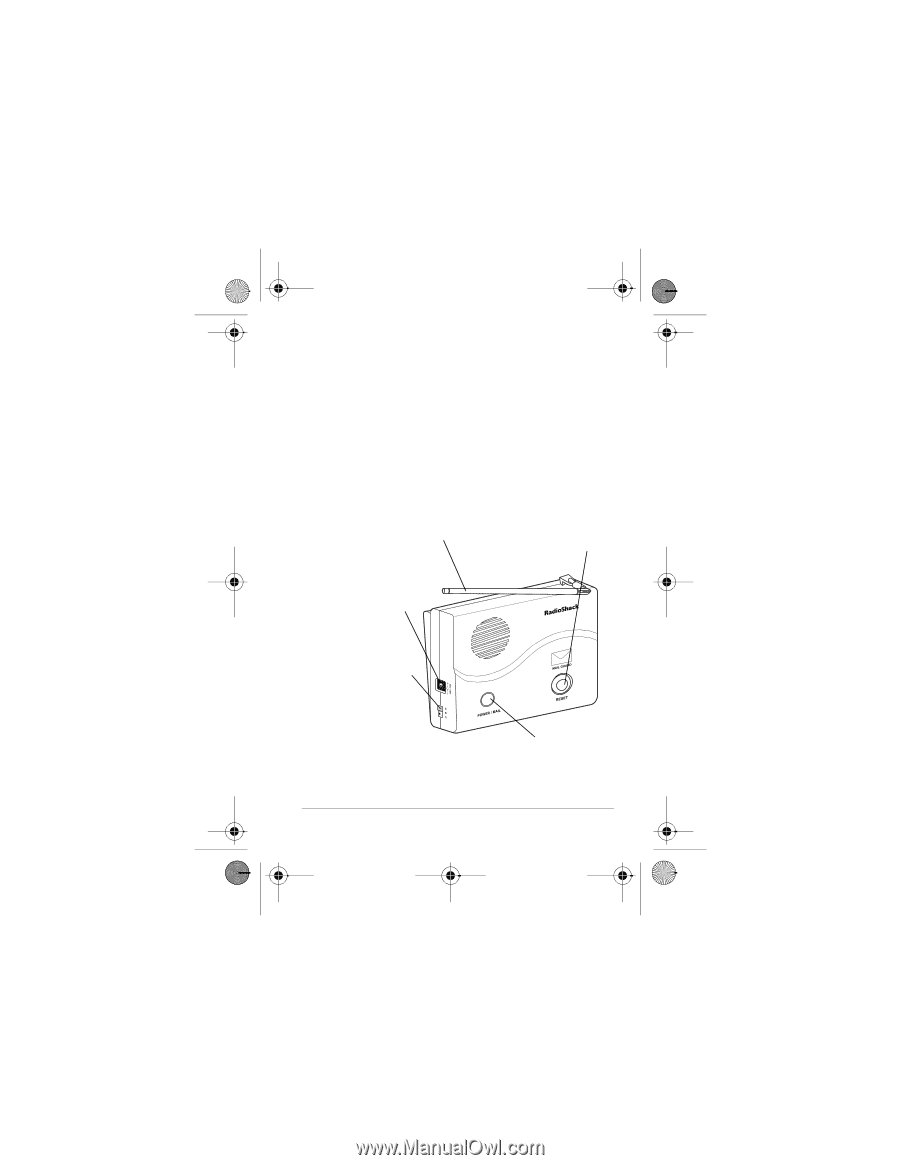
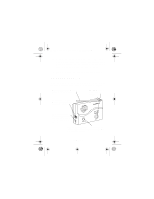
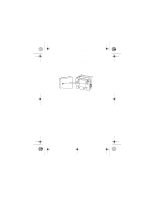
63-1110.fm Page 11 Friday, September 22, 2000 3:33 PM 3. Remove the backing from the other side of the double-sided tape and press the transmitter's mounting bracket on the corner of the mounting surface, angled to about 45° and facing out. 4. Snap the transmitter into its mounting bracket. MOUNTING THE BASE You can mount the base on a wall or set it flat (on its base) on a flat surface, such as a counter or table. Telescoping Antenna - extend fully for the best reception. RESET - press to set the base to standby. DC 12V Jack - power the base (receiver) using standard AC power. A B C Channel Switch select one of three channels to help eliminate interference from nearby sources. POWER/MAIL Indicator - lights steadily red when in standby or flashes green when the mailbox has been opened. Installation 11
-
 1
1 -
2
-
3
-
4
-
5
-
 6
6 -
 7
7 -
 8
8 -
 9
9 -
 10
10 -
 11
11 -
 12
12 -
 13
13 -
 14
14 -
 15
15 -
 16
16
 |
 |