Radio Shack 63-1110 Owners Manual - Page 6
Make sure the black o-ring remains secure
 |
UPC - 040293636906
View all Radio Shack 63-1110 manuals
Add to My Manuals
Save this manual to your list of manuals |
Page 6 highlights
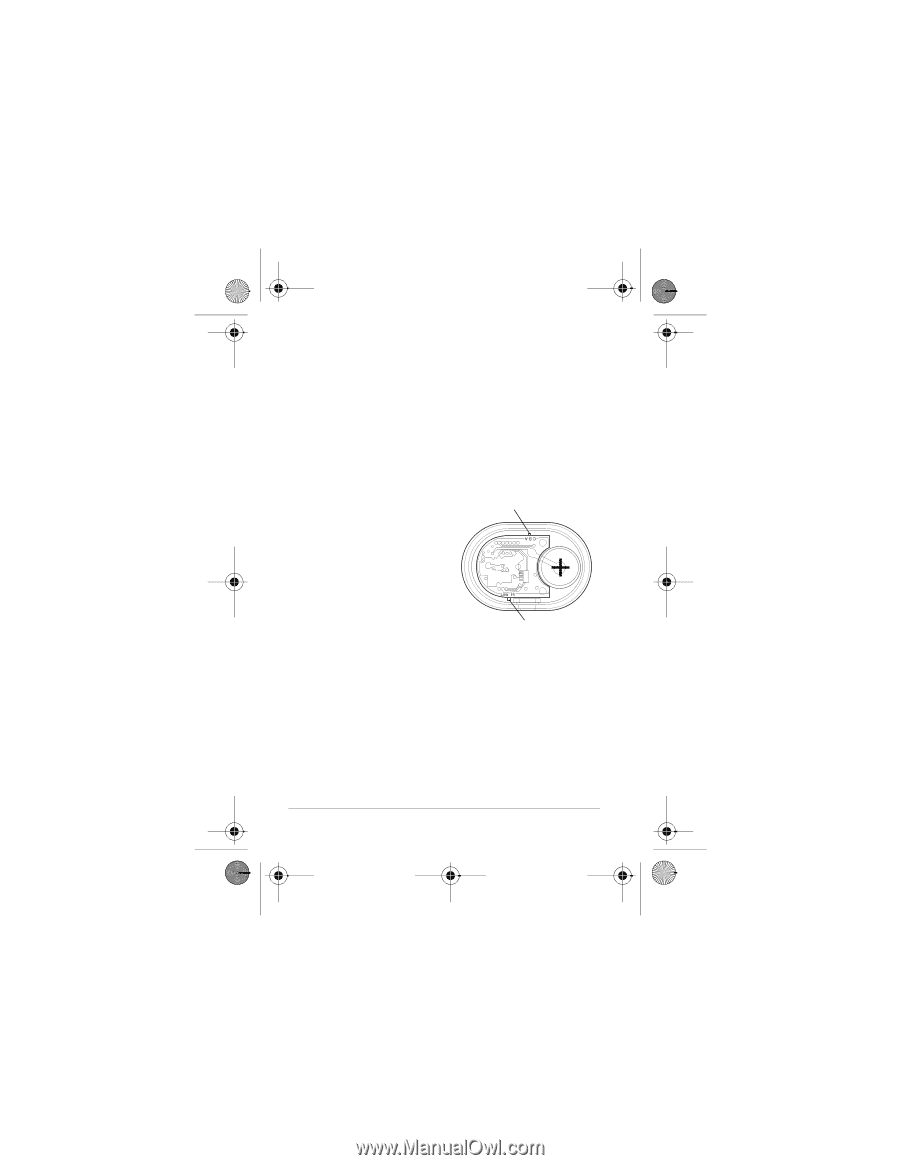
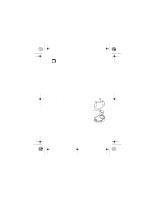
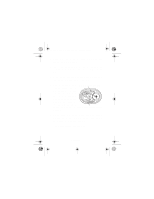
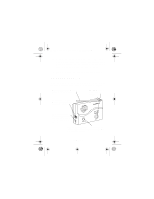
63-1110.fm Page 6 Friday, September 22, 2000 3:33 PM 2. Loosen the screw on the battery retaining clip, then slide the clip aside. 3. Install the two supplied CR 2032 batteries in the compartment with their positive (+) sides facing up. 4. Slide the battery retaining clip over the center of the top battery and tighten its screw. 5. Use a small pointed A B C Channel Switch object (such as a straightened paper clip) to slide A B C to the desired channel and set Low/Hi to the desired light sensitivity. (Factory setting is channel B with Hi sen- Low Hi Sensitivity Switch sitivity.) 6. Make sure the black o-ring remains secure around the transmitter's top cabinet, then replace the transmitter's bottom cabinet. 7. Tighten the transmitter's screws. 6 Installation
-
 1
1 -
 2
2 -
 3
3 -
 4
4 -
 5
5 -
 6
6 -
 7
7 -
 8
8 -
 9
9 -
 10
10 -
 11
11 -
 12
12 -
13
-
14
-
15
-
16
 |
 |