Ricoh Aficio MP 171 Operating Instructions - Page 14
Scanner Features, Scan Settings - user guide
 |
View all Ricoh Aficio MP 171 manuals
Add to My Manuals
Save this manual to your list of manuals |
Page 14 highlights
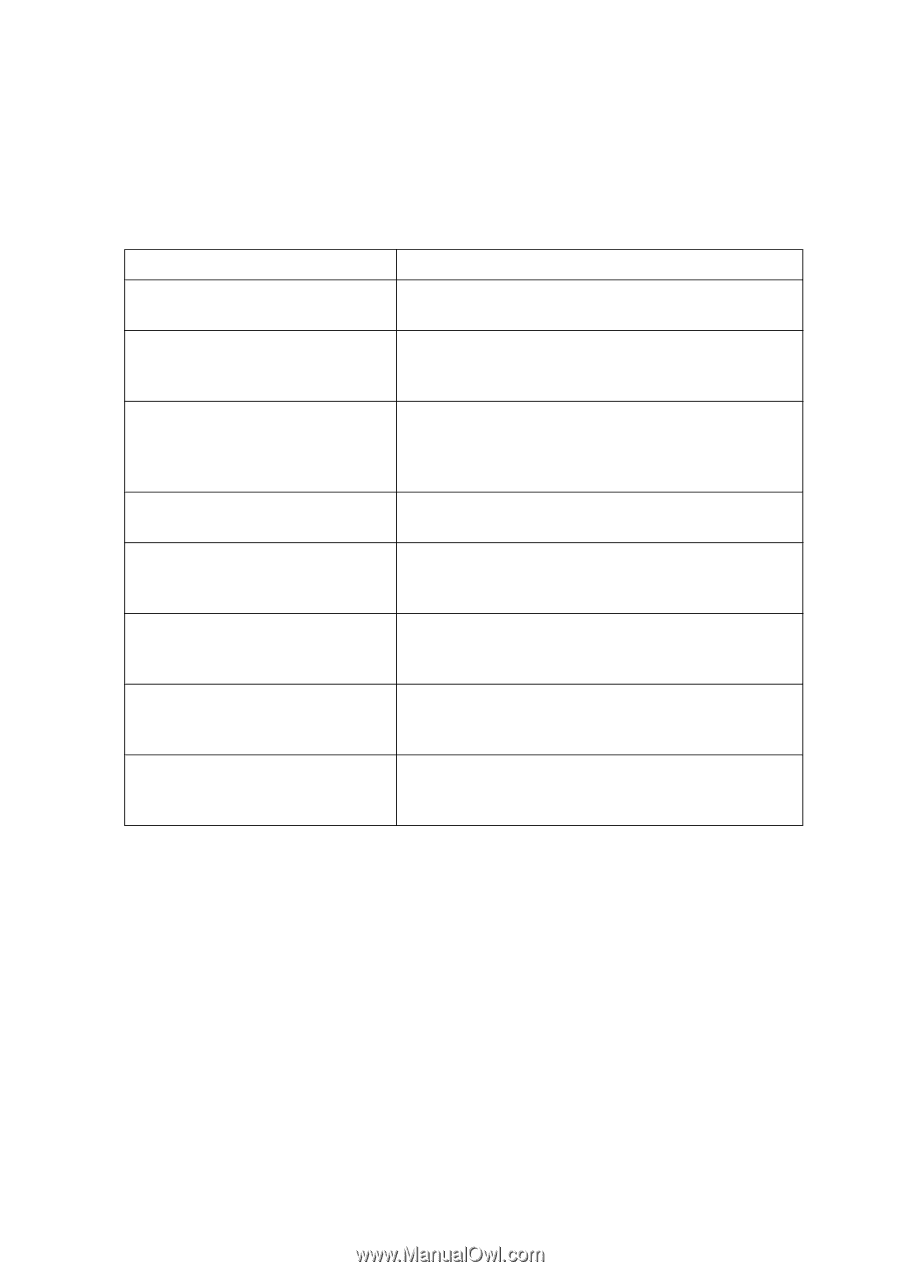
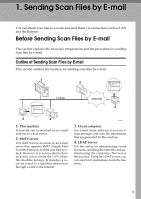
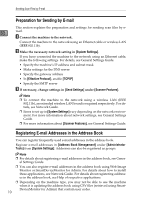
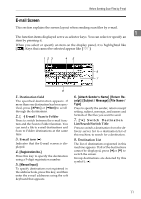
Scanner Features This section explains Scanner Features settings. To display the Scanner Features screen, press the {User Tools / Counter} key. For detailed setting method, see General Settings Guide. ❖ Scan Settings Items Description Default Scan Settings Make various basic settings, such as scan type, resolution, image density, and scan size. Wait Time for Next Orig.: Exposure Set which operation the machine performs while wait- Glass ing for additional originals after scanning from the ex- posure glass. Wait Time for Next Original(s): SADF Set the operation of this machine on the queue for additional originals after scanning the originals with Automatic Document Feeder (ADF). This function is not available unless ADF is installed. Original Setting Set whether originals are one-sided or two-sided as the default. Switch to Batch Select [SADF] or [Batch] as the scanning mode that appears under [Original Feed Type] on the initial display of scanner mode. Mixed Original Sizes Priority This setting determines whether the original size is automatically detected when originals of different sizes are inserted in the ADF. Original Orientation Priority Select the default original orientation. When originals are always positioned the same way, select that orientation as the default. Change Initial Mode Set the initial scanner screen settings that appear when the operation switch is turned on or the {Clear Mode} key is pressed. 6
-
 1
1 -
2
-
3
-
4
-
5
-
6
-
7
-
8
-
 9
9 -
 10
10 -
 11
11 -
 12
12 -
 13
13 -
 14
14 -
 15
15 -
 16
16 -
 17
17 -
 18
18 -
 19
19 -
20
-
21
-
22
-
23
-
24
-
25
-
26
-
27
-
28
-
29
-
30
-
31
-
32
-
33
-
34
-
35
-
36
-
37
-
38
-
39
-
40
-
41
-
42
-
43
-
44
-
45
-
46
-
47
-
48
-
49
-
50
-
51
-
52
-
53
-
54
-
55
-
56
-
57
-
58
-
59
-
60
-
61
-
62
-
63
-
64
-
65
-
66
-
67
-
68
-
69
-
70
-
71
-
72
-
73
-
74
-
75
-
76
-
77
-
78
-
79
-
80
-
81
-
82
-
83
-
84
-
85
-
86
-
87
-
88
-
89
-
90
-
91
-
92
-
93
-
94
-
95
-
96
-
97
-
98
-
99
-
100
-
101
-
102
-
103
-
104
-
105
-
106
-
107
-
108
-
109
-
110
-
111
-
112
-
113
-
114
-
115
-
116
-
117
-
118
-
119
-
120
-
121
-
122
-
123
-
124
-
125
-
126
-
127
-
128
-
129
-
130
-
131
-
132
-
133
-
134
-
135
-
136
-
137
-
138
-
139
-
140
-
141
-
142
-
143
-
144
-
145
-
146
-
147
-
148
-
149
-
150
-
151
-
152
-
153
-
154
-
155
-
156
-
157
-
158
 |
 |