Samsung CLP-315 User Manual (ENGLISH) - Page 43
To prevent damage, do not expose the imaging unit to light - red light
 |
UPC - 635753721225
View all Samsung CLP-315 manuals
Add to My Manuals
Save this manual to your list of manuals |
Page 43 highlights
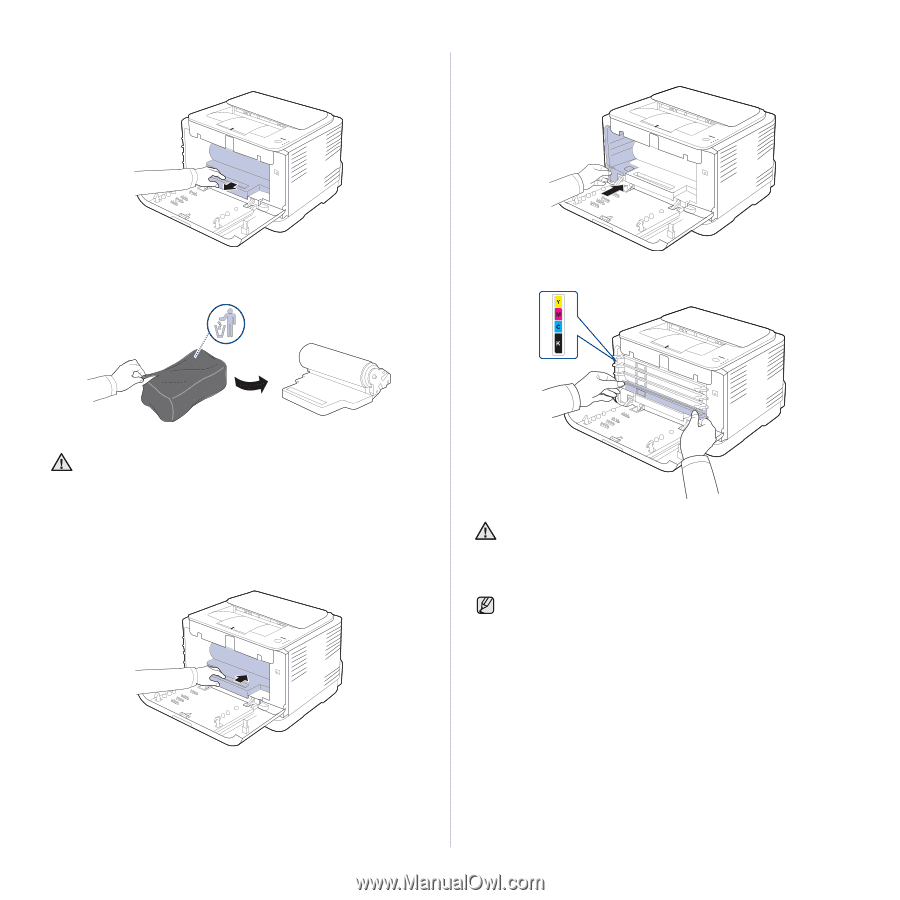
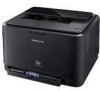
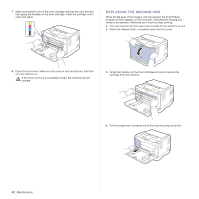
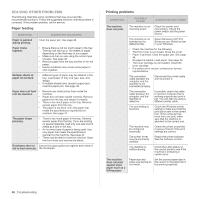
5. Pull the imaging unit out of the machine using the groove on the front of the imaging unit. 8. Insert the waste toner container into position and then push it to make sure that it is firmly seated in place. 6. Take a new imaging unit out of its package. 9. Slide the toner cartridge back into the machine. • Don't use sharp objects, such as a knife or scissors, to open the imaging unit package. You could damage the surface of the imaging unit. • Be careful not to scratch the surface of the imaging unit. • To prevent damage, do not expose the imaging unit to light for more than a few minutes. Cover it with a piece of paper to protect it if necessary. 7. Holding the groove on the front of the imaging unit, push imaging unit in to the machine. 10. Close the front cover firmly. If the front cover is not completely closed, the machine will not operate. Please make sure all toner cartridges are installed properly. If any toner cartridge is installed improperly, the front cover do not close. 11. Turn the machine on. Each LED blinks red in a repeated order. Wait for about 1.5 minutes for your machine to get ready. Maintenance_ 43
-
 1
1 -
2
-
3
-
4
-
5
-
6
-
7
-
8
-
9
-
10
-
11
-
12
-
13
-
14
-
15
-
16
-
17
-
18
-
19
-
20
-
21
-
22
-
23
-
24
-
25
-
26
-
27
-
28
-
29
-
30
-
31
-
32
-
33
-
34
-
35
-
36
-
37
-
 38
38 -
 39
39 -
 40
40 -
 41
41 -
 42
42 -
 43
43 -
 44
44 -
 45
45 -
 46
46 -
 47
47 -
 48
48 -
49
-
50
-
51
-
52
-
53
-
54
-
55
-
56
-
57
-
58
-
59
-
60
-
61
-
62
-
63
-
64
-
65
-
66
-
67
-
68
-
69
-
70
-
71
-
72
-
73
-
74
-
75
-
76
-
77
-
78
-
79
-
80
-
81
-
82
-
83
-
84
-
85
-
86
-
87
-
88
-
89
-
90
-
91
-
92
-
93
-
94
-
95
-
96
-
97
-
98
-
99
-
100
-
101
-
102
-
103
-
104
-
105
-
106
-
107
 |
 |