Samsung DVD-V3650 User Manual (user Manual) (ver.1.0) (English) - Page 17
Alt Video Out, Black Level - owners manual
 |
View all Samsung DVD-V3650 manuals
Add to My Manuals
Save this manual to your list of manuals |
Page 17 highlights
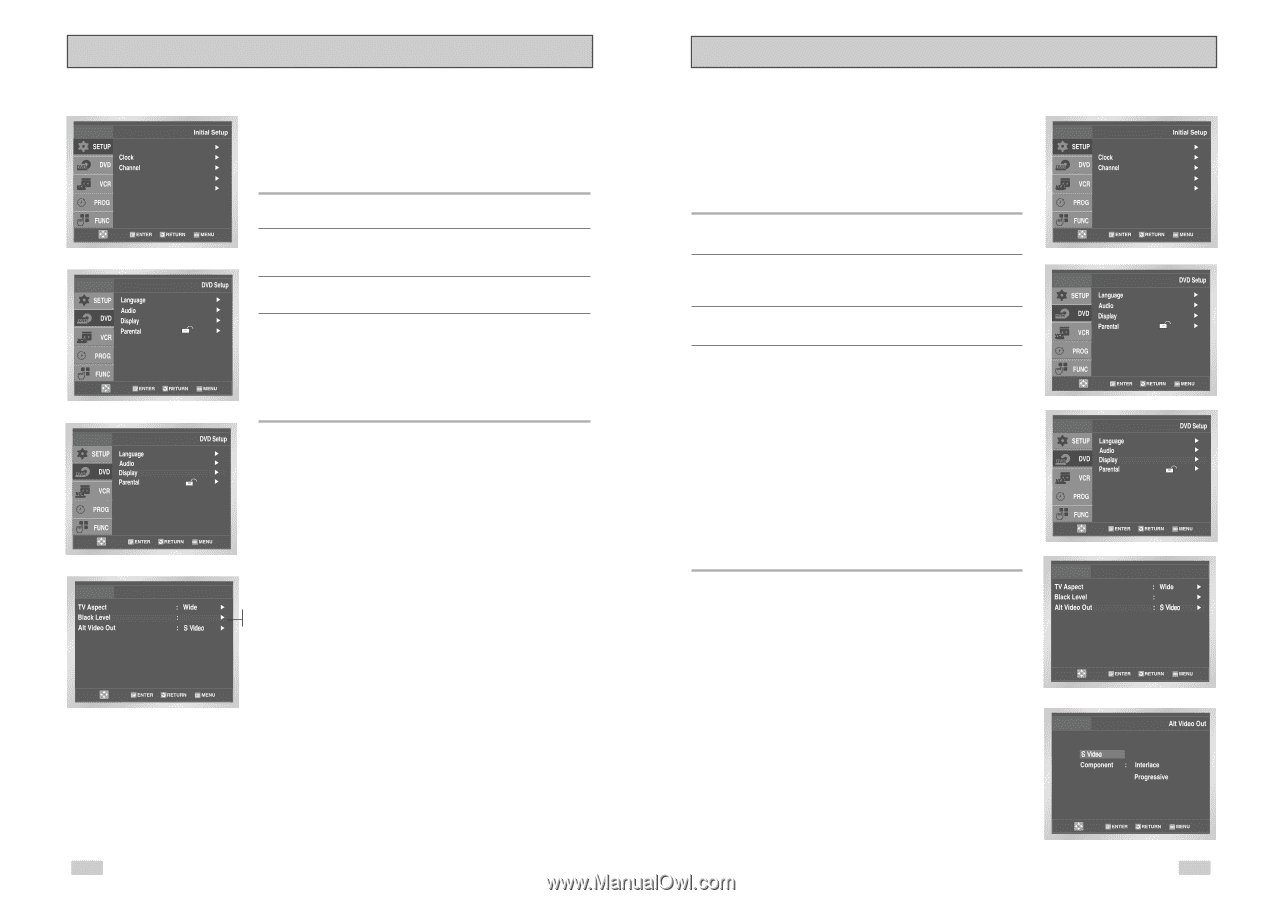
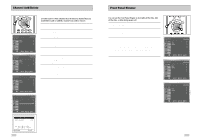
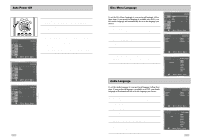
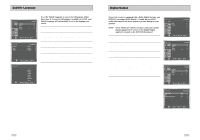
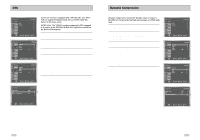
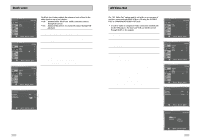
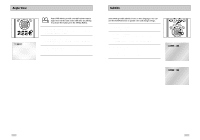
Black Level Language : English Front Display Auto Power Off : Auto : Off The Black Level feature adjusts the reference level of black in the video signal to one of two choices: • Off - Standard NTSC black level. Yields consistent contrast through all sources. • On - Enhanced black level, for increased contrast during DVD playback. 1 Open "MENU" Press the MENU button while the DVD is in Stop mode. 2 Select "DVD" Use the UP/DOWN buttons to highlight "DVD ", then press the ENTER button. 3 Select "Display" Highlight "Display", then press the ENTER button. 4 Set "Black Level" Highlight "Black Level," then press the RIGHT button to select one of the following options: • On - This will enhance the Black Level for increased brightness/contrast when viewing DVDs. • Off - This is the Standard NTSC reference Black Level for consistent brightness/contrast across all sources. Display Setup On On Off Alt Video Out The "Alt Video Out" option must be set in the on-screen menu if you have connected your DVD-VCR to a TV using the S-VIDEO OUT or COMPONENT VIDEO OUT jacks. • Use the S-Video or Component Video connection method only for the DVD player. The tuner and VCR can still be viewed through the RF or line outputs. 1 Open "MENU" Press the MENU button while the DVD is in Stop mode. 2 Select "DVD" Use the UP/DOWN buttons to highlight "DVD", then press the ENTER button. 3 Select "Display" Highlight "Display", then press the ENTER button. 4 Set "Alt Video Out" Highlight "Alt Video Out", then press the RIGHT button to select one of the following options: • S-Video - Select this if you are using the S-Video OUT jack on the rear panel to connect to a TV. • Component - Select this if you are using the COMPONENT VIDEO OUT jacks on the rear panel to connect to a Progressive(480p) or Interlaced (480i) TV. • See your TV owner's manual to determine what type of TV you have. - Interlace : Interlaced Scan mode will work. - Progressive : Progressive Scan mode will work, and Video and S-Video will not work. • Press the Progressive button on the front panel if you have a Progressive scan TV only. Otherwise, the picture will be disturbed. Language : English Front Display Auto Power Off : Auto : Off Display Setup On 32 33
-
 1
1 -
2
-
3
-
4
-
5
-
6
-
7
-
8
-
9
-
10
-
11
-
 12
12 -
 13
13 -
 14
14 -
 15
15 -
 16
16 -
 17
17 -
 18
18 -
 19
19 -
 20
20 -
 21
21 -
 22
22 -
23
-
24
-
25
-
26
-
27
-
28
-
29
-
30
-
31
-
32
-
33
-
34
-
35
 |
 |