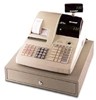
Sharp ER-A330 Installation Manual - Page 3
Removing The Top, Cabinet For, Er-a310 & Er-a330
 |
View all Sharp ER-A330 manuals
Add to My Manuals
Save this manual to your list of manuals |
Page 3 highlights
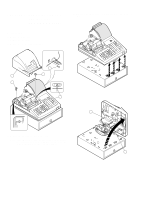
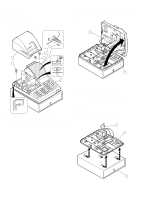
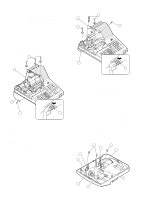
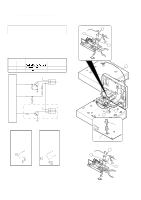
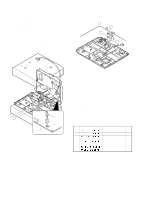
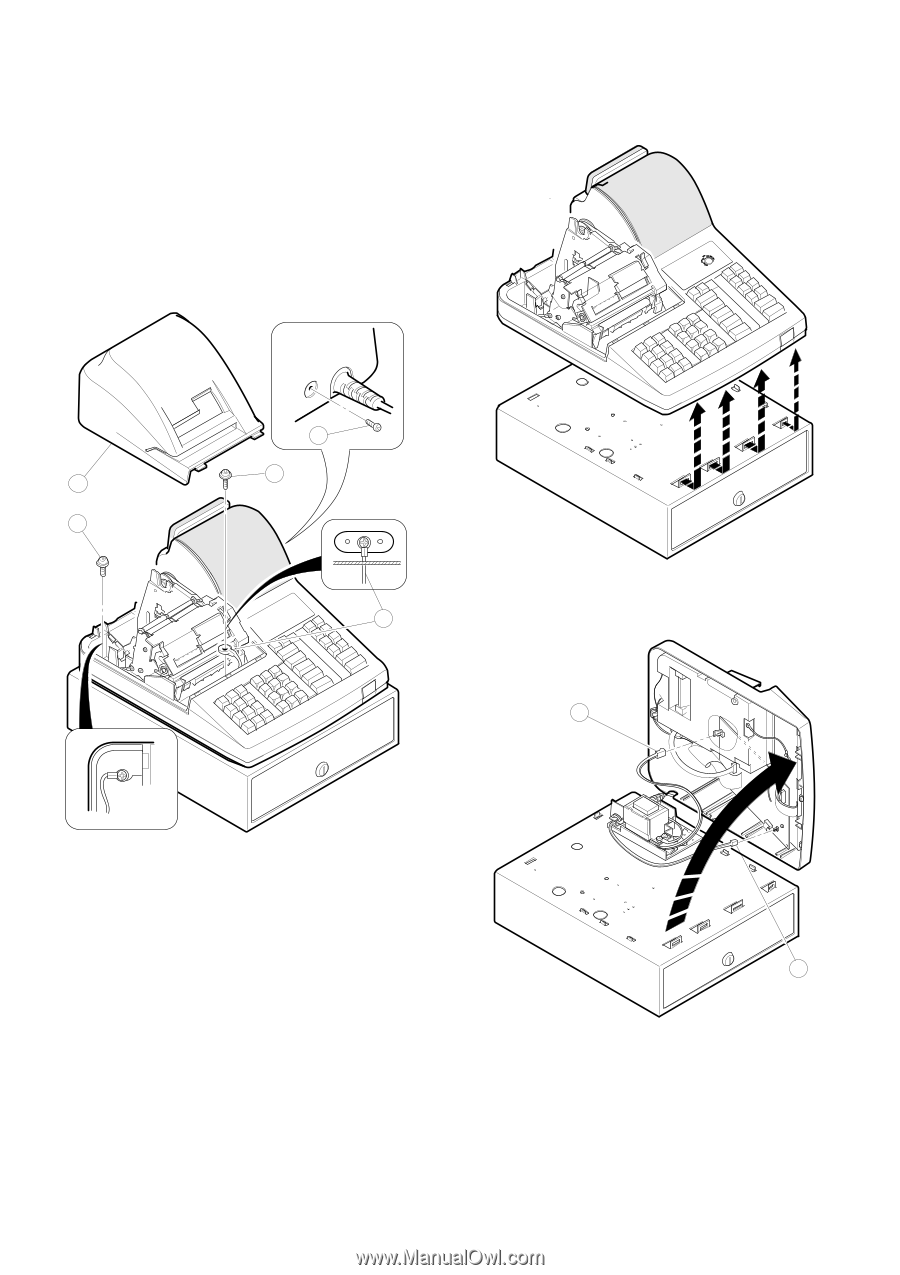
CHAPTER 3. REMOVING THE TOP CABINET (For ER-A310 & ER-A330) 1. ER-A310 1) Remove the printer cover . 2) Remove the two screws . 3) Remove the screw ! and grounding wire ". 5) Remove transformer cable # and drawer cable $ from the main PWB. 2 3 1 2 4 5 4) Separate the top cabinet and the drawer unit. Note: Transformer cable # and the drawer cable on the drawer unit are connected to the main PWB on the top cabinet. Be careful when separating them from the drawer unit. 6 – 2 –
-
 1
1 -
 2
2 -
 3
3 -
 4
4 -
 5
5 -
 6
6 -
 7
7 -
 8
8 -
 9
9 -
10
 |
 |
CHAPTER 3.
REMOVING THE TOP
CABINET (For
ER-A310 & ER-A330)
1. ER-A310
1)
Remove the printer cover .
2)
Remove the two screws .
3)
Remove the screw and grounding wire .
4)
Separate the top cabinet and the drawer unit.
Note:
Transformer cable and the drawer cable on the drawer
unit are connected to the main PWB on the top cabinet. Be
careful when separating them from the drawer unit.
5) Remove transformer cable and drawer cable from the main
PWB.
1
2
3
4
2
5
6