Sharp LC-20S4U-S LC-20S4U-S Operation Manual - Page 17
Manual Clock Setting, Time Display
 |
UPC - 074000362802
View all Sharp LC-20S4U-S manuals
Add to My Manuals
Save this manual to your list of manuals |
Page 17 highlights
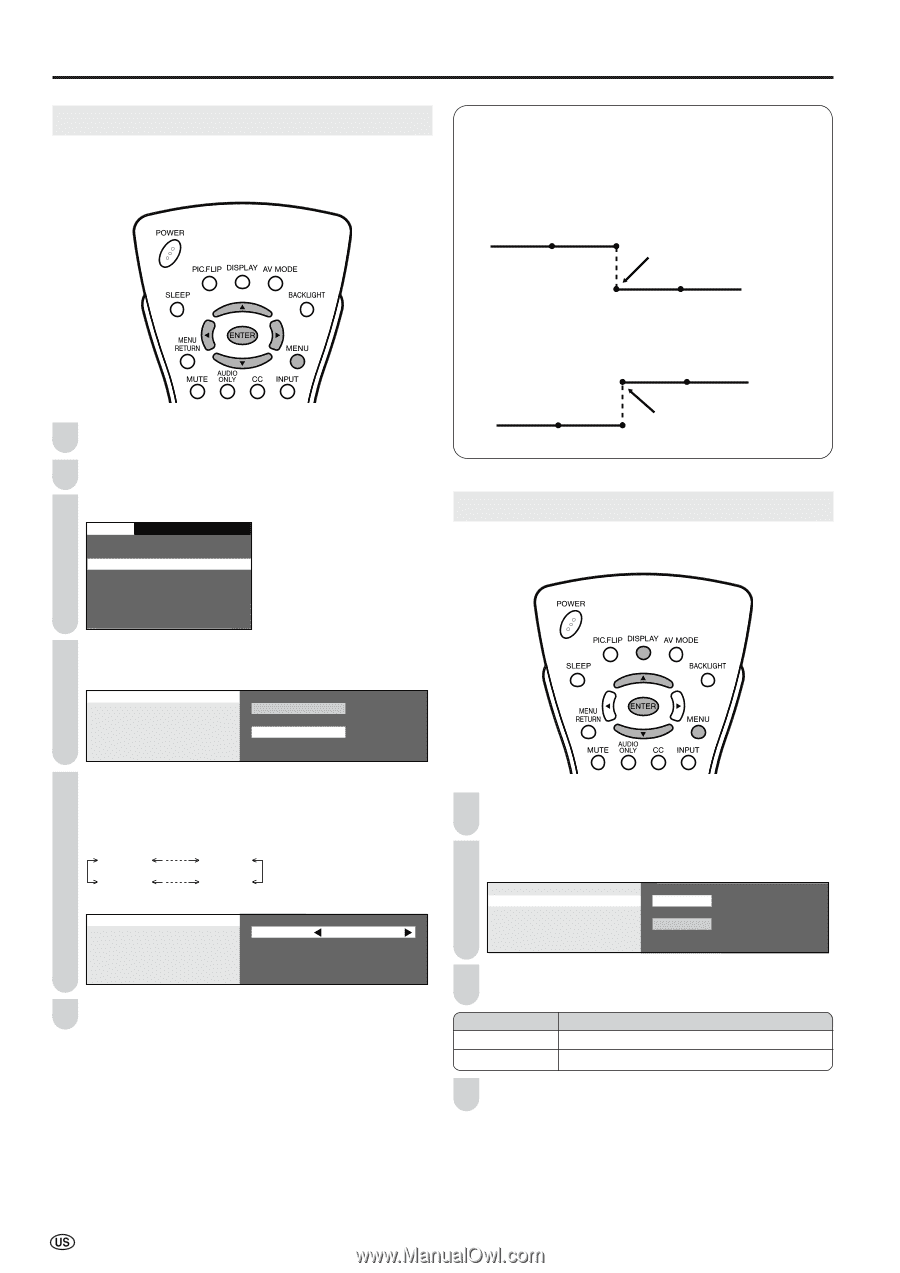
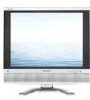
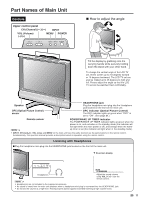
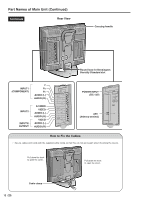
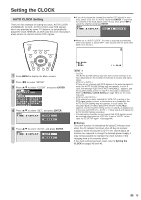
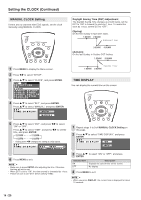
Setting the CLOCK (Continued) MANUAL CLOCK Setting If there are no channels with EDS signals, set the clock manually using MANUAL CLOCK. 1 Press MENU to display the Menu screen. 2 Press \/| to select "SETUP". 3 Press '/" to select "CLOCK", and press ENTER. SETUP OPTION CH-SETTING MTS CLOCK INPUT3 SELECT V-CHIP BLOCK CLOSED CAPTION COLOR SYSTEM LANGUAGE 4 Press '/" to select "SET", and press ENTER. Press '/" to select "MANUAL", and press ENTER. SET TIME DISPLAY AUTO MANUAL Daylight Saving Time (DST) Adjustment The Daylight Saving-Time changes as shown below, set the DST to "ON" to forward the clock by 1 hour. To rewind the clock by 1 hour, set the DST to "OFF". (Spring) On the first Sunday in April DST starts. 1:00AM 2:00AM Advances 1 hour. 3:00AM 4:00AM (Autumn) On the last Sunday in October DST finishes. 1:00AM 2:00AM Rewinds 1 hour. 1:00AM 2:00AM TIME DISPLAY You can display the current time on the screen. 5 Press '/" to select "DST", and press \/| to select "ON" or "OFF". Press '/" to select "TIME", and press \/| to set the time, and press ENTER. 12:00AM 11:59AM 11:59PM 12:00PM • Holding down \/| changes the setting at a high speed. SET TIME DISPLAY DST TIME OFF 12:0 0 AM 1 Repeat steps 1 to 3 of MANUAL CLOCK Setting on this page. 2 Press '/" to select "TIME DISPLAY", and press ENTER. SET TIME DISPLAY ON OFF 6 Press MENU to exit. A • Make sure to press ENTER after adjusting the time. Otherwise, the time will not be set. • When DST is set to "ON", the time entered is forwarded by 1 hour. • Please be sure to set "DST" before setting "TIME". 3 Press '/" to select "ON" or "OFF", and press ENTER. Selected item ON OFF Description Displays the current time on the screen. No display 4 Press MENU to exit. A • When you press DISPLAY, the current time is displayed for about 10 seconds. 16
-
 1
1 -
2
-
3
-
4
-
5
-
6
-
7
-
8
-
9
-
10
-
11
-
 12
12 -
 13
13 -
 14
14 -
 15
15 -
 16
16 -
 17
17 -
 18
18 -
 19
19 -
 20
20 -
 21
21 -
 22
22 -
23
-
24
-
25
-
26
-
27
-
28
-
29
-
30
-
31
-
32
-
33
-
34
-
35
-
36
-
37
-
38
-
39
-
40
-
41
-
42
-
43
 |
 |