Sony CCD-FX420 Primary User Manual - Page 22
Connecting, Alternative, Power, Sources
 |
View all Sony CCD-FX420 manuals
Add to My Manuals
Save this manual to your list of manuals |
Page 22 highlights
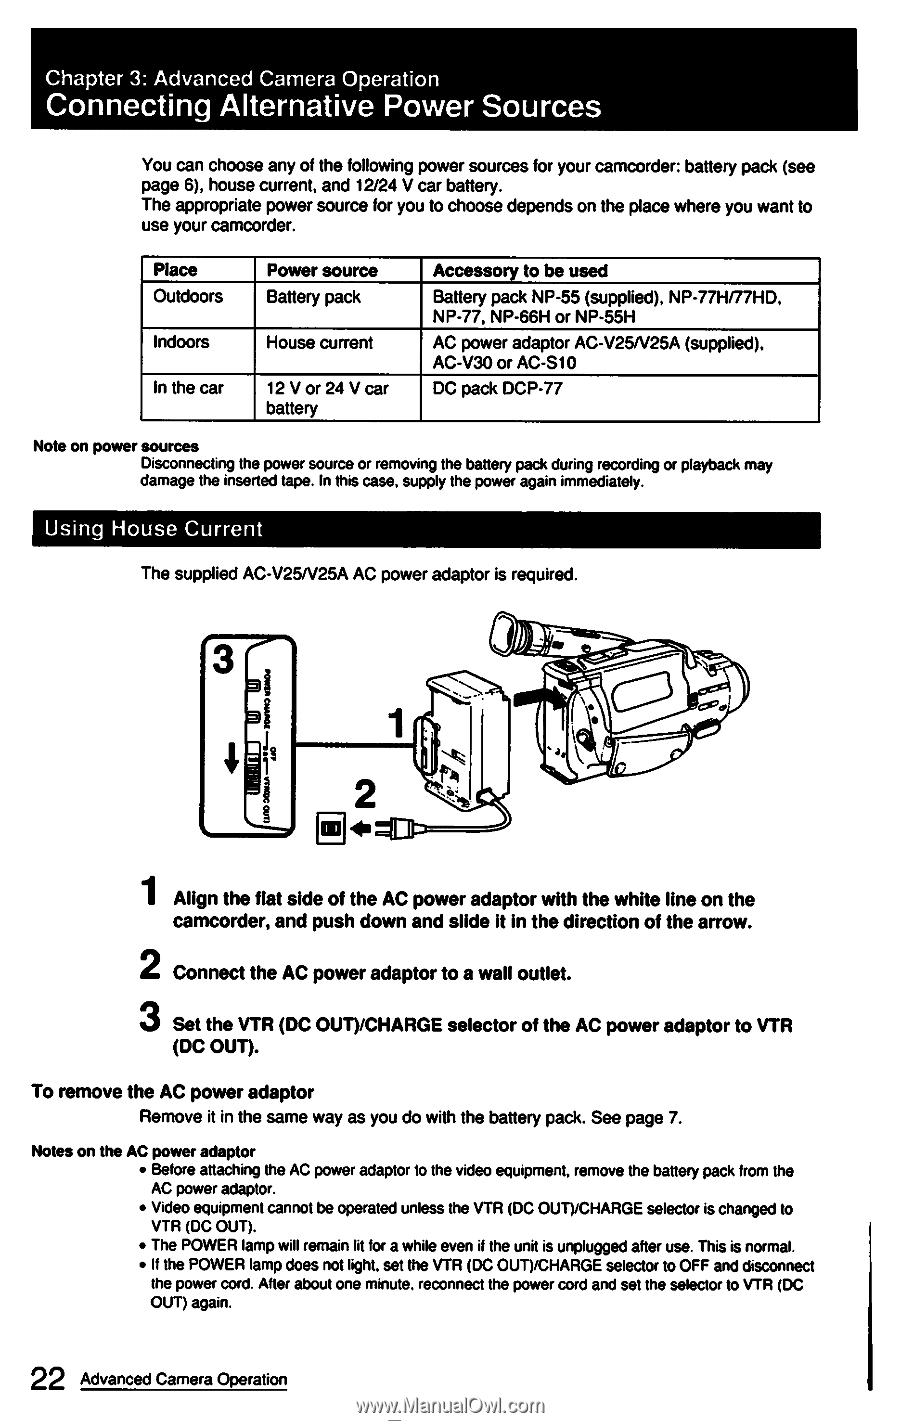
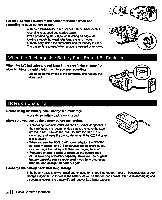
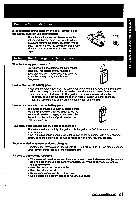
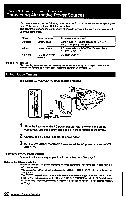
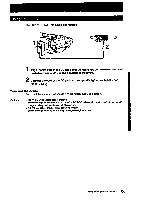
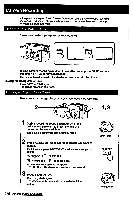
Chapter 3: Advanced Camera Operation Connecting Alternative Power Sources You can choose any of the following power sources for your camcorder: battery pack (see page 6), house current, and 12/24 V car battery. The appropriate power source for you to choose depends on the place where you want to use your camcorder. Place Outdoors Indoors In the car Power source Battery pack House current 12 V or 24 V car battery Accessory to be used Battery pack NP-55 (supplied), NP-77H/77HD, NP-77, NP-66H or NP-55H AC power adaptor AC-V25N25A (supplied), AC-V30 or AC-S10 DC pack DCP-77 Note on power sources Disconnecting the power source or removing the battery pack during recording or playback may damage the inserted tape. In this case, supply the power again immediately. Using House Current The supplied AC-V25N25A AC power adaptor is required. 3 I I I 2 1 Align the flat side of the AC power adaptor with the white line on the camcorder, and push down and slide it in the direction of the arrow. 2 Connect the AC power adaptor to a wall outlet. 3 Set the VTR (DC OUT)/CHARGE selector of the AC power adaptor to VTR (DC OUT). To remove the AC power adaptor Remove it in the same way as you do with the battery pack. See page 7. Notes on the AC power adaptor • Before attaching the AC power adaptor to the video equipment, remove the battery pack from the AC power adaptor. • Video equipment cannot be operated unless the VTR (DC OUT)CHARGE selector is changed to VTR (DC OUT). • The POWER lamp will remain lit for a while even if the unit is unplugged after use. This is normal. • If the POWER lamp does not light. set the VTR (DC OUT)/CHARGE selector to OFF and disconnect the power cord. After about one minute, reconnect the power cord and set the selector to VTR (DC OUT) again. 22 Advanced Camera Operation
-
 1
1 -
2
-
3
-
4
-
5
-
6
-
7
-
8
-
9
-
10
-
11
-
12
-
13
-
14
-
15
-
16
-
 17
17 -
 18
18 -
 19
19 -
 20
20 -
 21
21 -
 22
22 -
 23
23 -
 24
24 -
 25
25 -
 26
26 -
 27
27 -
28
-
29
-
30
-
31
-
32
-
33
-
34
-
35
-
36
-
37
-
38
-
39
-
40
-
41
-
42
-
43
-
44
-
45
-
46
-
47
-
48
-
49
-
50
-
51
-
52
 |
 |