Sony DAV-DZ175 Operating Instructions - Page 58
Other Settings, SYSTEM SETUP] - volume low
 |
View all Sony DAV-DZ175 manuals
Add to My Manuals
Save this manual to your list of manuals |
Page 58 highlights
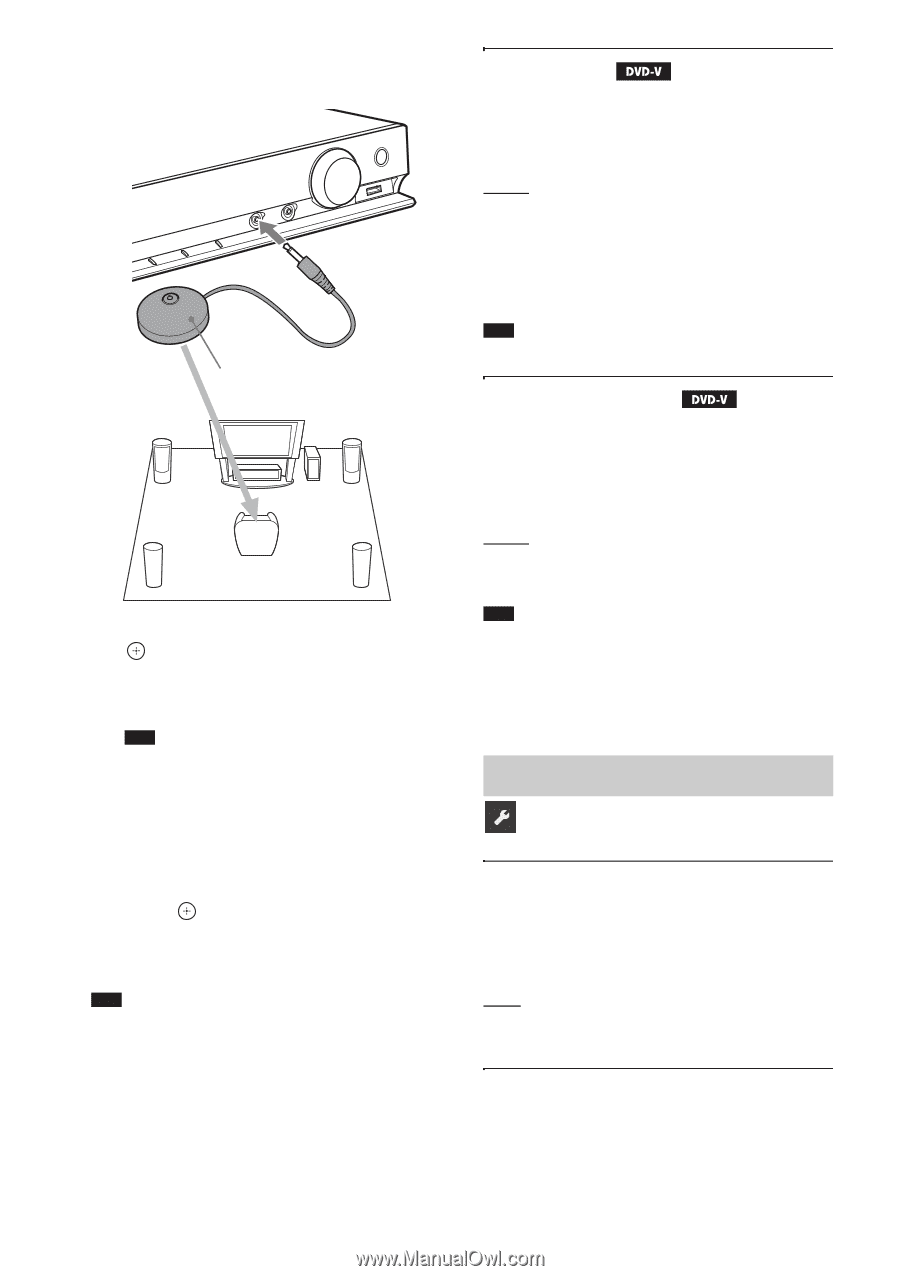
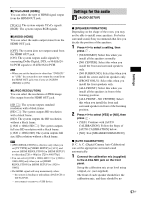
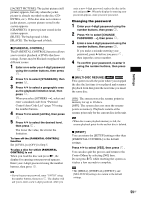
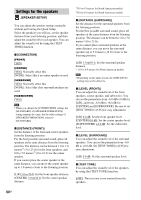
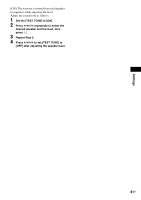
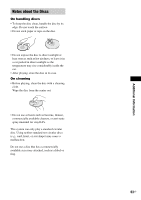
obstruction between the speakers and the calibration mic. Calibration mic 2 Press C/c to select [YES], then press . [AUTO CALIBRATION] starts. Be quiet during the measurement. Note • The environment of the room in which the system is installed may affect measurements. When the measurements differ considerably from the status of the speaker installation, perform the speaker settings manually by following "Settings for the speakers" (page 60). 3 Press C/c to select [YES] or [NO], then press . 4 Disconnect the calibration mic when the measurement completes correctly. Note • The system outputs a loud test sound when [AUTO CALIBRATION] starts. You cannot turn the volume down. Give consideration to children and neighbors. • The measurement for [SUBWOOFER] is always [YES] and [SPEAKER SETUP] returns to the default setting when you perform [AUTO CALIBRATION]. x [AUDIO DRC] You can compress the dynamic range of the sound track. [AUDIO DRC] is useful for watching movies at low volume late at night. [OFF]: No compression of dynamic range. [STANDARD]: The system reproduces the sound track with the kind of dynamic range that the recording engineer intended. [MAX]: The system compresses dynamic range fully. Note • [AUDIO DRC] works only for Dolby Digital. x [TRACK SELECTION] You can give the sound track which contains the highest number of channels priority when multiple audio formats (PCM, DTS, Dolby Digital, or MPEG audio) are recorded. [OFF]: Off. [AUTO]: The system selects the sound track automatically according to the priority. Note • When you set the item to [AUTO], the language may change. The [TRACK SELECTION] setting has higher priority than the [AUDIO] settings in [LANGUAGE SETUP] (page 54). (Depending on the disc, this function may not work.) Other Settings [SYSTEM SETUP] x [SCREEN SAVER] You can reduce the damage to the display device (ghosting). Press any button (e.g., N) to cancel the screen saver. [ON]: The screen saver image appears if you do not operate the system for about 15 minutes. [OFF]: Off. x [BACKGROUND] You can select the background color or picture on the TV screen. 58US
-
 1
1 -
2
-
3
-
4
-
5
-
6
-
7
-
8
-
9
-
10
-
11
-
12
-
13
-
14
-
15
-
16
-
17
-
18
-
19
-
20
-
21
-
22
-
23
-
24
-
25
-
26
-
27
-
28
-
29
-
30
-
31
-
32
-
33
-
34
-
35
-
36
-
37
-
38
-
39
-
40
-
41
-
42
-
43
-
44
-
45
-
46
-
47
-
48
-
49
-
50
-
51
-
52
-
 53
53 -
 54
54 -
 55
55 -
 56
56 -
 57
57 -
 58
58 -
 59
59 -
 60
60 -
 61
61 -
 62
62 -
 63
63 -
64
-
65
-
66
-
67
-
68
-
69
-
70
-
71
-
72
-
73
-
74
-
75
-
76
 |
 |