Sony MZ-NF610 SonicStage v1.5 Operating Instructions - Page 15
Basic Operations, Jump to Record Window.
 |
View all Sony MZ-NF610 manuals
Add to My Manuals
Save this manual to your list of manuals |
Page 15 highlights
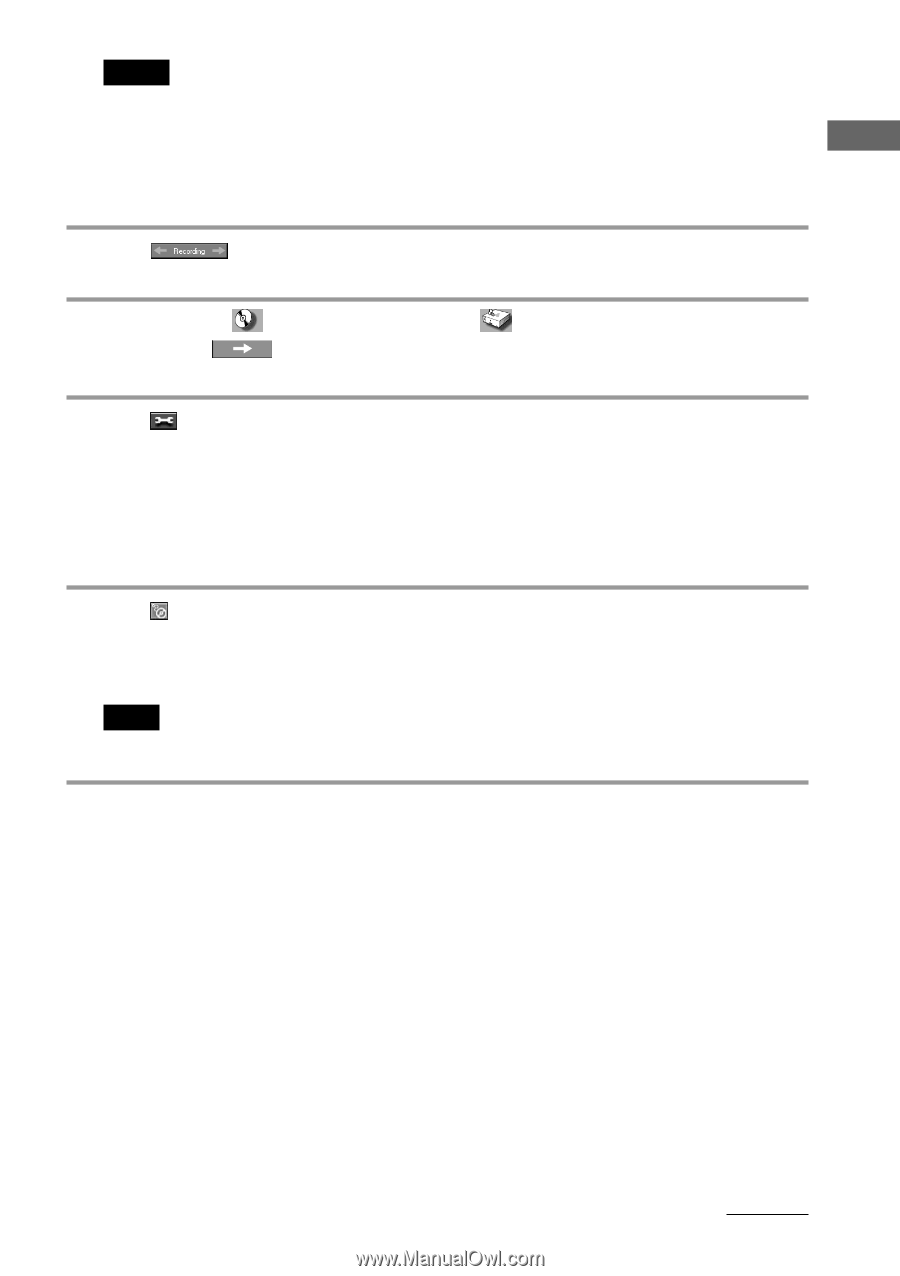
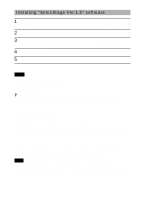
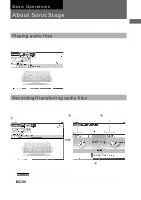
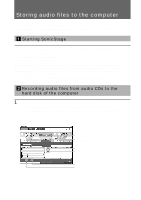
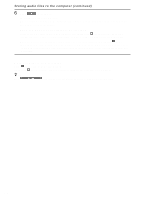
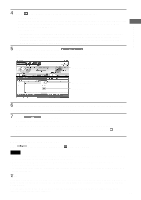
Basic Operations Notes • For the first time when recording the audio files using the CD-ROM drive, the "CD-ROM Drive Optimization" dialog box will be displayed when an audio CD is inserted into the drive. With the "CD-ROM Drive Optimization" dialog box, the drive check will be performed to record audio files from the CD-ROM drive properly. Click "Start" to check your CD-ROM drive. • When using an external CD-ROM drive, connect the drive to the computer prior to starting SonicStage. 2 Click . The Recording Assistant panel is displayed. 3 Click and select (CD) for [1 Sources] and then click 3 (Jump to Record Window). The Record/Transfer window is displayed. (Music Drive) for [2 Targets], and 4 Click in the middle of the window and select the recording format and bit rate. • Format Please select the file format supported by your Network Walkman. (Note that if ATRAC3plus is selected, the file created cannot be played on a Network Walkman not supporting the ATRAC3plus format.) • Bit Rate The bit rate affects the sound quality and recording time. A high bit rate offers better sound quality but shortens the recording time, if the recording format is constant. Contrary, the low bit rate is inferior to the high bit rate in quality but lengthens the recording time and enables you to check out more tracks to your Network Walkman. 5 Click (CD Info) to acquire the CD information such as an album title or track titles. The latest CD information is automatically downloaded from the CD information service site on the Internet. (To use the Internet CD information service, your computer must be connected to the Internet.) Note The CD information for some audio CDs may not be available. You can enter by using the keyboard in such a case. (page 17) continued 15
-
 1
1 -
2
-
3
-
4
-
5
-
6
-
7
-
8
-
9
-
 10
10 -
 11
11 -
 12
12 -
 13
13 -
 14
14 -
 15
15 -
 16
16 -
 17
17 -
 18
18 -
 19
19 -
 20
20 -
21
-
22
-
23
-
24
-
25
-
26
-
27
-
28
-
29
-
30
-
31
-
32
-
33
-
34
-
35
-
36
 |
 |