Sony NEX-VG900 "Handycam" Handbook - Page 71
Spot Focus, Exposure, AE Shift, Picture Effect, Manual, On EV and adjusted number, Toy Camera
 |
View all Sony NEX-VG900 manuals
Add to My Manuals
Save this manual to your list of manuals |
Page 71 highlights
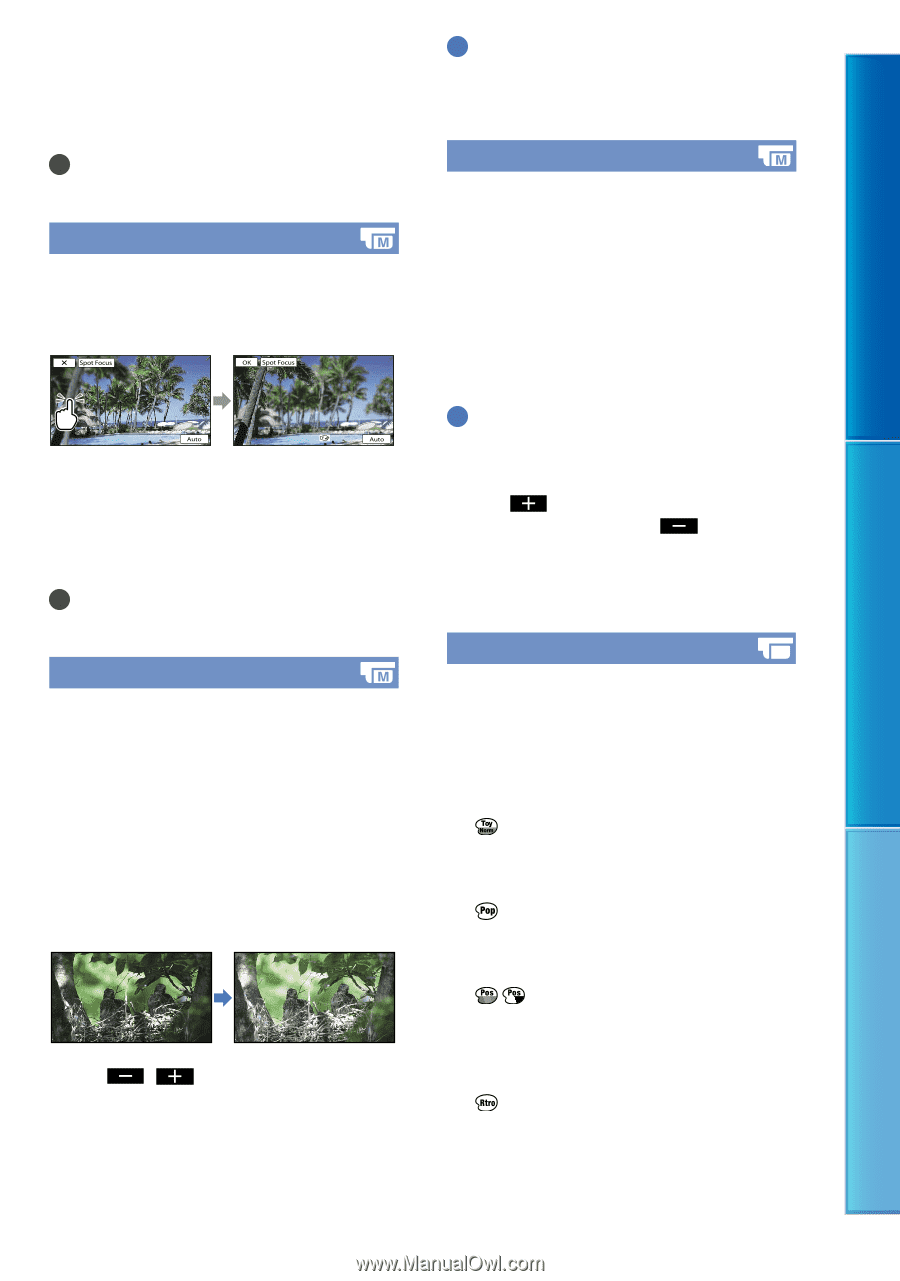
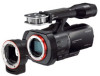
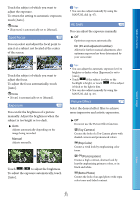
Table of Contents Search image Touch the subject of which you want to adjust the exposure. To return the setting to automatic exposure, touch [Auto]. Notes [Exposure] is automatically set to [Manual]. Spot Focus You can select and adjust the focal point to aim it at a subject not located at the center of the screen. Touch the subject of which you want to adjust the focus. To adjust the focus automatically, touch [Auto]. Notes [Focus] is automatically set to [Manual]. Exposure You can fix the brightness of a picture manually. Adjust the brightness when the subject is too bright or too dark. Auto Adjusts automatically depending on the image being recorded. Manual Adjusts manually. Touch / to adjust the brightness. To adjust the exposure automatically, touch [Auto]. Tips You can also adjust manually by using the MANUAL dial (p. 47). AE Shift You can adjust the exposure manually. Off Optimizes exposure automatically. On (EV and adjusted number) Allows for further manual adjustment, after optimum exposure has been determined by your camcorder. Tips You can adjust the automatic exposure level to brighter or darker when [Exposure] is set to [Auto]. Touch if the subject is white or the backlight is bright, or touch if the subject is black or the light is dim. You can also adjust manually by using the MANUAL dial (p. 47). Picture Effect Select the desired effect filter to achieve more impressive and artistic expression. Off Does not use the Picture Effect function. (Toy Camera) Creates the look of a Toy Camera photo with shaded corners and pronounced colors. (Pop Color) Creates a vivid look by emphasizing color tones. (Posterization) Creates a high contrast, abstract look by heavily emphasizing primary colors, or in black and white. (Retro Photo) Creates the look of an aged photo with sepia color tones and faded contrast. Index US 71
-
 1
1 -
2
-
3
-
4
-
5
-
6
-
7
-
8
-
9
-
10
-
11
-
12
-
13
-
14
-
15
-
16
-
17
-
18
-
19
-
20
-
21
-
22
-
23
-
24
-
25
-
26
-
27
-
28
-
29
-
30
-
31
-
32
-
33
-
34
-
35
-
36
-
37
-
38
-
39
-
40
-
41
-
42
-
43
-
44
-
45
-
46
-
47
-
48
-
49
-
50
-
51
-
52
-
53
-
54
-
55
-
56
-
57
-
58
-
59
-
60
-
61
-
62
-
63
-
64
-
65
-
 66
66 -
 67
67 -
 68
68 -
 69
69 -
 70
70 -
 71
71 -
 72
72 -
 73
73 -
 74
74 -
 75
75 -
 76
76 -
77
-
78
-
79
-
80
-
81
-
82
-
83
-
84
-
85
-
86
-
87
-
88
-
89
-
90
-
91
-
92
-
93
-
94
-
95
-
96
-
97
-
98
-
99
-
100
-
101
-
102
-
103
-
104
-
105
-
106
-
107
-
108
-
109
-
110
-
111
-
112
-
113
-
114
-
115
-
116
 |
 |