Sony RM-AX4000 AX Remote Editor Ver.1.0 Help - Page 9
Connecting the Remote Commander to your PC - driver
 |
UPC - 027242677036
View all Sony RM-AX4000 manuals
Add to My Manuals
Save this manual to your list of manuals |
Page 9 highlights
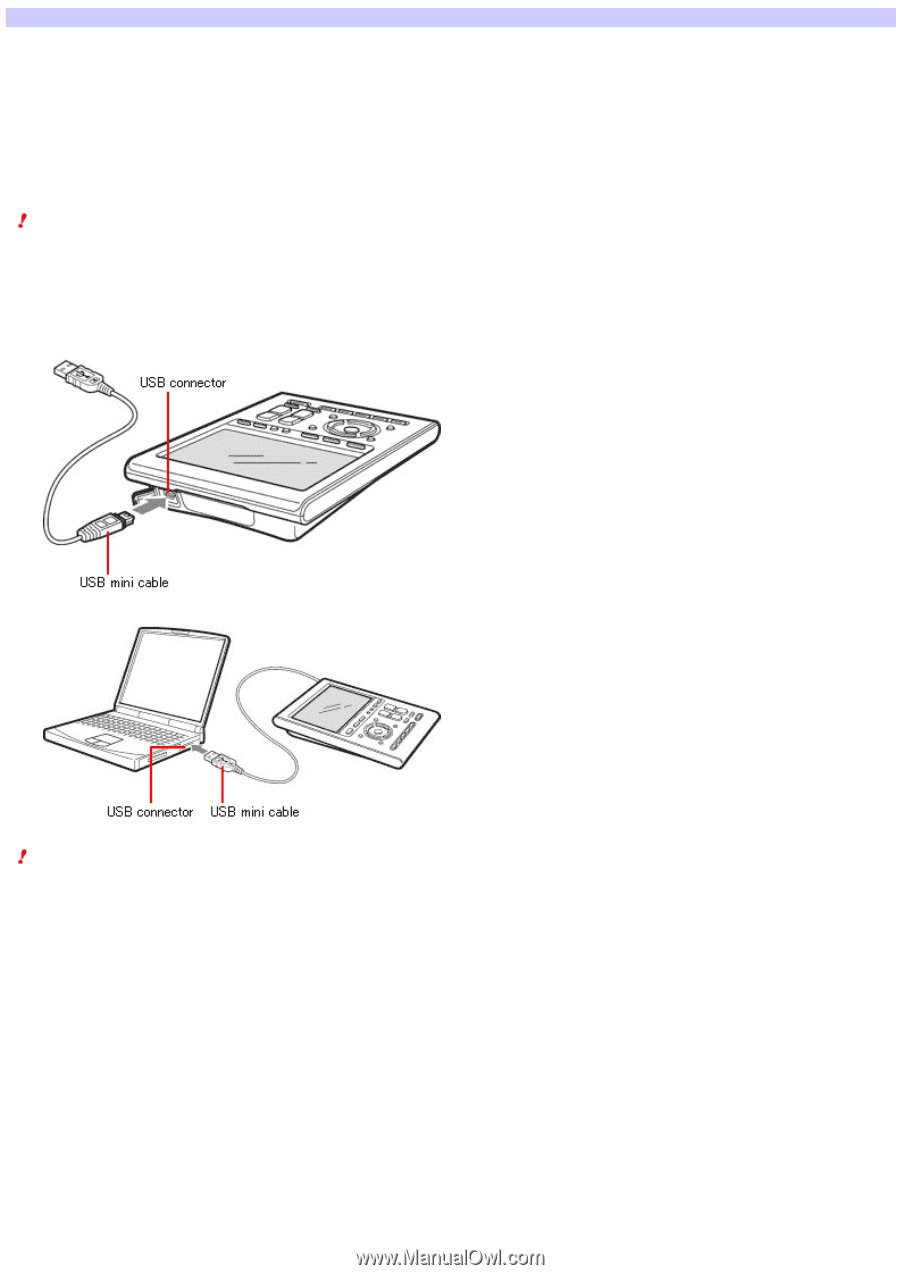
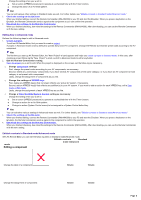
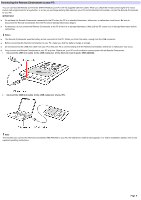
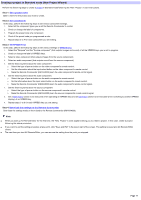
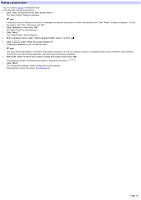
Connecting the Remote Commander to your PC You can connect the Remote Commander (RM-AX4000) to your PC w ith the supplied USB mini cable. When you check the remote control signal of a macro (Action list) programmed for a key/button, or w hen you exchange setting data betw een your PC and the Remote Commander, connect the Remote Commander to your PC. IM PORTANT Do not keep the Remote Commander connected to the PC w hen the PC is in standby/hibernation, otherw ise, a malfunction could occur. Be sure to disconnect the Remote Commander from the PC before standby/hibernation begins. Furthermore, do not connect the Remote Commander to the PC w hile it is in standby/hibernation. Wait until the PC comes out of standby/hibernation before connecting. Note s The Remote Commander uses the battery w hen connected to the PC. When you finish the setup, unplug from the USB connector. Before connecting the Remote Commander to your PC, make sure that the battery charge is enough. Do not disconnect the USB mini cable from your PC w hile your PC is communicating w ith the Remote Commander, otherw ise a malfunction may occur. Only connect one Remote Commander to your PC at a time. Otherw ise, your PC w on't be able to communicate w ith the Remote Commander. 1. Conne ct the USB m ini cable to the USB conne ctor of the Re m ote Com m ande r (RM -AX4000). 2. Conne ct the USB m ini cable to the USB conne ctor of your PC. Note The first time you connect the Remote Commander (RM-AX4000) to your PC, the USB driver install w izard appears. For further installation details, refer to the supplied operating instructions. Page 9
-
 1
1 -
2
-
3
-
 4
4 -
 5
5 -
 6
6 -
 7
7 -
 8
8 -
 9
9 -
 10
10 -
 11
11 -
 12
12 -
 13
13 -
 14
14 -
15
-
16
-
17
-
18
-
19
-
20
-
21
-
22
-
23
-
24
-
25
-
26
-
27
-
28
-
29
-
30
-
31
-
32
-
33
-
34
-
35
-
36
-
37
-
38
-
39
-
40
-
41
-
42
-
43
-
44
-
45
-
46
-
47
-
48
-
49
-
50
-
51
-
52
-
53
-
54
-
55
-
56
-
57
-
58
-
59
-
60
-
61
-
62
-
63
-
64
-
65
-
66
-
67
-
68
-
69
-
70
-
71
-
72
-
73
-
74
-
75
-
76
-
77
-
78
-
79
-
80
-
81
-
82
-
83
-
84
-
85
-
86
-
87
-
88
-
89
-
90
-
91
-
92
-
93
-
94
-
95
-
96
-
97
-
98
-
99
-
100
-
101
-
102
-
103
-
104
-
105
-
106
-
107
-
108
-
109
-
110
-
111
-
112
-
113
-
114
-
115
-
116
-
117
-
118
 |
 |