Toshiba Satellite 5105-S607 User Guide - Page 65
Using Sticky Note, greater than > and less than < buttons on the cPad
 |
View all Toshiba Satellite 5105-S607 manuals
Add to My Manuals
Save this manual to your list of manuals |
Page 65 highlights
Getting Started Using the computer for the first time 65 ❖ Signature pad, which allows you to create characters in the cPad display. ❖ Small Display Properties, which allows you to customize cPad display functions. Unlike programs you choose to load on the cPad display for launching, these programs cannot be deleted from the cPad display. Using Sticky Note The Sticky Note screen enables you to write, type, save, edit and customize notes on the cPad display. Sample Sticky Note screen on cPad display Each note is numbered and can be displayed by using the "greater than" (>) and "less than" () on the cPad display to reach the highest-numbered note, then press the key again. The number "+1" appears on the fresh note.
-
 1
1 -
2
-
3
-
4
-
5
-
6
-
7
-
8
-
9
-
10
-
11
-
12
-
13
-
14
-
15
-
16
-
17
-
18
-
19
-
20
-
21
-
22
-
23
-
24
-
25
-
26
-
27
-
28
-
29
-
30
-
31
-
32
-
33
-
34
-
35
-
36
-
37
-
38
-
39
-
40
-
41
-
42
-
43
-
44
-
45
-
46
-
47
-
48
-
49
-
50
-
51
-
52
-
53
-
54
-
55
-
56
-
57
-
58
-
59
-
 60
60 -
 61
61 -
 62
62 -
 63
63 -
 64
64 -
 65
65 -
 66
66 -
 67
67 -
 68
68 -
 69
69 -
 70
70 -
71
-
72
-
73
-
74
-
75
-
76
-
77
-
78
-
79
-
80
-
81
-
82
-
83
-
84
-
85
-
86
-
87
-
88
-
89
-
90
-
91
-
92
-
93
-
94
-
95
-
96
-
97
-
98
-
99
-
100
-
101
-
102
-
103
-
104
-
105
-
106
-
107
-
108
-
109
-
110
-
111
-
112
-
113
-
114
-
115
-
116
-
117
-
118
-
119
-
120
-
121
-
122
-
123
-
124
-
125
-
126
-
127
-
128
-
129
-
130
-
131
-
132
-
133
-
134
-
135
-
136
-
137
-
138
-
139
-
140
-
141
-
142
-
143
-
144
-
145
-
146
-
147
-
148
-
149
-
150
-
151
-
152
-
153
-
154
-
155
-
156
-
157
-
158
-
159
-
160
-
161
-
162
-
163
-
164
-
165
-
166
-
167
-
168
-
169
-
170
-
171
-
172
-
173
-
174
-
175
-
176
-
177
-
178
-
179
-
180
-
181
-
182
-
183
-
184
-
185
-
186
-
187
-
188
-
189
-
190
-
191
-
192
-
193
-
194
-
195
-
196
-
197
-
198
-
199
-
200
-
201
-
202
-
203
-
204
-
205
-
206
-
207
-
208
-
209
-
210
-
211
-
212
-
213
-
214
-
215
-
216
-
217
-
218
-
219
-
220
-
221
-
222
-
223
-
224
-
225
-
226
-
227
-
228
-
229
-
230
-
231
-
232
-
233
-
234
-
235
-
236
-
237
-
238
-
239
-
240
-
241
-
242
-
243
-
244
-
245
-
246
-
247
-
248
-
249
-
250
-
251
-
252
-
253
-
254
-
255
-
256
-
257
-
258
-
259
-
260
-
261
-
262
-
263
-
264
-
265
-
266
-
267
-
268
-
269
-
270
-
271
-
272
-
273
-
274
-
275
-
276
-
277
-
278
-
279
-
280
-
281
-
282
-
283
-
284
-
285
-
286
-
287
-
288
-
289
-
290
-
291
-
292
-
293
-
294
-
295
-
296
-
297
-
298
-
299
-
300
-
301
-
302
 |
 |
65
Getting Started
Using the computer for the first time
❖
Signature pad, which allows you to create characters in
the cPad display.
❖
Small Display Properties, which allows you to customize
cPad display functions.
Unlike programs you choose to load on the cPad display for
launching, these programs cannot be deleted from the cPad
display.
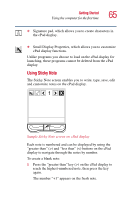
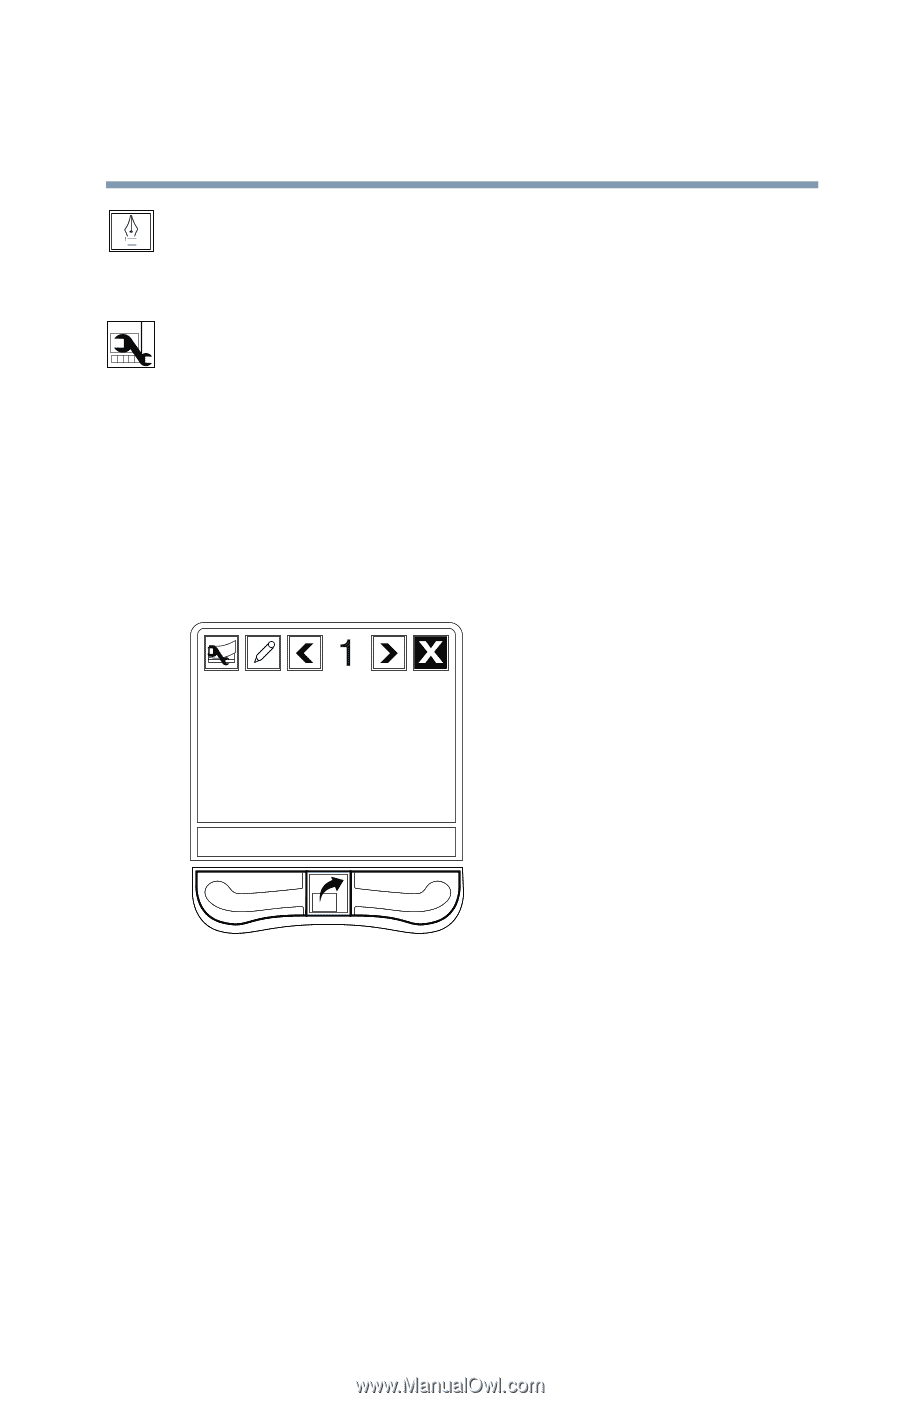
Using Sticky Note
The Sticky Note screen enables you to write, type, save, edit
and customize notes on the cPad display.
Sample Sticky Note screen on cPad display
Each note is numbered and can be displayed by using the
“greater than” (>) and “less than” (<) buttons on the cPad
display to navigate through the notes by number.
To create a blank note:
1
Press the “greater than” key (>) on the cPad display to
reach the highest-numbered note, then press the key
again.
The number “+1” appears on the fresh note.