Toshiba X200 PSPBUC-AX10DC Users Manual Canada; English - Page 167
HDMI, Connecting the HDMI out port, NVIDIA GeForce 8700M/8600M GT Properties
 |
View all Toshiba X200 PSPBUC-AX10DC manuals
Add to My Manuals
Save this manual to your list of manuals |
Page 167 highlights
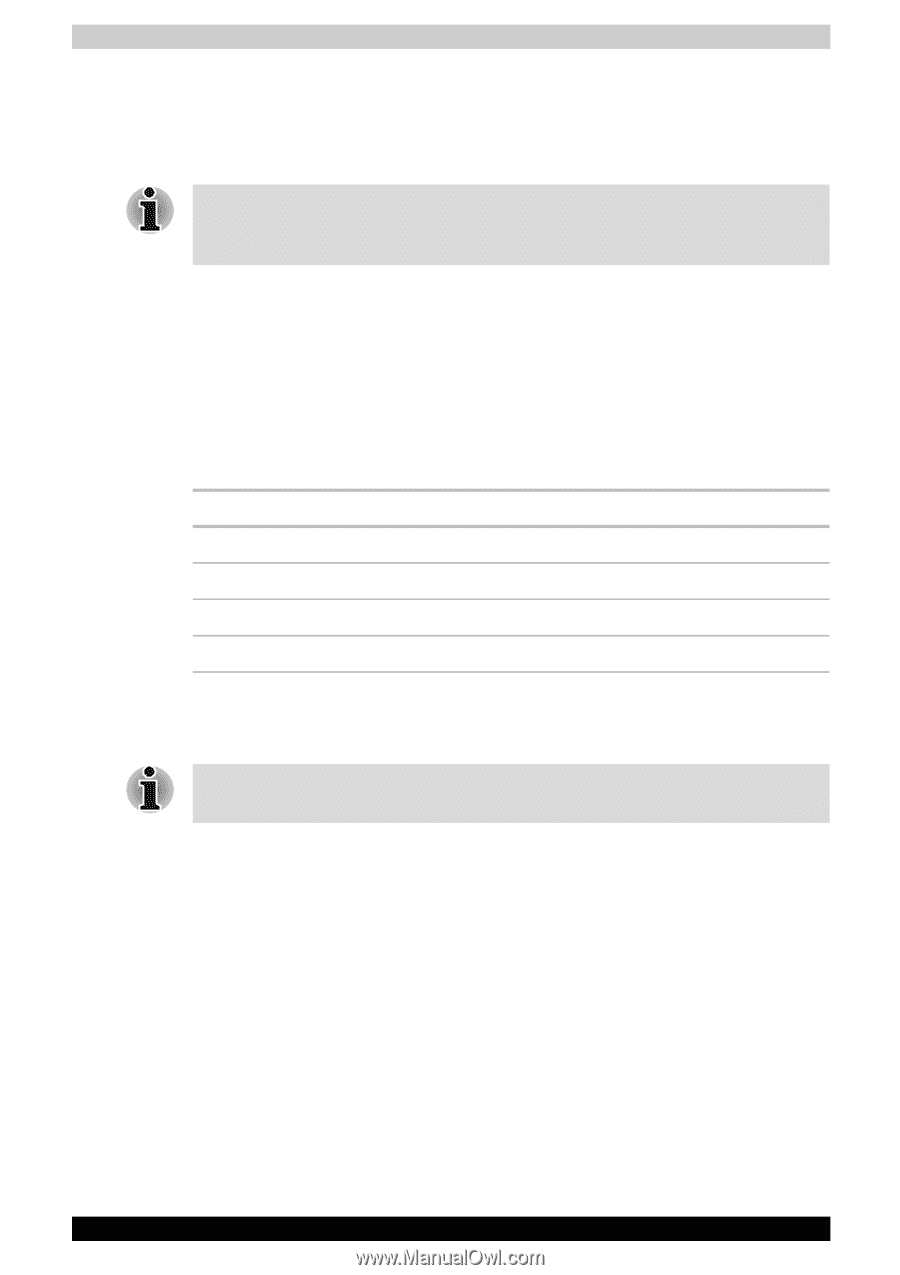
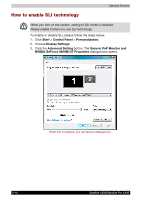
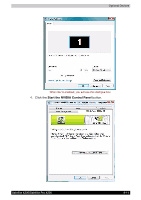
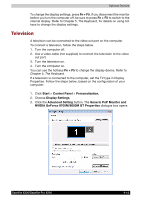
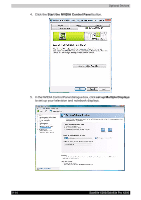
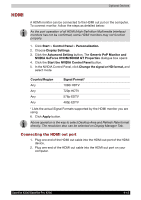
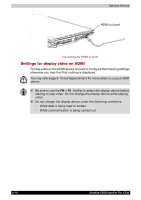
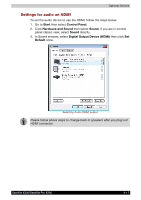
Optional Devices HDMI A HDMI monitor can be connected to the HDMI out put on the computer. To connect monitor, follow the steps as detailed below: As the port operation of all HDMI (High-Definition Multimedia Interface) monitors has not be confirmed, some HDMI monitors may not function properly. 1. Click Start > Control Panel > Personalization. 2. Choose Display Settings. 3. Click the Advanced Setting button. The Generic PnP Monitor and NVIDIA GeForce 8700M/8600M GT Properties dialogue box opens 4. Click the Start the NVIDIA Control Panel button. 5. In the NVIDIA Control Panel, click Change the signal or HD format, and select mode. Country/Region Any Any Any Any Signal Format* 1080i HDTV 720p HDTV 576p EDTV 480p EDTV * Lists the actual Signal Formats supported by the HDMI monitor you are using. 6. Click Apply button. Above operation is the way to select Desktop Area and Refresh Rate format directly. The resolution also can be selected on Display Manager Tab. Connecting the HDMI out port 1. Plug one end of the HDMI out cable into the HDMI out port of the HDMI device. 2. Plug one end of the HDMI out cable into the HDMI out port on your computer. Satellite X200/Satellite Pro X200 9-15
-
 1
1 -
2
-
3
-
4
-
5
-
6
-
7
-
8
-
9
-
10
-
11
-
12
-
13
-
14
-
15
-
16
-
17
-
18
-
19
-
20
-
21
-
22
-
23
-
24
-
25
-
26
-
27
-
28
-
29
-
30
-
31
-
32
-
33
-
34
-
35
-
36
-
37
-
38
-
39
-
40
-
41
-
42
-
43
-
44
-
45
-
46
-
47
-
48
-
49
-
50
-
51
-
52
-
53
-
54
-
55
-
56
-
57
-
58
-
59
-
60
-
61
-
62
-
63
-
64
-
65
-
66
-
67
-
68
-
69
-
70
-
71
-
72
-
73
-
74
-
75
-
76
-
77
-
78
-
79
-
80
-
81
-
82
-
83
-
84
-
85
-
86
-
87
-
88
-
89
-
90
-
91
-
92
-
93
-
94
-
95
-
96
-
97
-
98
-
99
-
100
-
101
-
102
-
103
-
104
-
105
-
106
-
107
-
108
-
109
-
110
-
111
-
112
-
113
-
114
-
115
-
116
-
117
-
118
-
119
-
120
-
121
-
122
-
123
-
124
-
125
-
126
-
127
-
128
-
129
-
130
-
131
-
132
-
133
-
134
-
135
-
136
-
137
-
138
-
139
-
140
-
141
-
142
-
143
-
144
-
145
-
146
-
147
-
148
-
149
-
150
-
151
-
152
-
153
-
154
-
155
-
156
-
157
-
158
-
159
-
160
-
161
-
 162
162 -
 163
163 -
 164
164 -
 165
165 -
 166
166 -
 167
167 -
 168
168 -
 169
169 -
 170
170 -
 171
171 -
 172
172 -
173
-
174
-
175
-
176
-
177
-
178
-
179
-
180
-
181
-
182
-
183
-
184
-
185
-
186
-
187
-
188
-
189
-
190
-
191
-
192
-
193
-
194
-
195
-
196
-
197
-
198
-
199
-
200
-
201
-
202
-
203
-
204
-
205
-
206
-
207
-
208
-
209
-
210
-
211
-
212
-
213
-
214
-
215
-
216
-
217
-
218
-
219
-
220
-
221
-
222
-
223
-
224
-
225
-
226
-
227
-
228
 |
 |