Yamaha PSR-630 Owner's Manual - Page 75
Song Copy, nd°PiYES
 |
View all Yamaha PSR-630 manuals
Add to My Manuals
Save this manual to your list of manuals |
Page 75 highlights
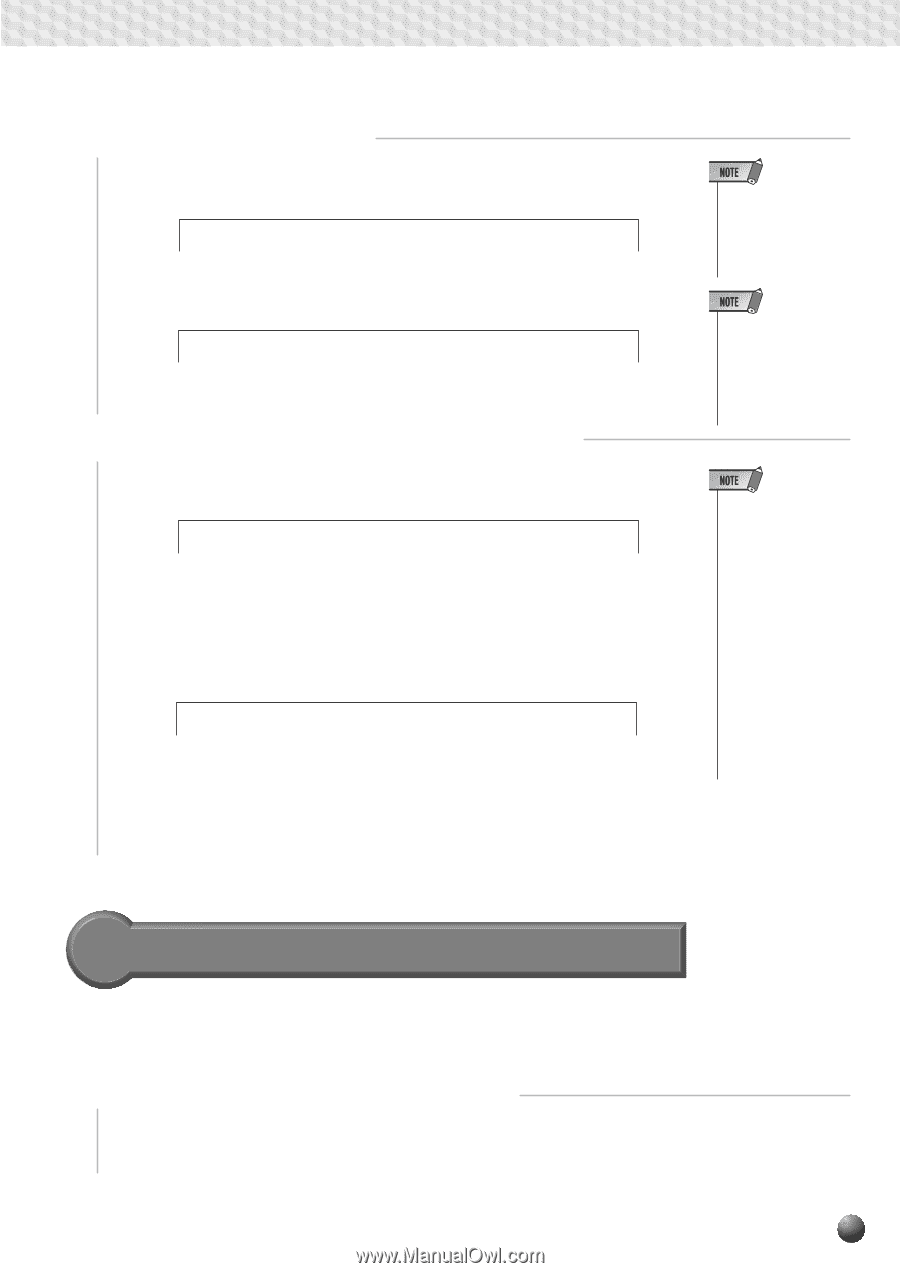
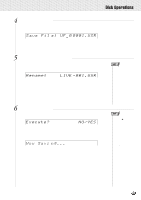
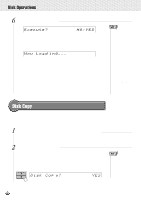
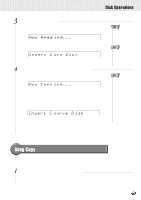
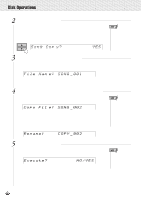
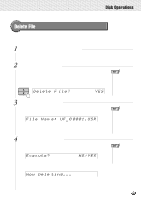
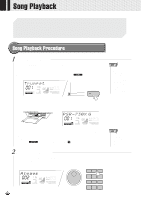
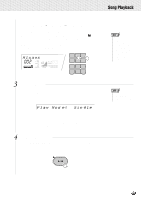
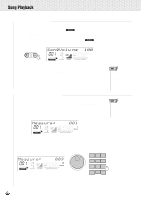
,,QQ,,QQ,,QQ,,QQ,,QQ,,QQ,,QQ,,QQ,,QQ,,QQ,,QQ,,QQDisk,,QQOper,,QQation,,QQs ,,QQ 3 Press the [+] (YES) Button Make sure that the disk you wish to copy from (source disk) is inserted in the disk drive, then press the [+] (YES) button. "Now Reading" will appear on the display. Now Read ing... nd PiYES The contents of the disk will be copied to the PSR-730/630, and when reading is finished, "Insert Copy Disk" will be displayed. Insert C opy Dis kd PiYES 4 Insert the Destination Disk into the Floppy Drive Insert the destination disk for the copy operation into the disk drive. "Now Copying" will appear on the display. Now Copy ing... nd PiYES Data will be copied from the PSR-730/630 to the destination disk, and when copying is finished, the display will return to the "Disk Copy? YES". If the quantity of data is large, it may be necessary for the data to be copied in parts. In such a case, "Insert Source Disk" will appear again on the display. Insert S ource D iskPiYES Eject the copy (destination) disk and insert the source disk. Follow the messages on the display and repeat to change the disks. The number of times you repeat the disk changes depend on the size of the data to be copied. Once all the data has been copied, the display will return to the "Disk Copy? YES" . • While data is copying ("Now Copying" or "Now Reading" is displayed), never eject the floppy disk or turn the power off. • If you want to cancel the Disk Copy function in this step, press the [-] (NO) button to cancel the operation, returning to "Disk Copy? YES" display. • The disk type of both source disk and destination disk must be the same (2DD or 2HD). If the source disk is 2HD type, use 2HD blank disk for the destination. If you insert a wrong type, "Disk Media Type Error!!" will be shown on the display. • If you insert a wrong disk, different from the source or destination disk, during the disk copy operation, "Disk Type Error!!" will be shown on the display. Song Copy The songs recorded on a floppy disk can be copied in file units to another location on the same disk. 1 Insert the Floppy Disk into the Disk Drive Insert the disk with the songs you want to copy into the disk drive. 73
-
 1
1 -
2
-
3
-
4
-
5
-
6
-
7
-
8
-
9
-
10
-
11
-
12
-
13
-
14
-
15
-
16
-
17
-
18
-
19
-
20
-
21
-
22
-
23
-
24
-
25
-
26
-
27
-
28
-
29
-
30
-
31
-
32
-
33
-
34
-
35
-
36
-
37
-
38
-
39
-
40
-
41
-
42
-
43
-
44
-
45
-
46
-
47
-
48
-
49
-
50
-
51
-
52
-
53
-
54
-
55
-
56
-
57
-
58
-
59
-
60
-
61
-
62
-
63
-
64
-
65
-
66
-
67
-
68
-
69
-
 70
70 -
 71
71 -
 72
72 -
 73
73 -
 74
74 -
 75
75 -
 76
76 -
 77
77 -
 78
78 -
 79
79 -
 80
80 -
81
-
82
-
83
-
84
-
85
-
86
-
87
-
88
-
89
-
90
-
91
-
92
-
93
-
94
-
95
-
96
-
97
-
98
-
99
-
100
-
101
-
102
-
103
-
104
-
105
-
106
-
107
-
108
-
109
-
110
-
111
-
112
-
113
-
114
-
115
-
116
-
117
-
118
-
119
-
120
-
121
-
122
-
123
-
124
-
125
-
126
-
127
-
128
-
129
-
130
-
131
-
132
-
133
-
134
-
135
-
136
-
137
-
138
-
139
-
140
-
141
-
142
-
143
-
144
-
145
-
146
-
147
-
148
-
149
-
150
-
151
-
152
-
153
-
154
-
155
-
156
-
157
-
158
-
159
-
160
-
161
-
162
-
163
-
164
-
165
-
166
-
167
-
168
-
169
-
170
-
171
-
172
-
173
-
174
-
175
-
176
-
177
-
178
 |
 |