Yamaha PSR-A3 Owner's Manual - Page 66
Using Music Cartridges, Cartridge Accompaniment Styles
 |
View all Yamaha PSR-A3 manuals
Add to My Manuals
Save this manual to your list of manuals |
Page 66 highlights
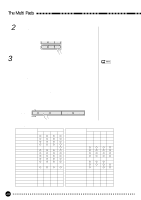
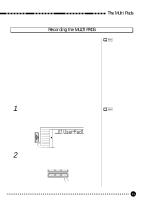
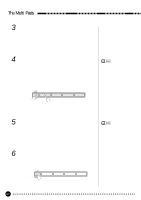
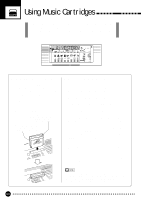
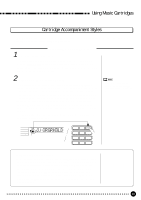
Using Music Cartridges Cartridge Accompaniment Styles The Music Cartridge supplied with the PSR-A3 provides an extra 8 accompaniment styles that can be used in the same way as the internal accompaniment styles. Selecting Cartridge Styles 1 Select the Style Function ...Press the [STYLE] button to directly select the STYLE function, or press the [FUNCTION] button to the left of the display as many times as necessary until the arrowhead in the display appears next to "STYLE" in the function list to the left of the display. 2 Select and Use a Cartridge Style To select a cartridge style, first press and hold the number [3] button (below the cartridge icon on the panel) until the cartridge icon appears to the left of the style name in the display, then enter the number of the cartridge style you want to select via the number buttons in the normal way (2 digits). The cartridge styles can also be selected by using the [-/NO] and [+/YES] buttons or the data dial to go beyond the highest or lowest internal style numbers - e.g. pressing the [+/YES] button while internal style number 140 is selected will select cartridge style number 01 (the cartridge icon will appear). The cartridge styles are used in exactly the same way as the internal accompaniment styles (page 34). • "No OTS" will appear on the display if the optional cartridge styles have no one touch setting data. VOICE STYLE SONG REGIST MEMORY 801 ORGRKBLD 1*- - * 1 2 3 4 5 6 7 8 9 0 -/NO +/YES q Different Number of Sections Some cartridge styles, for example, have A and B intro and ending sections as well as A and B main sections. In such a case, if the [INTRO] and MAIN [A] buttons are pressed in order to start the accompaniment with an introduction and then go to the main A section, the intro A section will play. If the [INTRO] and MAIN [B] buttons are pressed, the intro B section will play. A similar situation applies to endings: if the main A or B section is playing and the [ENDING] button is pressed, the ending A or B section will play accordingly. 65
-
 1
1 -
2
-
3
-
4
-
5
-
6
-
7
-
8
-
9
-
10
-
11
-
12
-
13
-
14
-
15
-
16
-
17
-
18
-
19
-
20
-
21
-
22
-
23
-
24
-
25
-
26
-
27
-
28
-
29
-
30
-
31
-
32
-
33
-
34
-
35
-
36
-
37
-
38
-
39
-
40
-
41
-
42
-
43
-
44
-
45
-
46
-
47
-
48
-
49
-
50
-
51
-
52
-
53
-
54
-
55
-
56
-
57
-
58
-
59
-
60
-
 61
61 -
 62
62 -
 63
63 -
 64
64 -
 65
65 -
 66
66 -
 67
67 -
 68
68 -
 69
69 -
 70
70 -
 71
71 -
72
-
73
-
74
-
75
-
76
-
77
-
78
-
79
-
80
-
81
-
82
-
83
-
84
-
85
-
86
-
87
-
88
-
89
-
90
-
91
-
92
-
93
-
94
-
95
-
96
-
97
-
98
-
99
-
100
-
101
-
102
-
103
 |
 |
